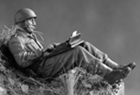
Okay time for an update. Well I've been learning how to apply etched zimmerit and while it is fairly easy to anneal the stuff sticking it to a tank body is fraught with danger. When applying said zimmerit with CA glue ensure you have none on your fingers when you go for a leak

its okay now

you can laugh, nurse at the hospital did

, and my eyes have stopped watering

Well with that bit of sharing over on with the build.

Applied etched zimmerit to body. I didn't anneal these parts as I thought it's a flat surface and should be okay. In hindsight I should have as the annealed etch seems to take on a different surface to the un-annealed etch.
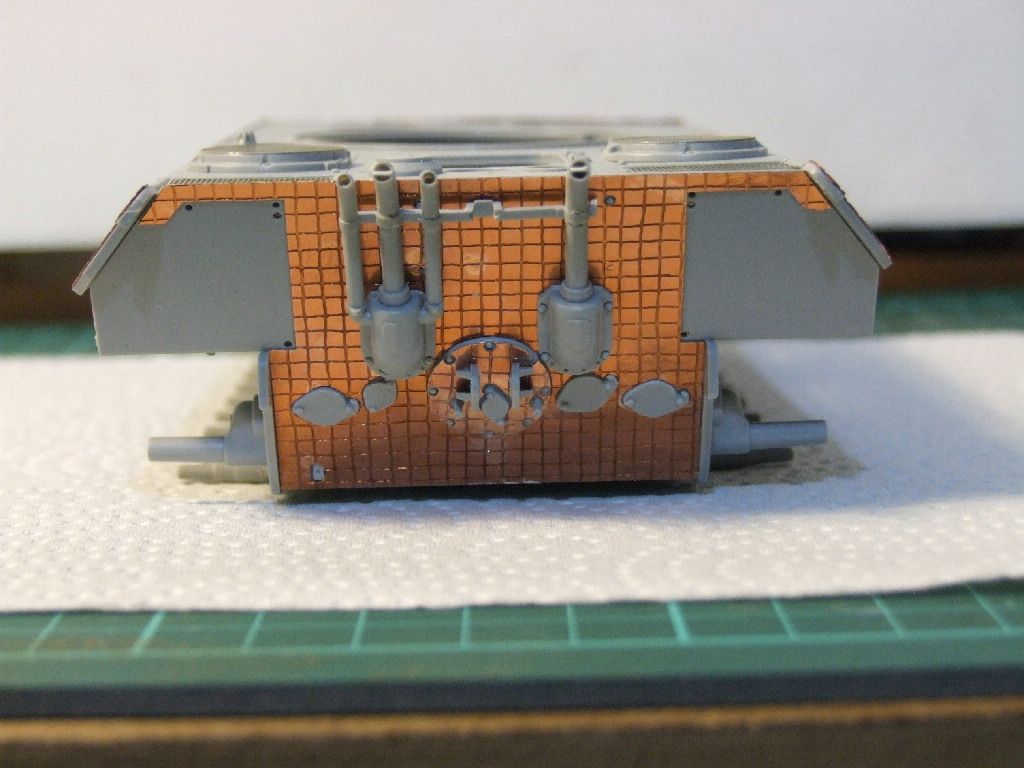
I fitted the zimmerit to the rear plate. I also drilled out the exhaust pipes and fitted small pieces of plasticard in the throat of the pipe to act as grenade restrictors.
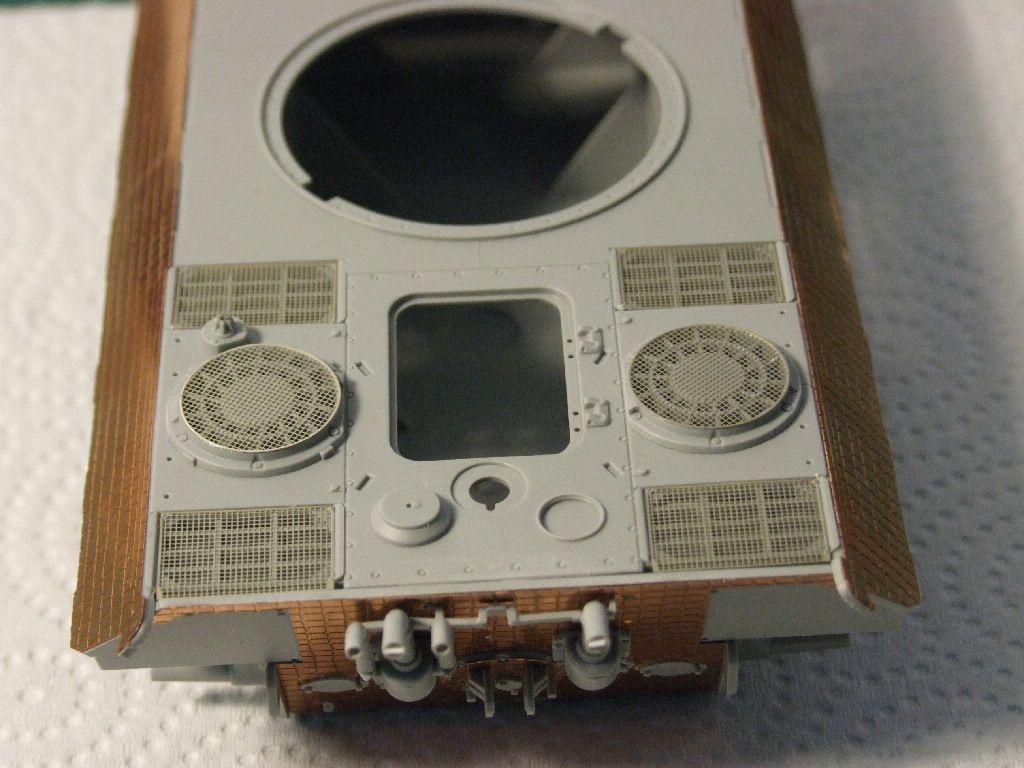
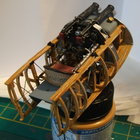
Engine deck with the etched fan mesh attached. This kit is an older Dragon kit as is not a s refined as the later smart kit "G" model so no representations of the radiators or cooling fans.
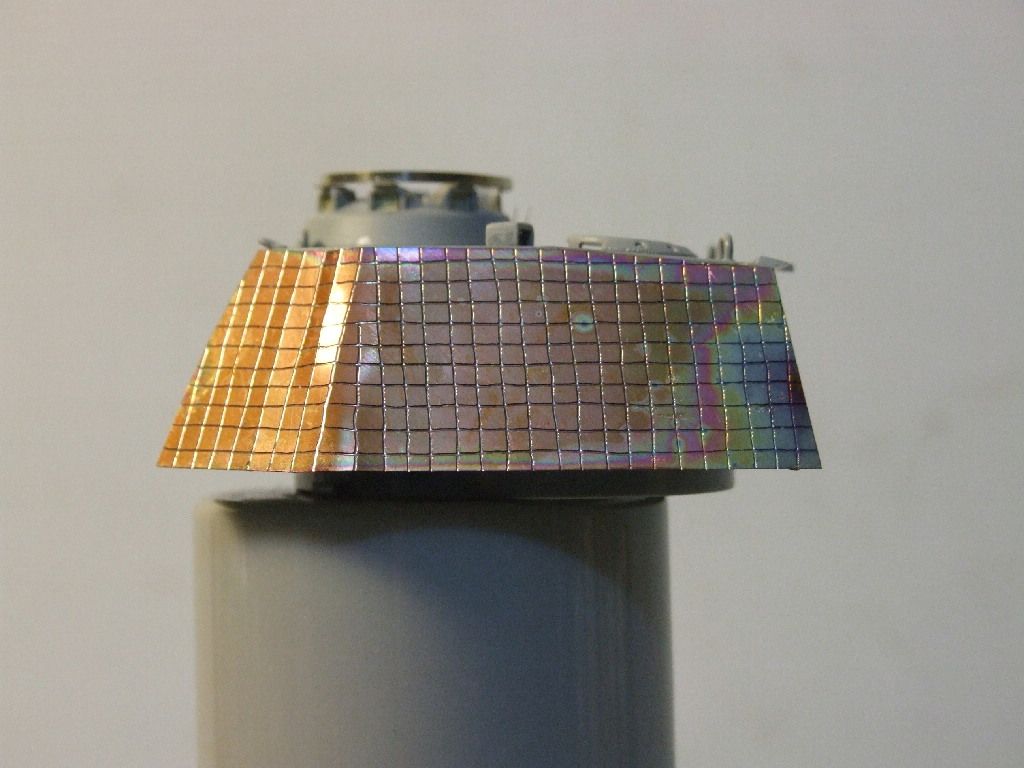
Turret loaders side with zimmerit etch attached.
Turret rear with the etch attached. You'll notice it's slightly uneven it was at this point I had my little accident
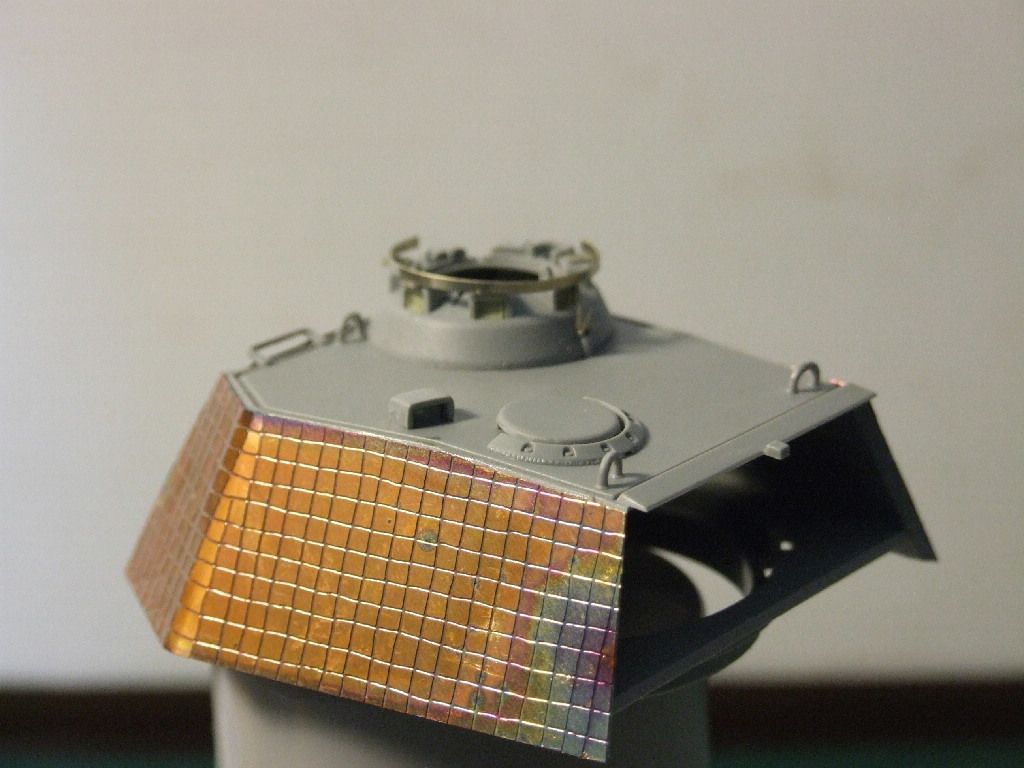
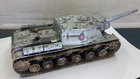
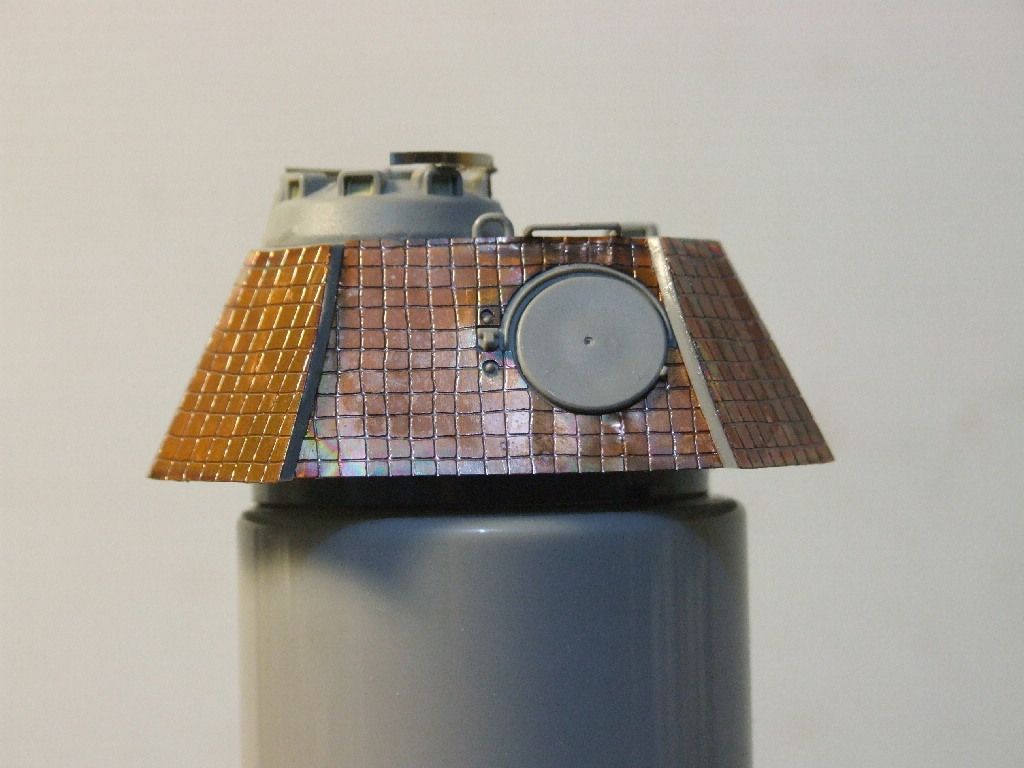
general shot of the turret. This kit had holes for the pistol ports. looking at various pictures of the "A" model it looks like only early ones had the ports.

Etched zimmerit applied to the gun mantlet. I'll fill the small gaps with putty as I tried to get it to match up but no joy.
This is the pain in the ass gun barrel. It was slightly warped so I doused it in hot water and teased it back into shape. This resulted in a noticeable seam which I treated with my new Flexi File, what a godsend, and some Mr Surfacer 500.
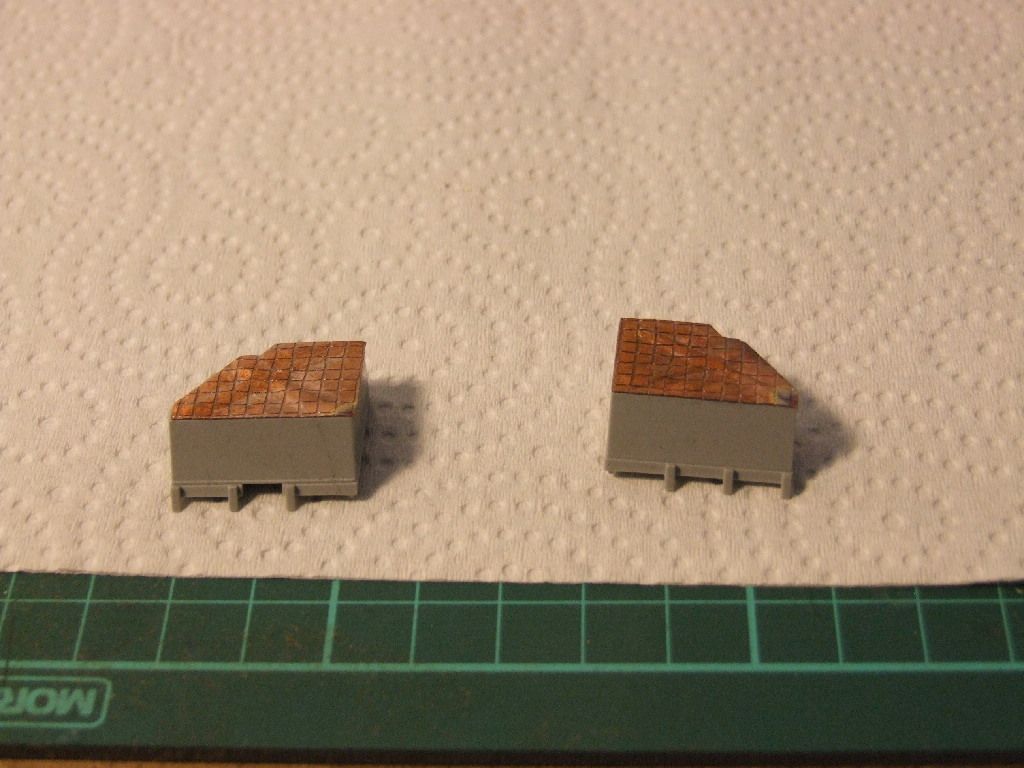
Rear stowage boxes with the etch applied. Just have to do the rest.
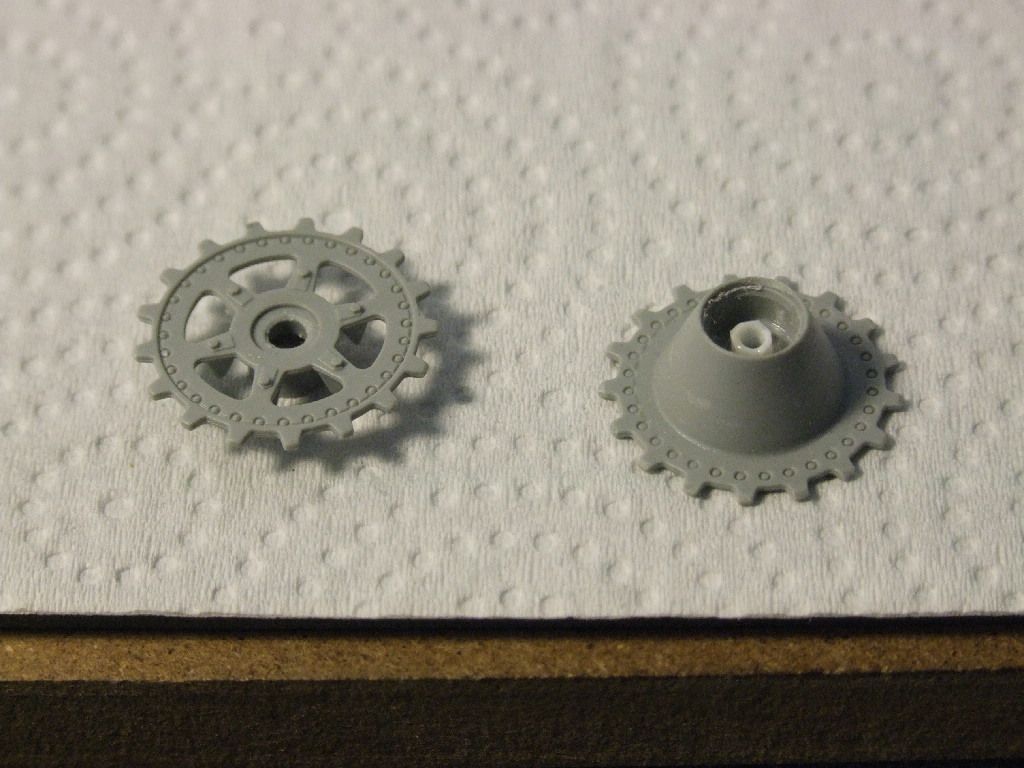
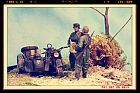
Front drive sprockets. I'm modifying these so they will turn. I've drilled out the hub, sprocket and the gear case to take a 10BA screw. In the hub I've fitted a piece of plastic tubing which will act as a spacer and allow the sprocket to turn making it easier to fit the intended Fruil tracks. I'm doing something similar to the rear idlers. As for the road wheels these will have to remain glued in place. This will mean a flat earth diorama as the suspension on this model is cast as part of the hull and does not move. This won't allow the wheels to move to suit the geography so flat earth it has to be.
Okay that's it till next time. I hope to have a new camera in the next couple of weeks I just haven't decided on what to get Nikon or Cannon. Either way I'll be retiring my tired old Fuji so my photography should improve.
Keep the CA off your fingers!!
Ozzie21