Hi guys

Time for another update.
Lightning F.6
Single-seat fighter (an improved longer-range variant of the F.3). It featured new wings with better efficiency and subsonic performance, overwing fuel tanks and a larger ventral fuel tank, reintroduction of 30 mm cannon (initially no cannon but later in the forward part of the ventral pack rather than in the nose), use of Red Top missiles. A total of 39 built (also nine converted from F.3 and 15 from F.3A).
Quote from a RAF pilot.
"Suddenly the telephone would ring and it would be one of the radar controllers from around the UK ordering you to scramble immediately. And so you would run to the aeroplane, jump in. They [Soviet aircraft] were just monitoring, listening, recording everything that went on. So you would get up alongside and normally they would wave, quite often there would be a little white face at every window. They knew we were there just to watch them. One I intercepted when he violated the airspace and I was trying to get him to land but it was scary. He just wanted to get out of there, he was out of Dodge as fast as he could go, he didn't want to mix it with me."
RAF Lightning pilot John Ward
Started the build with the seat, kit seat is pretty good. Just added a couple of bits to the frame.
The PE set provides a harness set, but I'll add that once the seat is painted.
Then I started on the cockpit. First, made the tub from PE. Not sure what the reasoning with this is? I can't see any improvement that wouldn't be achieved from just adding panels?!
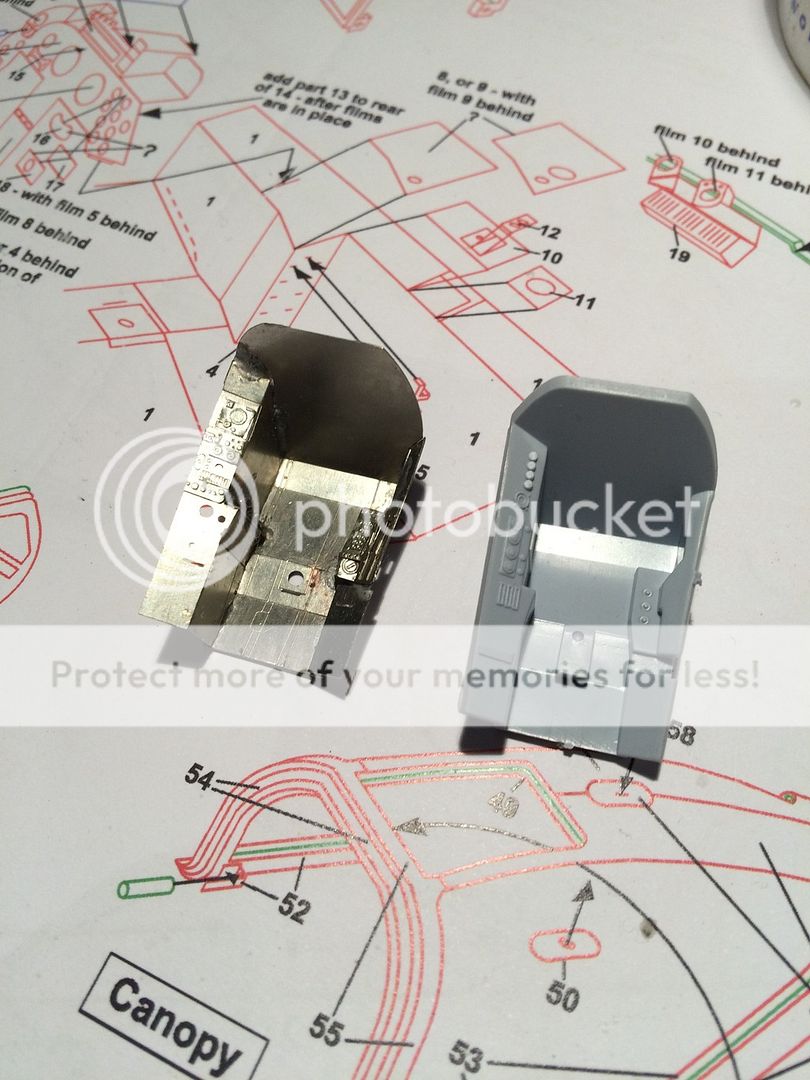
As its all PE, I thought I'd give the soldering a try. Turns out, it's easier than using ca! I usually end up with the bits stuck to me instead, lol!
Instrument panel formed

Here, most of it is assembled. There are a few more bits to add once it's fitted.
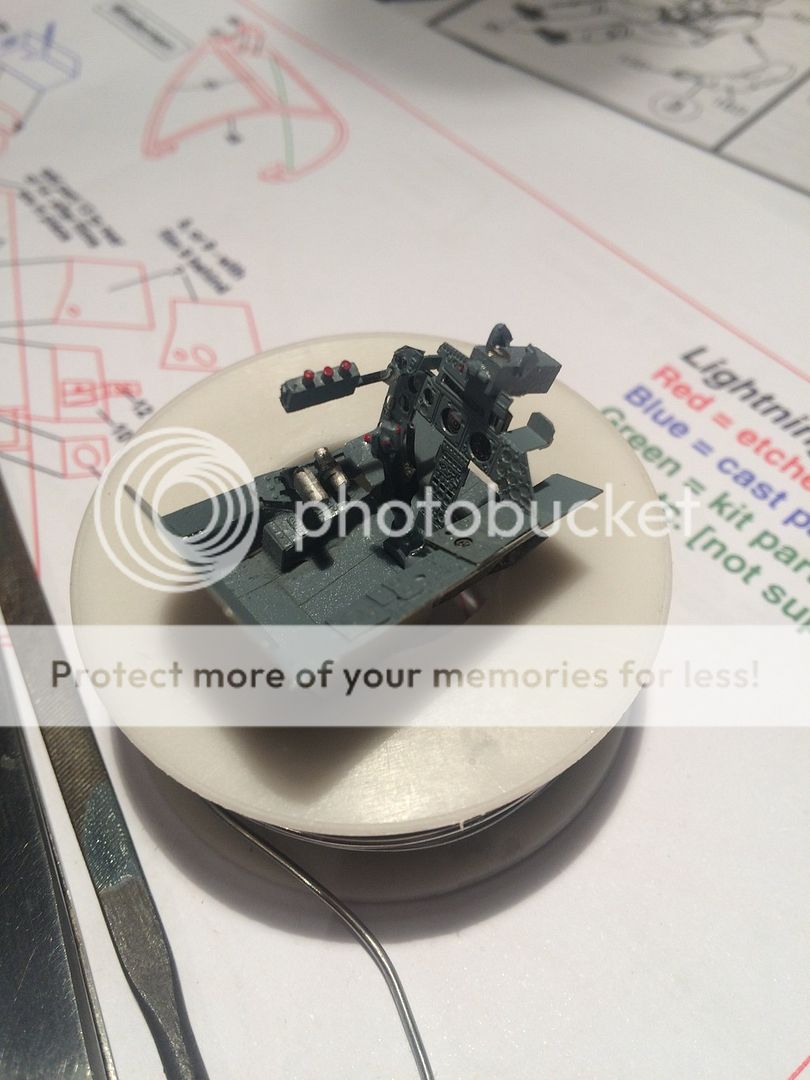
Added a bit of wear and tear, also a dark dirt wash.
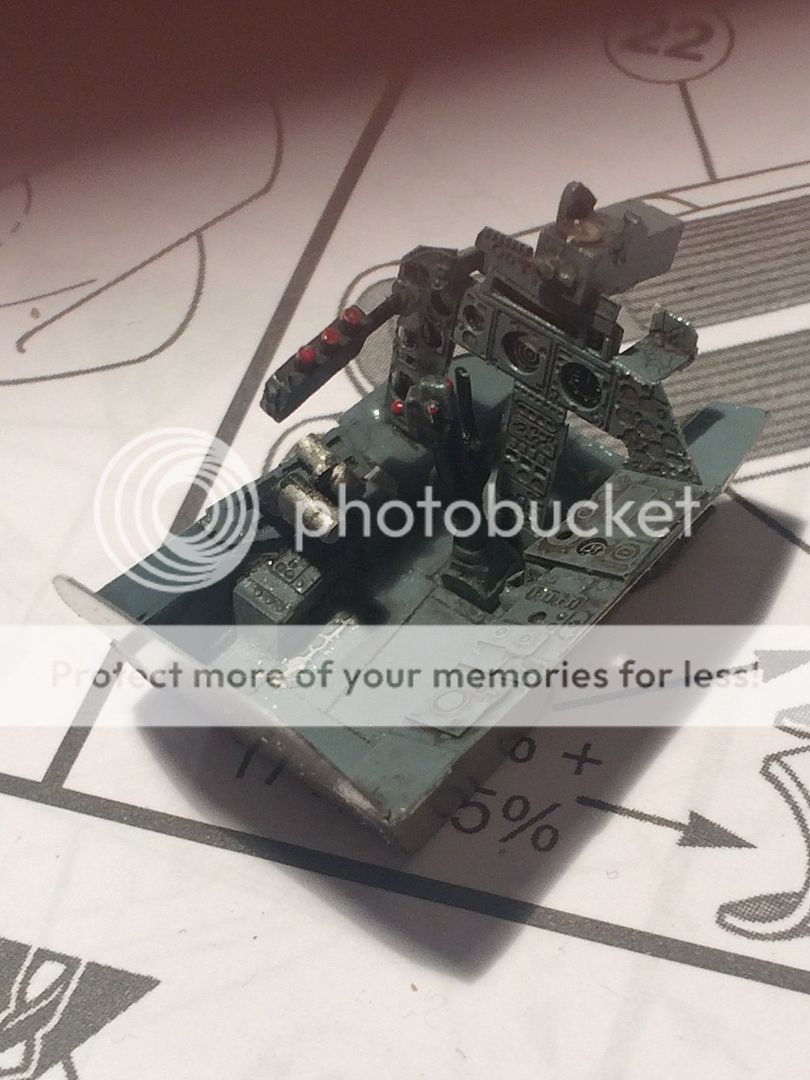
Few knobs and switches to pick out later.
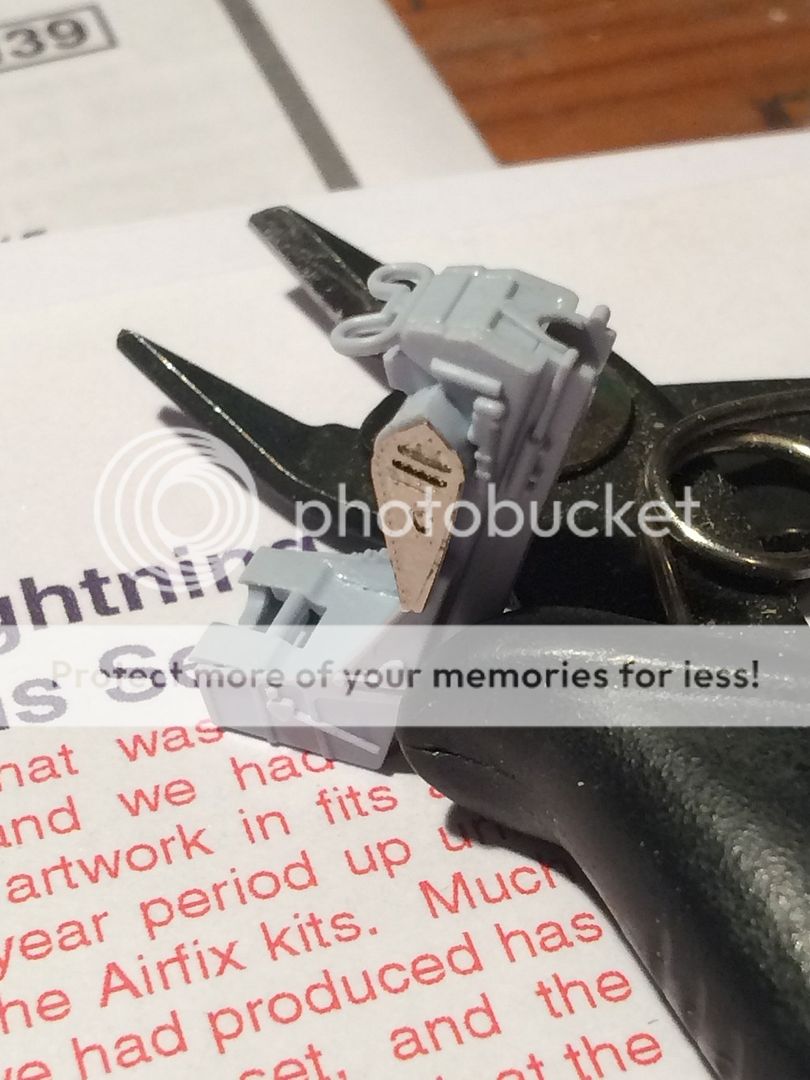
Moving onto the intake. A bit of surgery was required to fit the white metal radar cone.
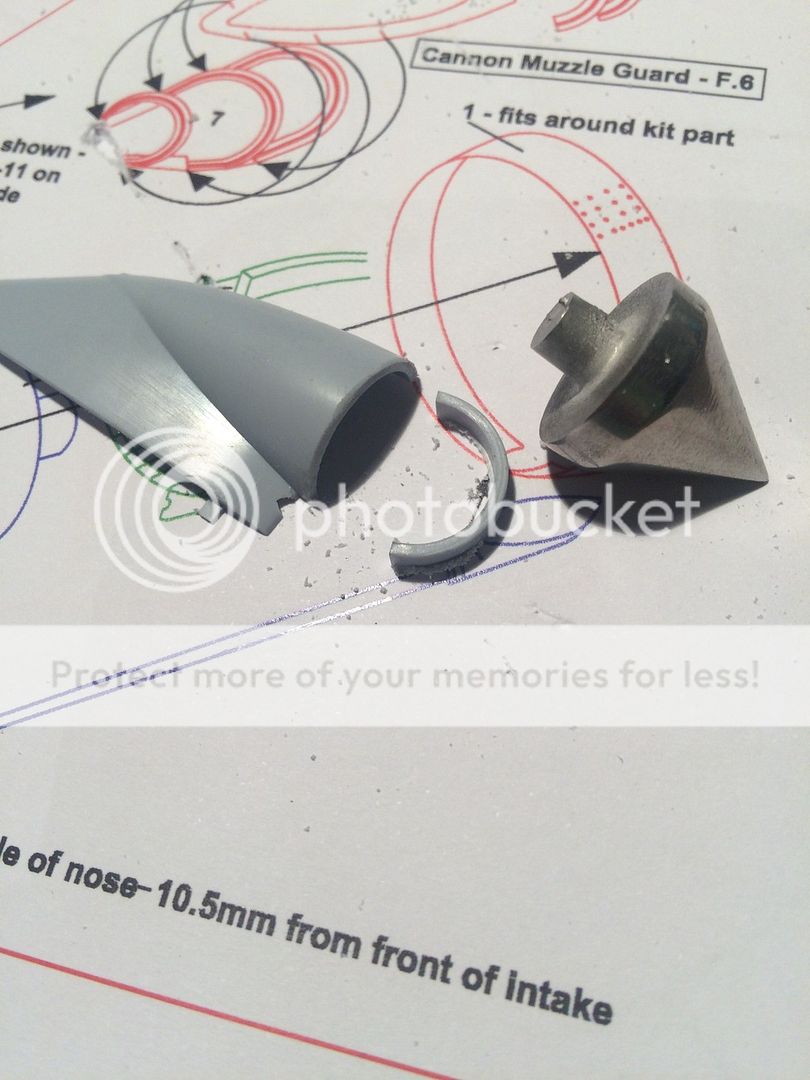
This will act as the nose weight, but I also filled the void behind the cone with lead shot, just to be on the safe side!

Normally, this is the time where I start fretting about intake seams, painting inside the intakes and all that polava! But for this set up I don't need to worry about it

Now I did come across a problem when I started the exhausts. Here are the instructions.

Two pieces of PE, sat inside the tailpipe. Here's the two pieces.
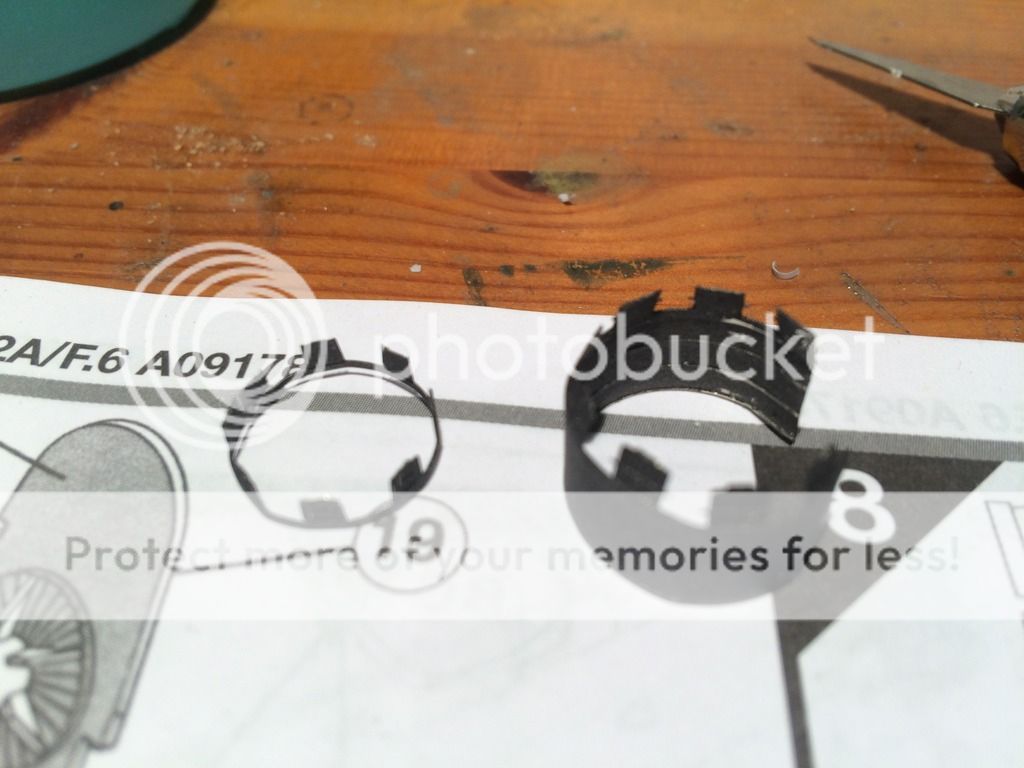
Even to my untrained eye, I can see that these would look crap. Let alone the fact that dry fitting shows them to be too big!
So, I got the kit parts that should be replaced, removed the surface detail, and added the now chopped up PE parts!
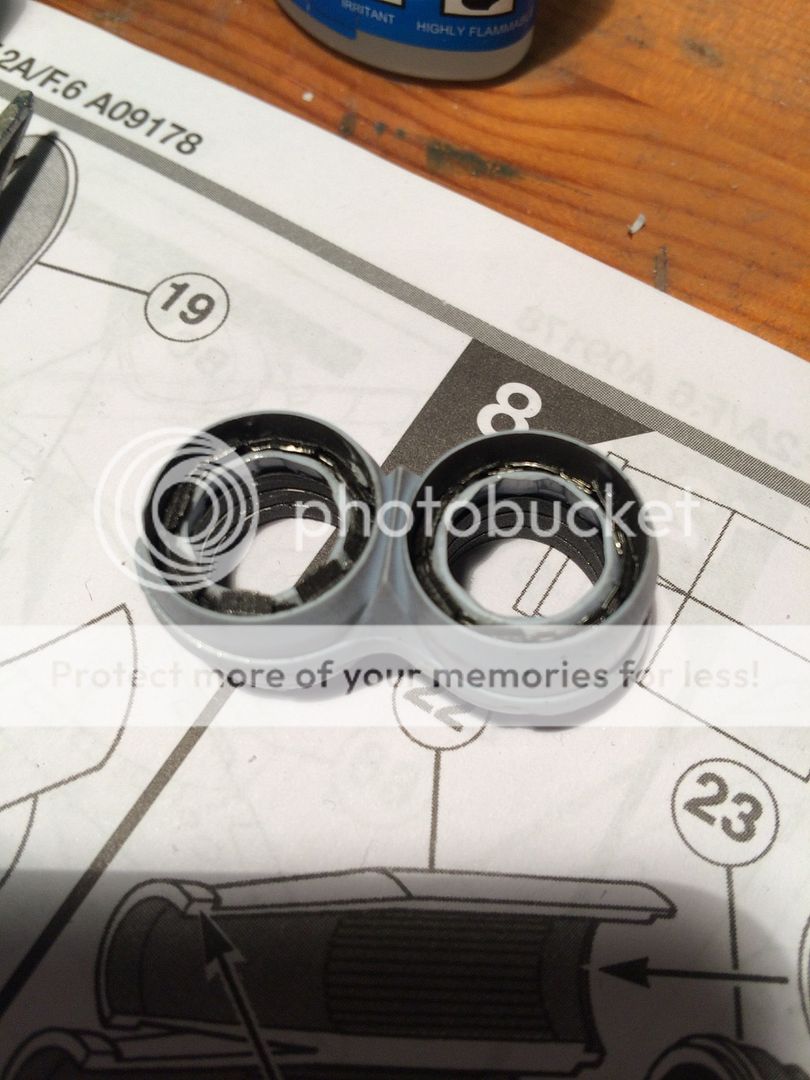
I'll give them a coat of primer to see how they're going to look. I may get some resin ones, or steal a kit set from the stash.
Just to give myself a feeling of progress, I fitted the cockpit and intake, and got the fuselage halves together. (Jet nozzles can be added later!)
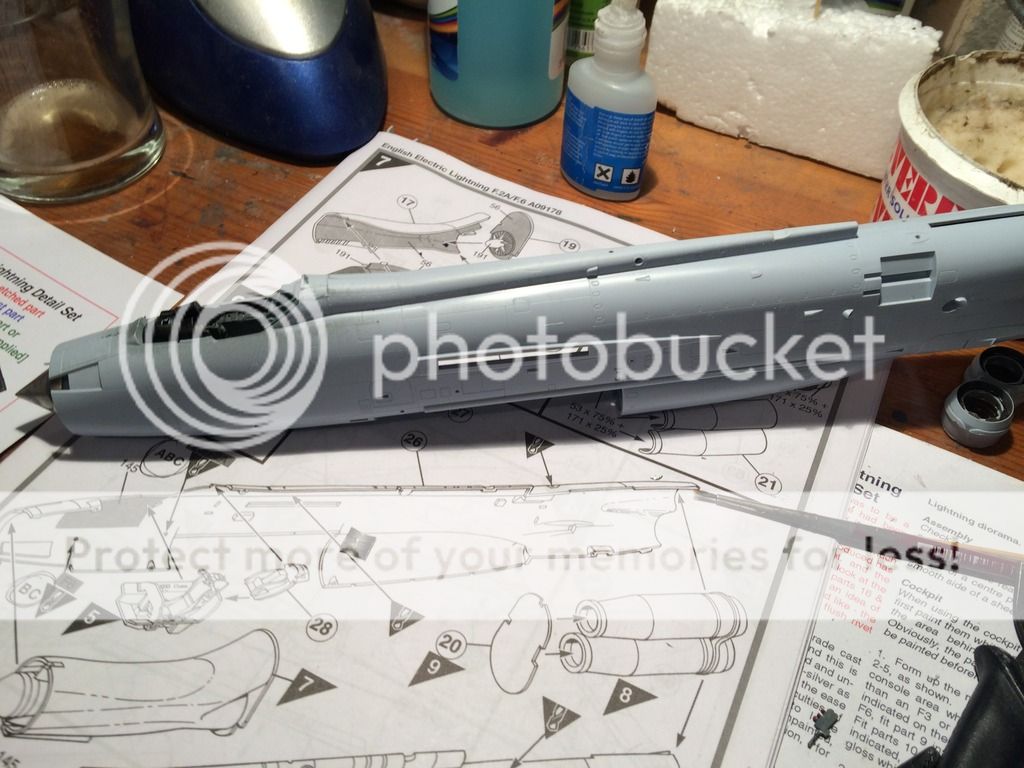
That's it for now, hope you're enjoying your builds! Thanks for looking