Tomcat64 wrote: Tue Dec 03, 2019 10:19 am
Blimey you're cutting plastic already - I'm still just looking at the instructions on mine

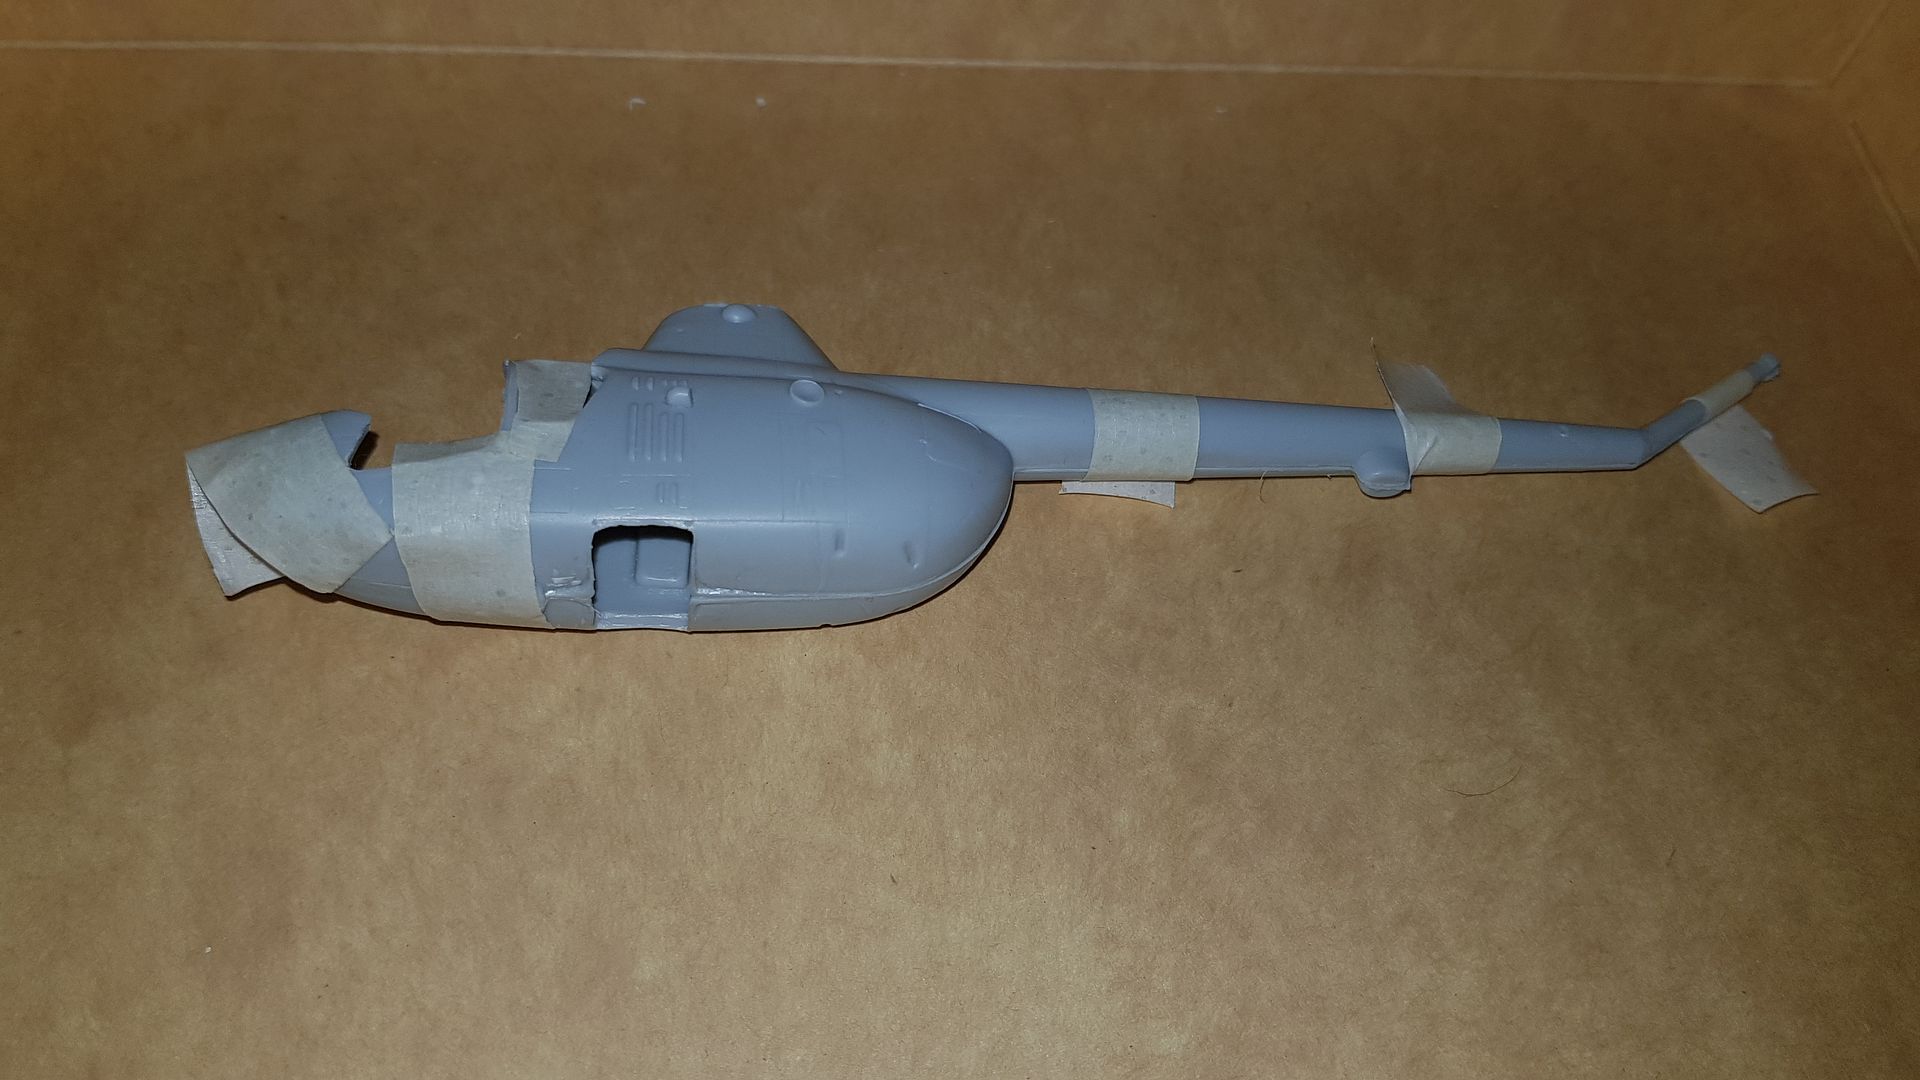
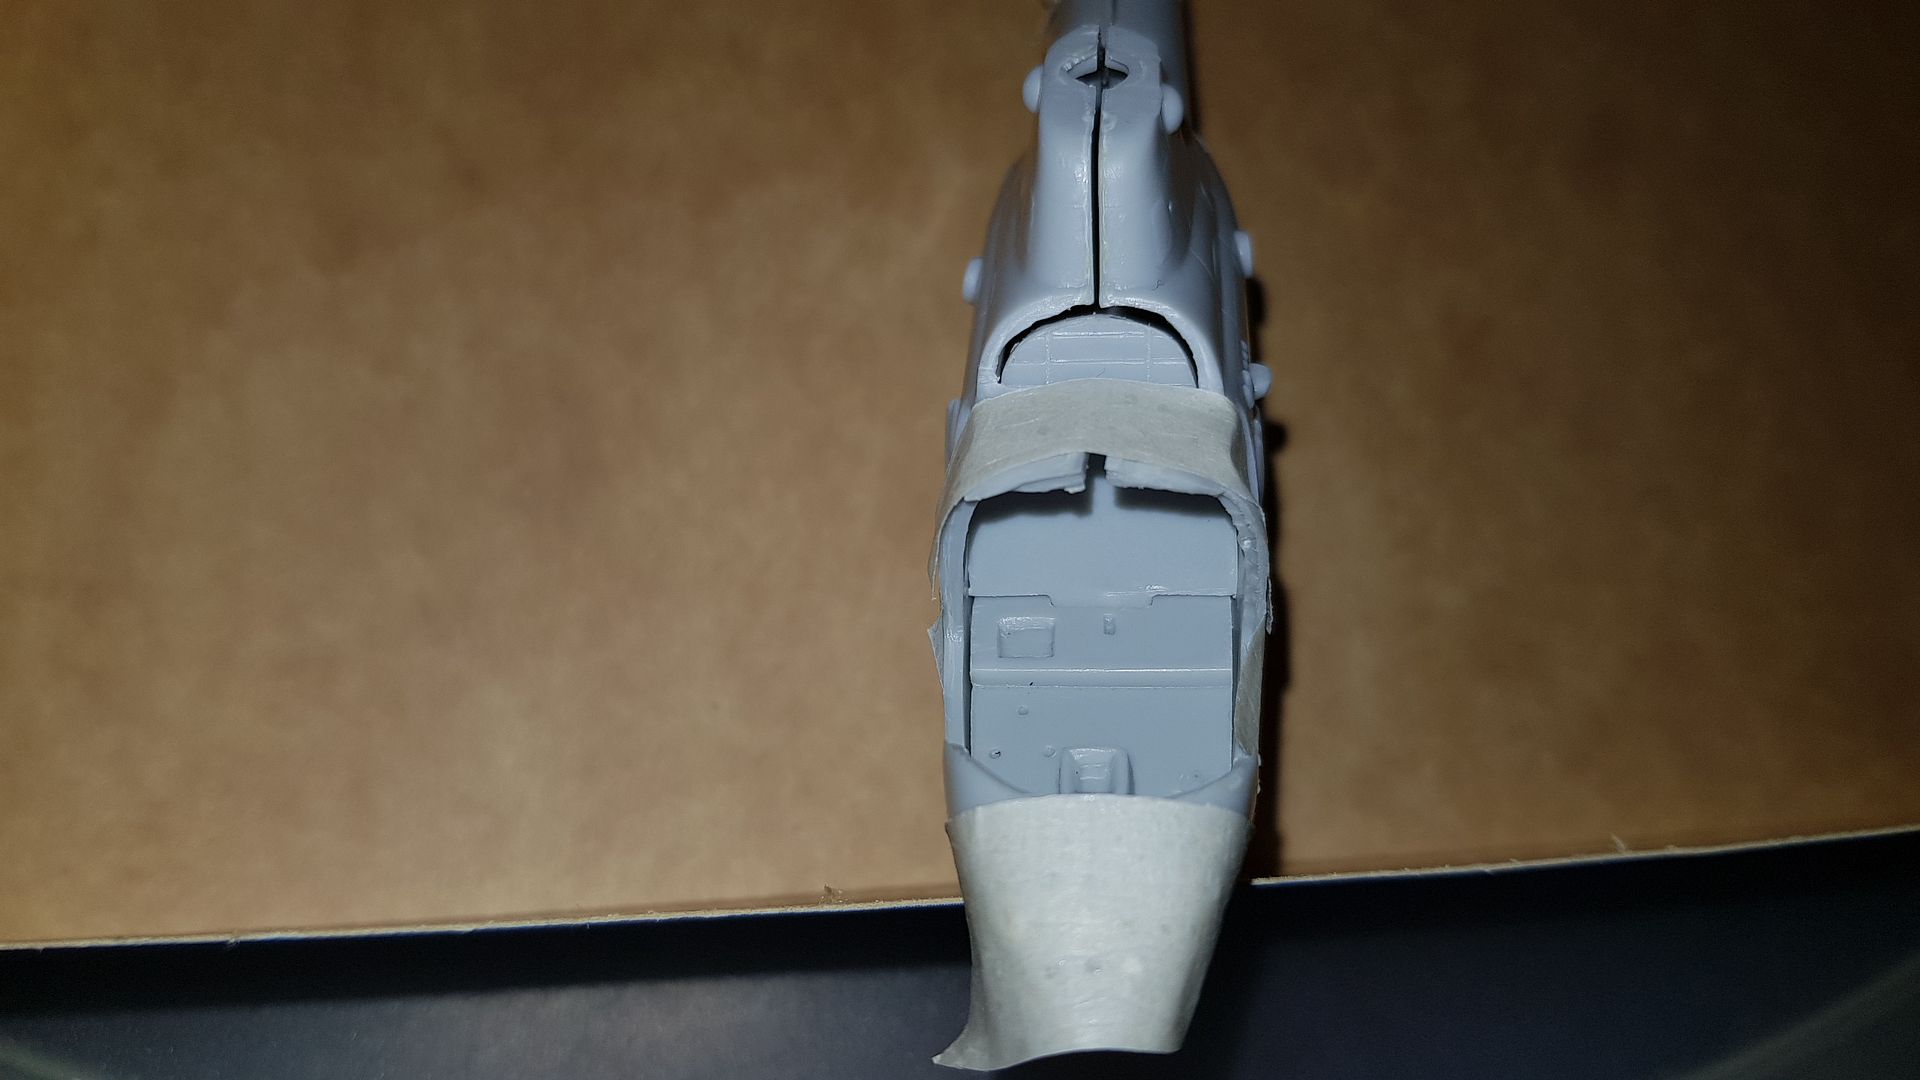
Looks like there might be some slight adjustments to make there - are you able to get some plastic sheet or something up behind that bulkhead gap to help with the filling?
In fairness- I've been looking at the instructions for this one for a fews days prior to the build starting

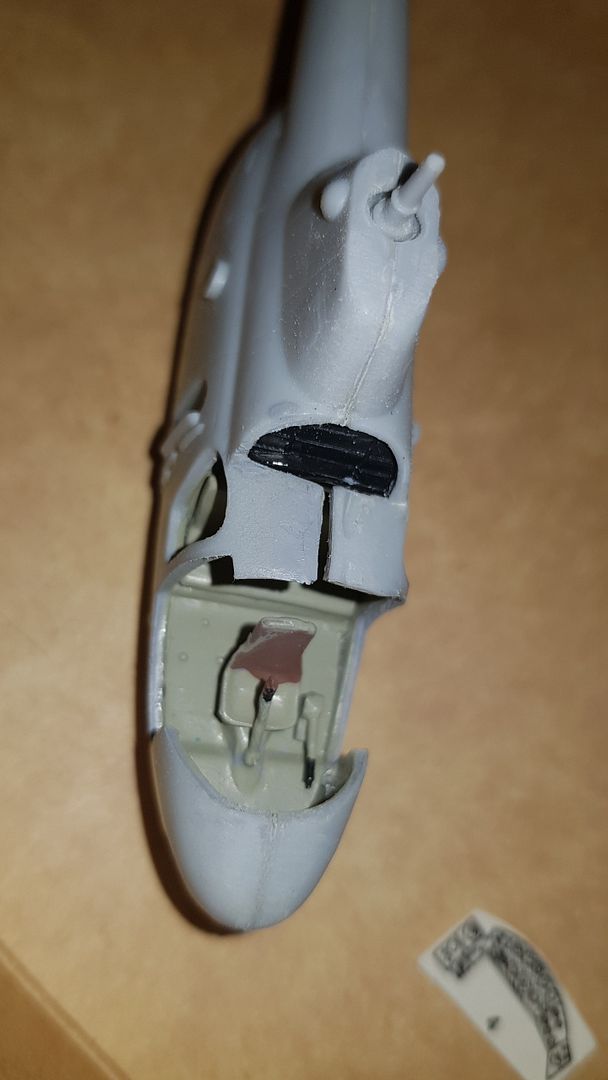
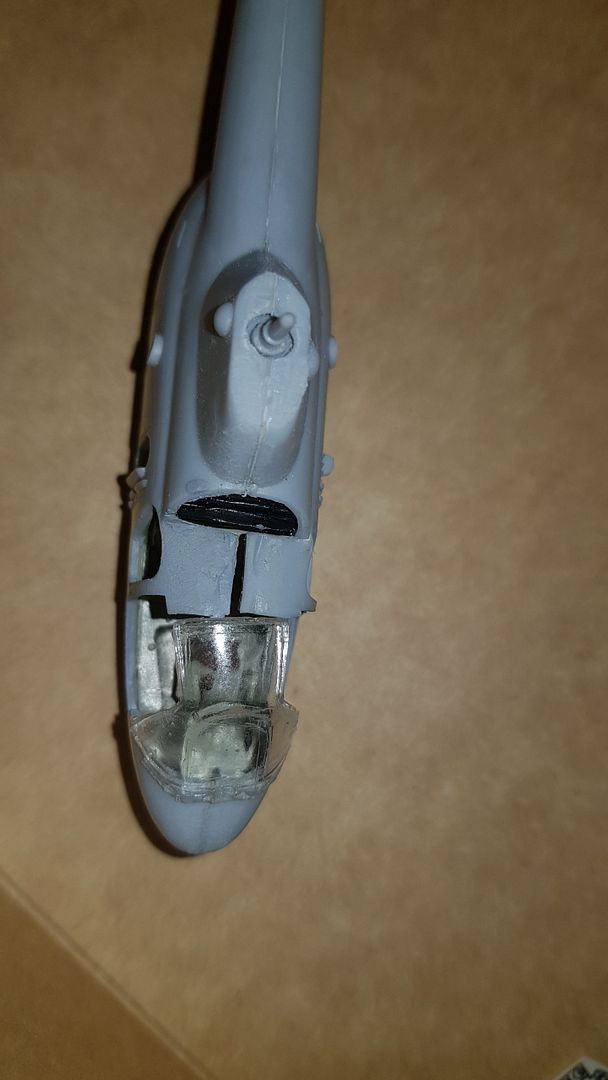
As for the gap - right now I am not sure - thats the best I can say. If you look at the last of the photos below you can see the worst area in front of the rotor pillar.
digger303 wrote: Tue Dec 03, 2019 10:30 am
Your making me cringe with talk of gaps and pieces not coming together...


Such is life...
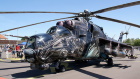
I really, really hope to God the Mi-6, -10 and -12 are a lot better than this one. Otherwise I am in for the mother of all nightmares x 3. Especially the Mi-12 as a chunk of it is fibre-glass.

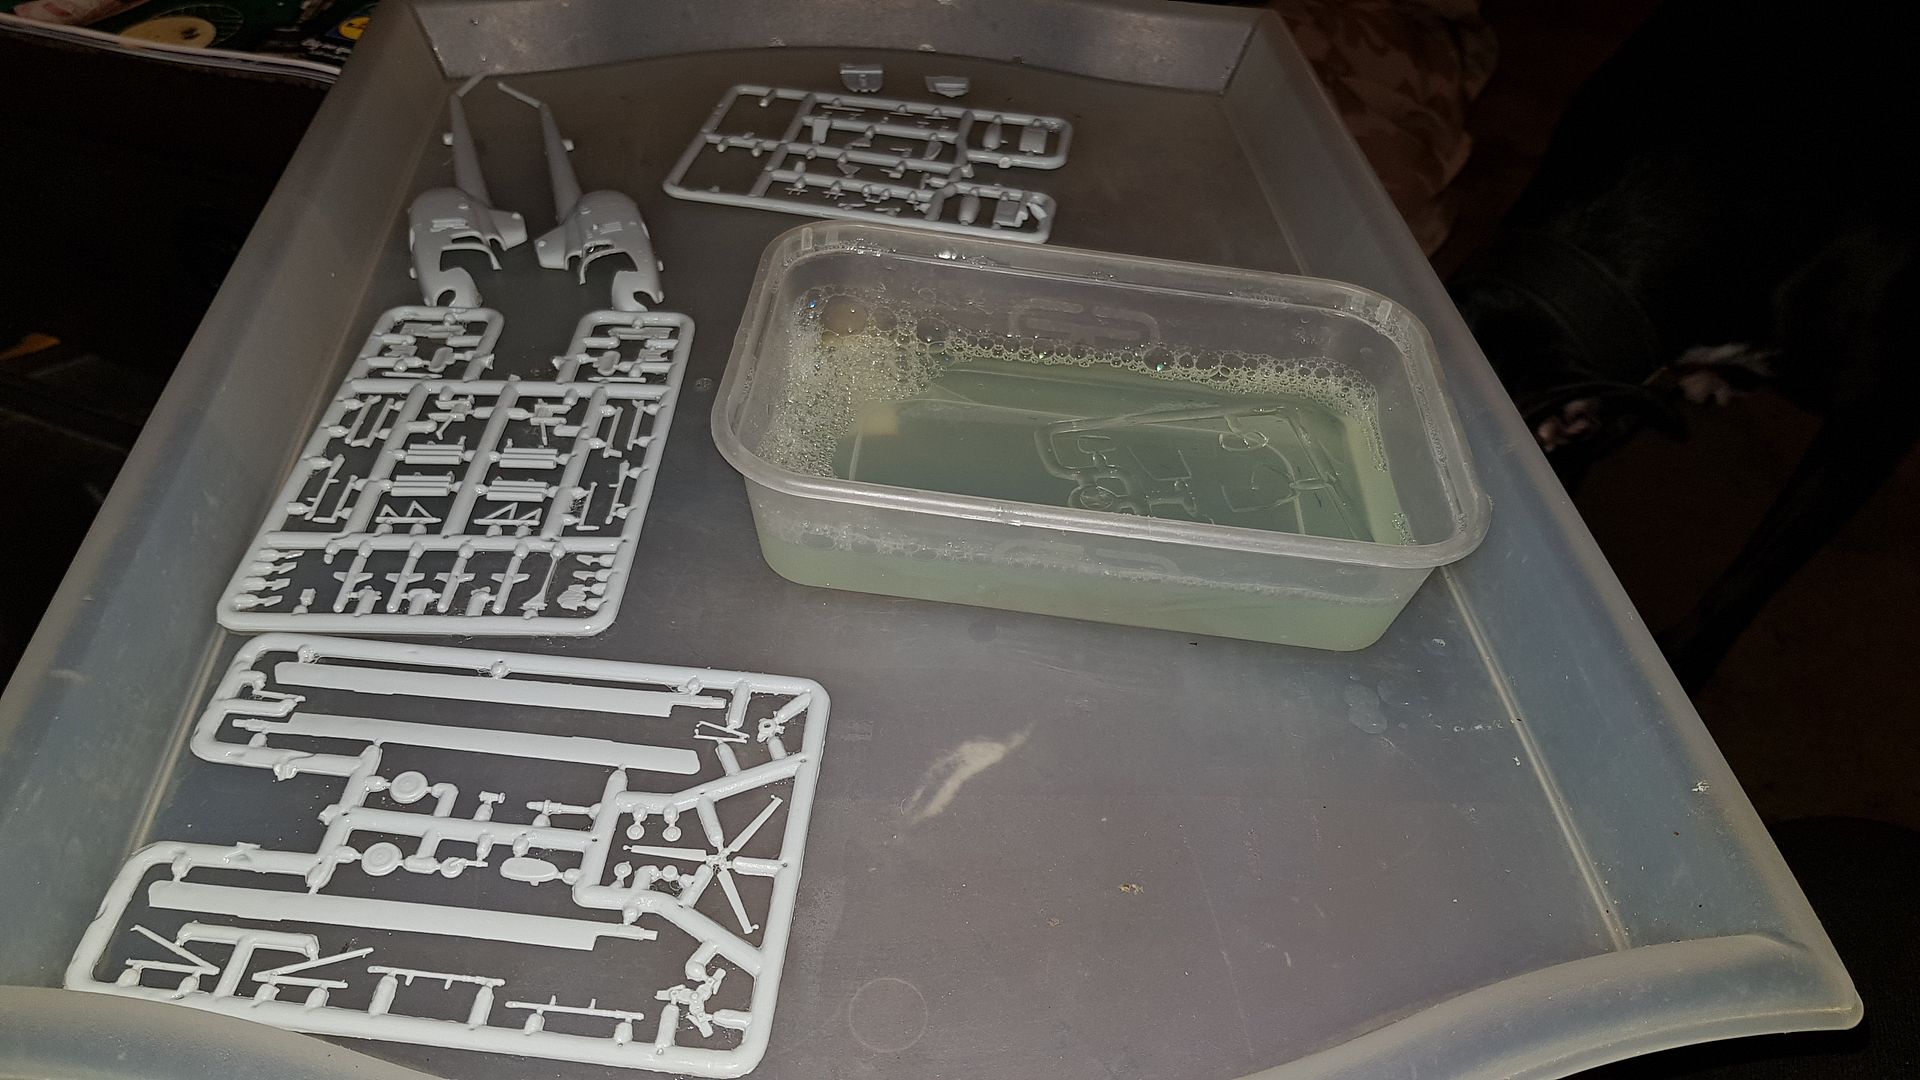
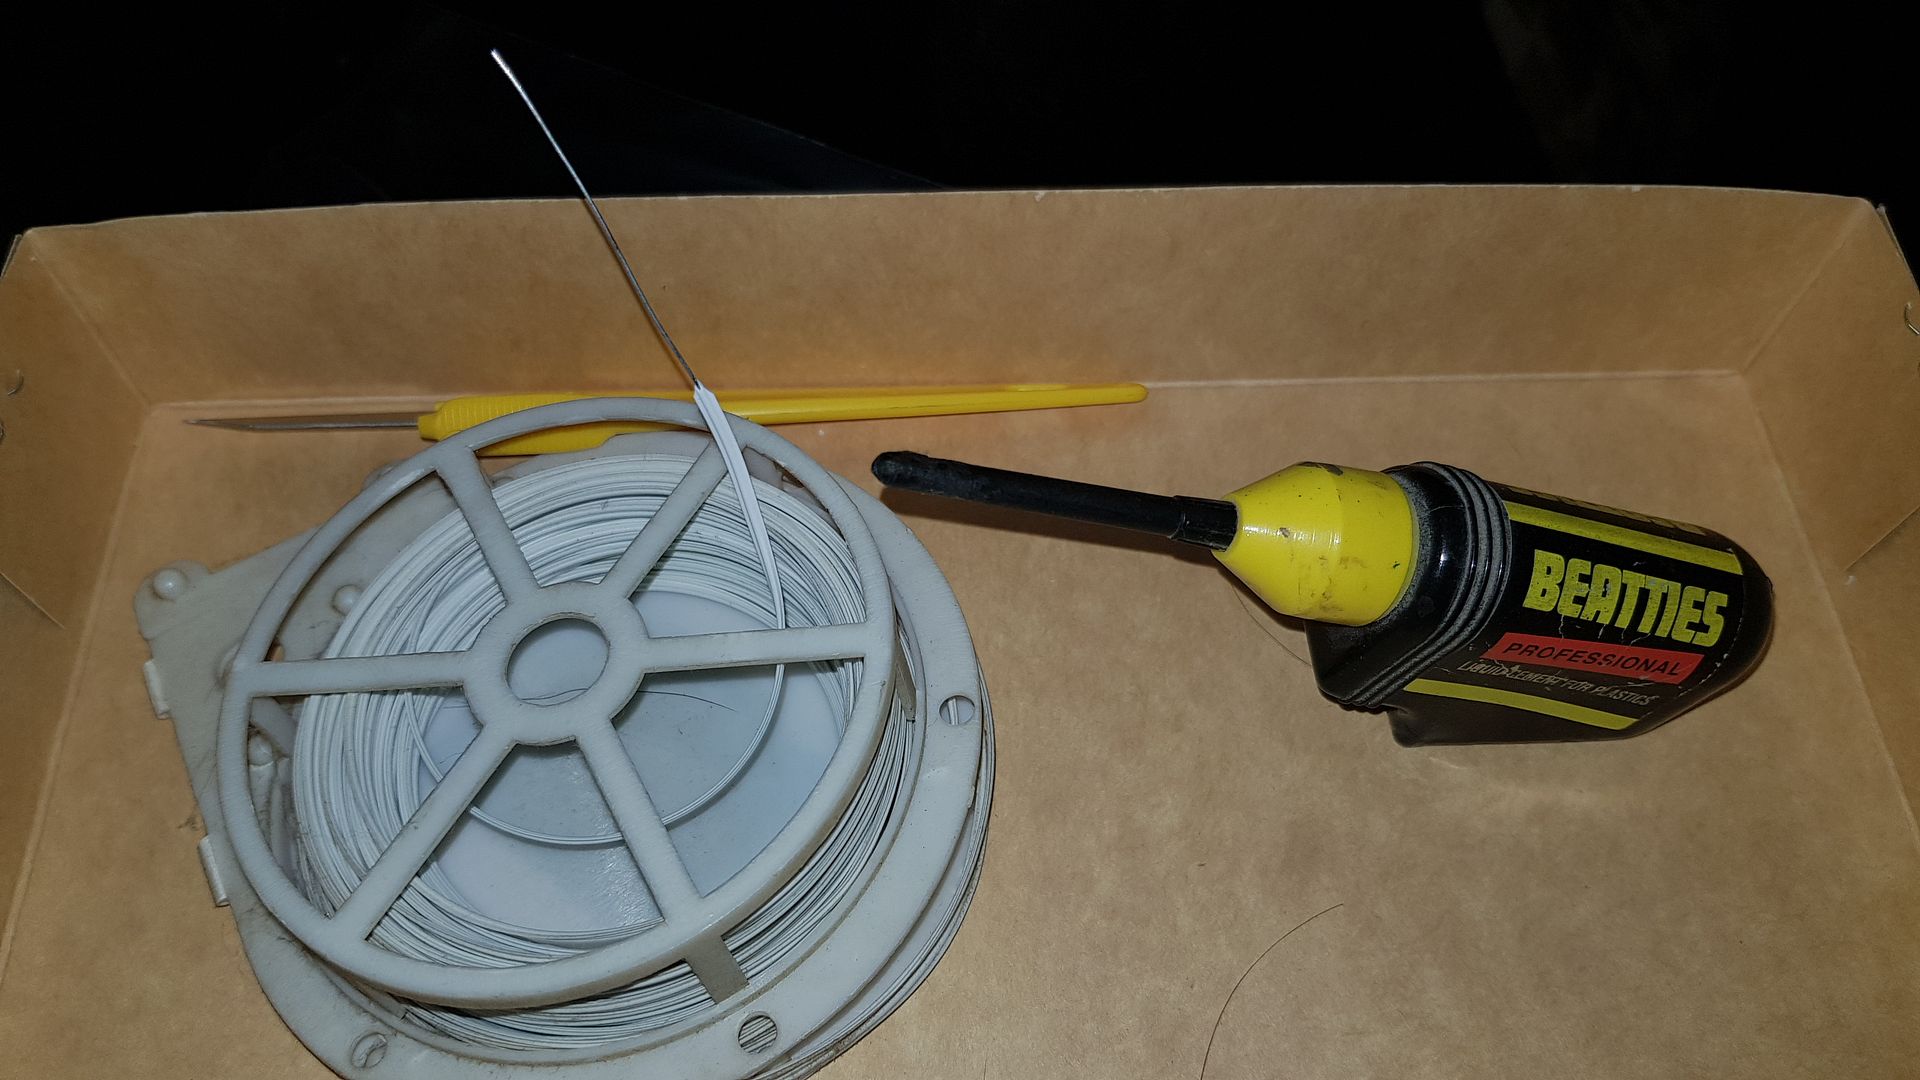
But on to today..... Lost most of the day in "discussions" with the Post Office over the contents of a package that contained paint sets but got a bit more done tonight. A major leap forwards - for me - was finding the long-lost bottle of liquid cement! Then finding a high tech way of unblocking the applicator!!
Don't laugh too loud - it worked!!
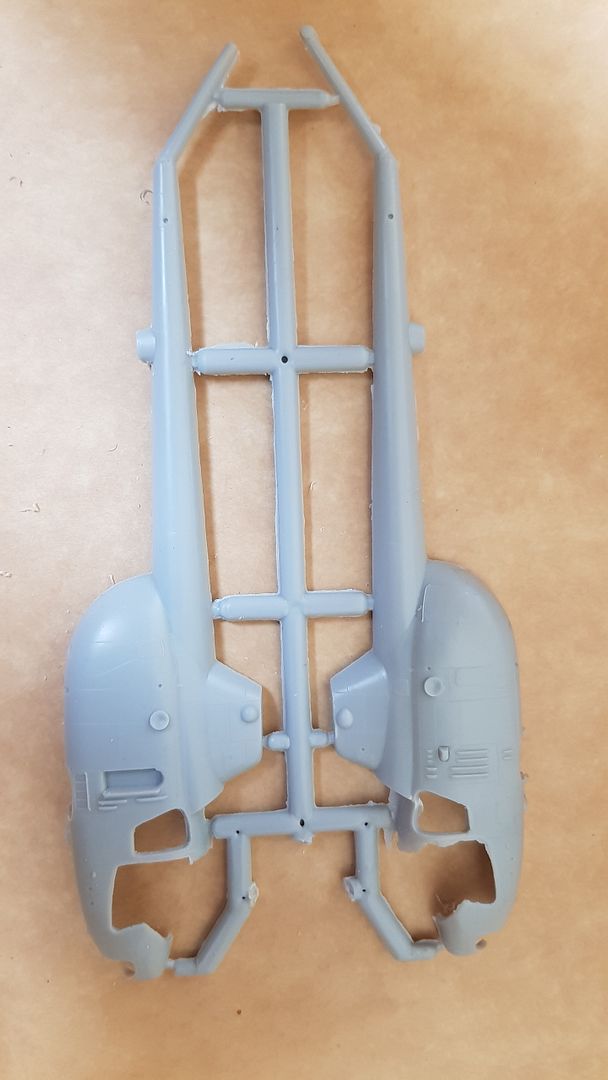
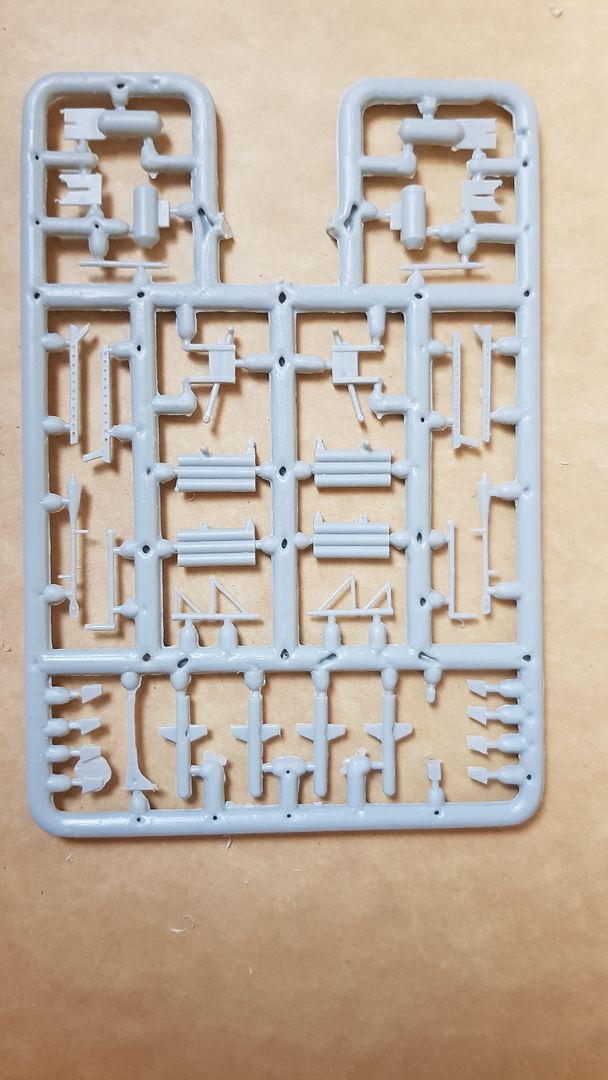
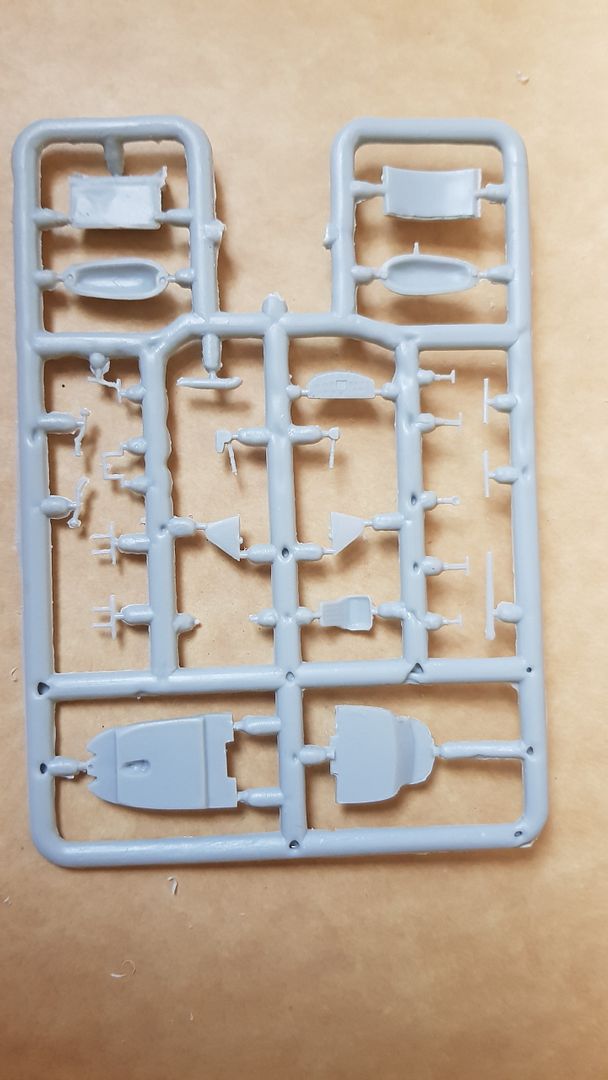
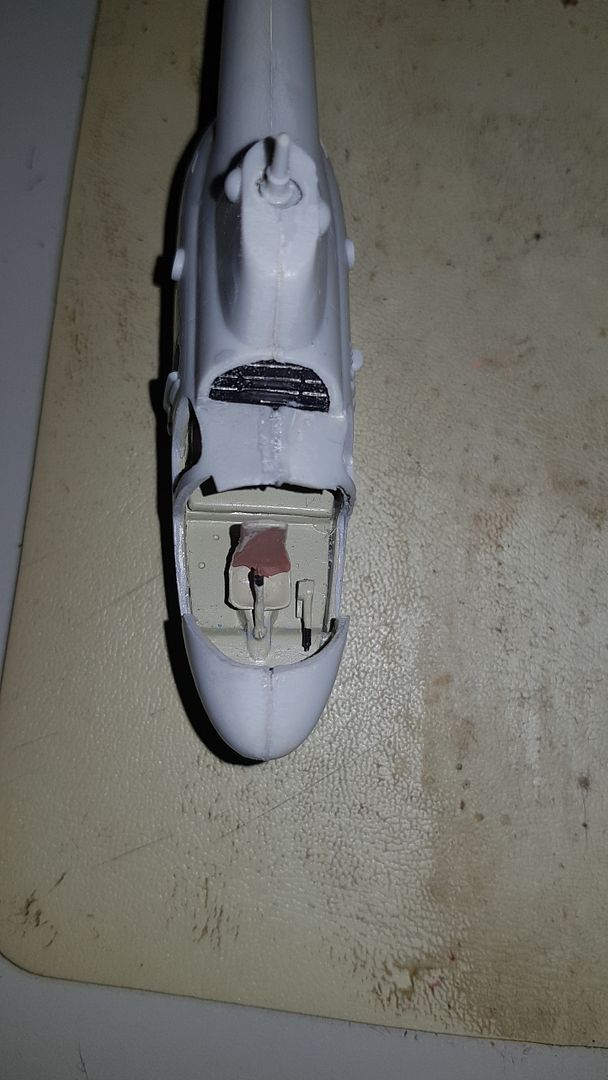
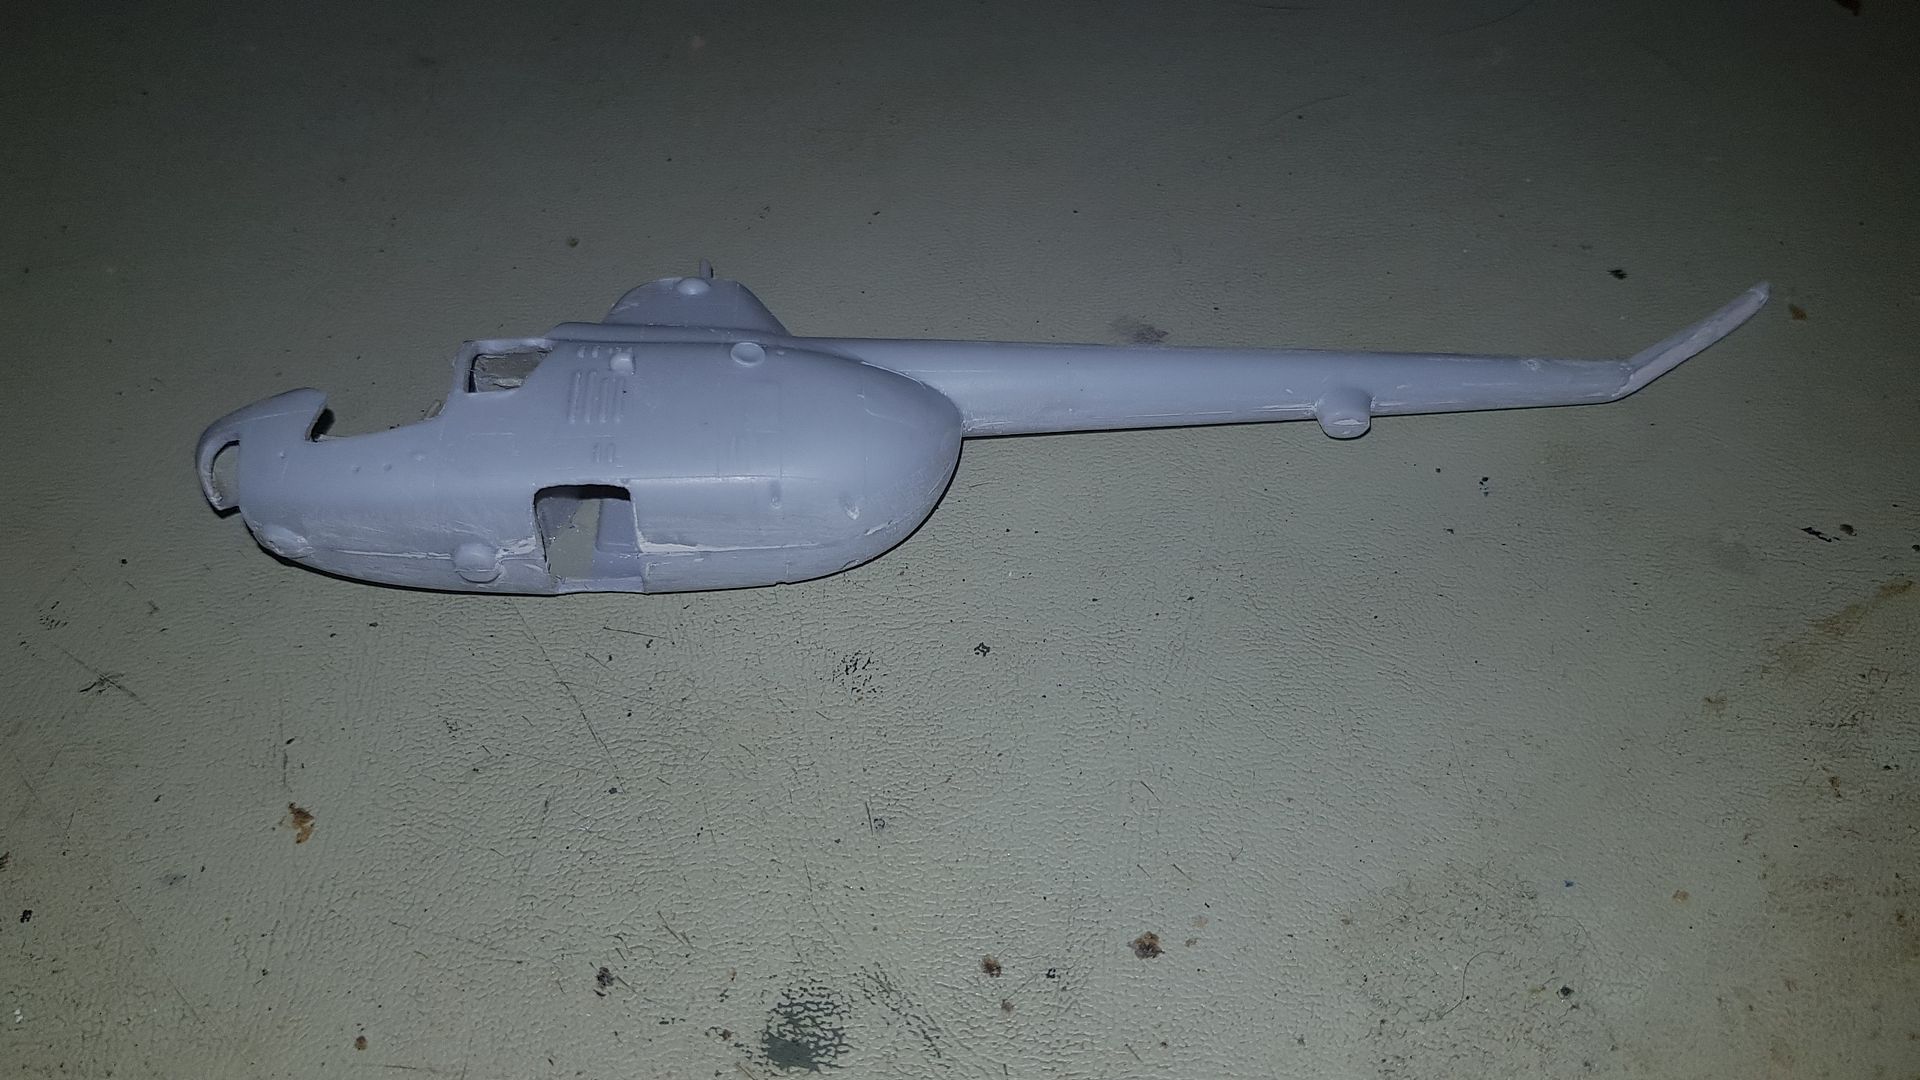
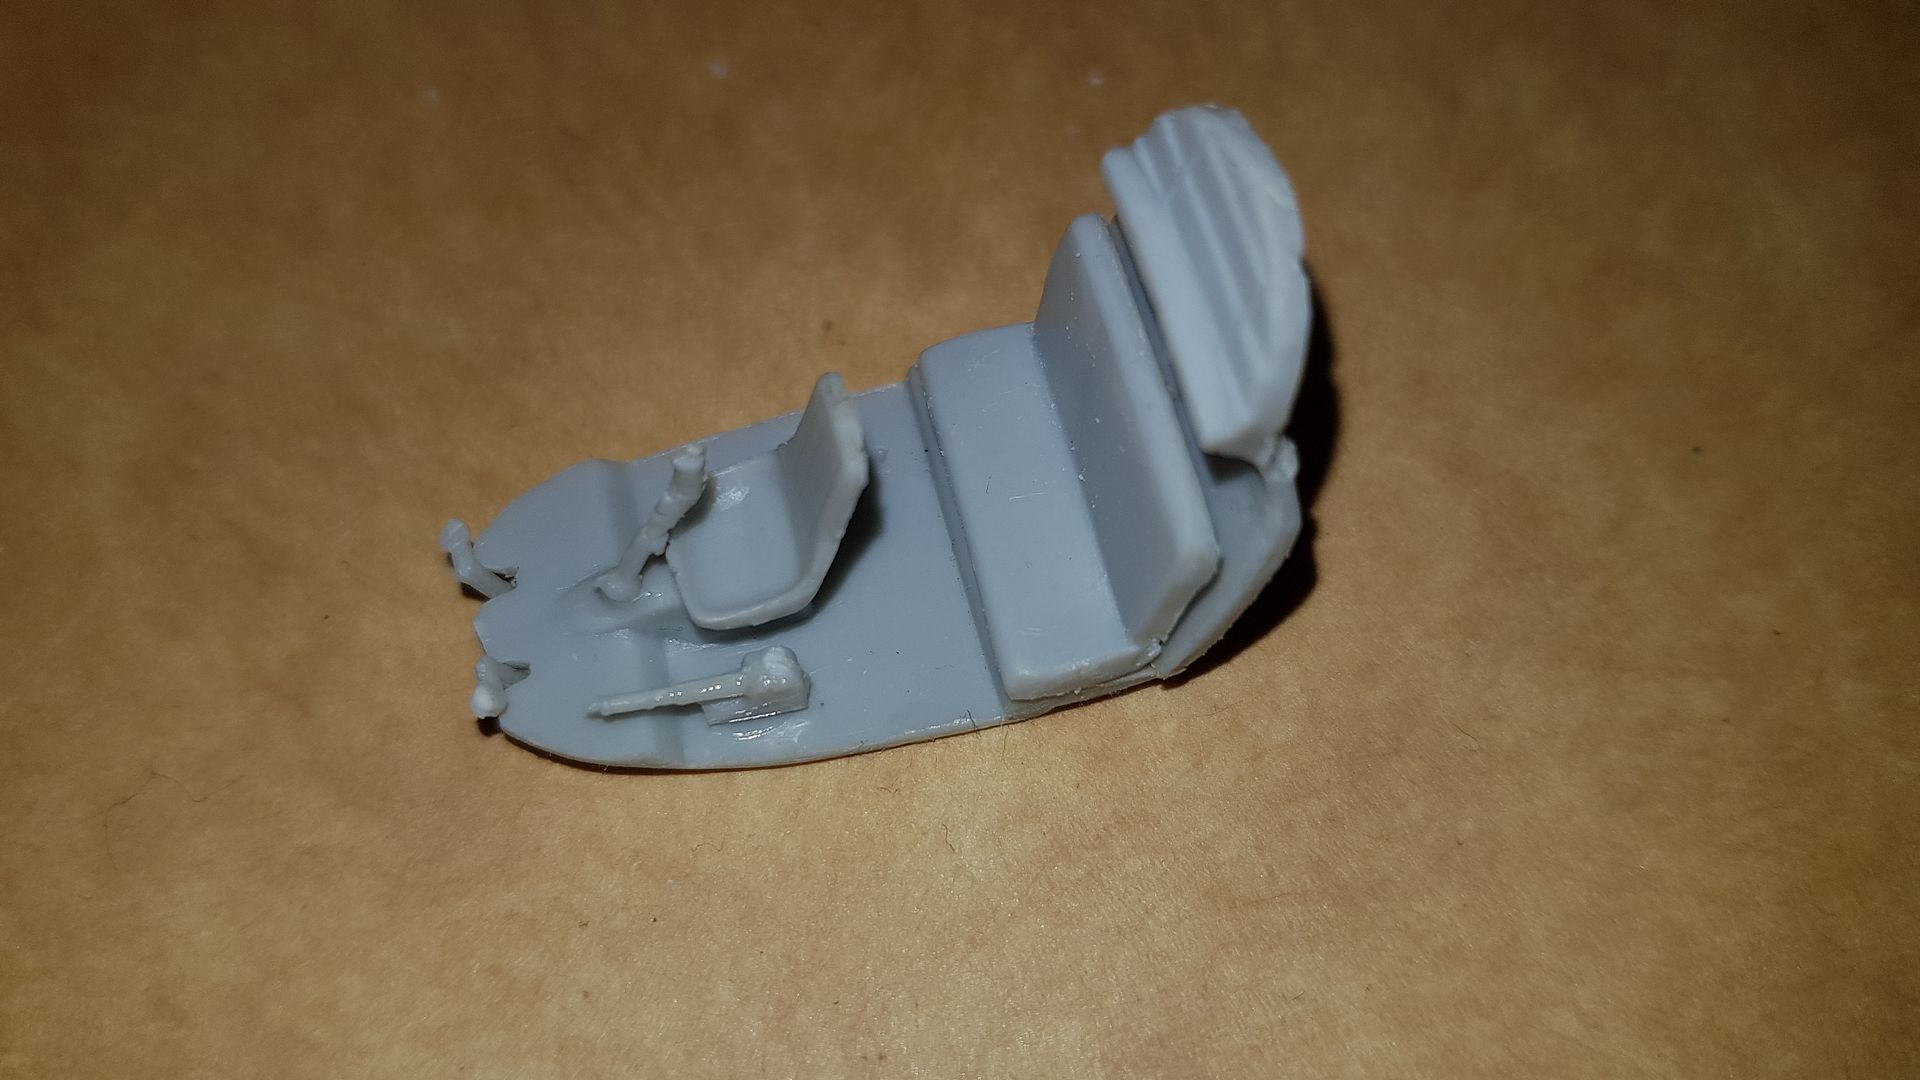
Having done that I moved on to the cockpit assembly stage. The floor and buklhead had liquid cement applied whilst they were held in place between the fuselage halves and this was allowed to set for an hour. The two halves were then seperated and the rest of the cockpit components fitted. Took quite a while as the only thing that fitted straight in was the rudder pedal assembly. Both the front and rear seats needed more of the excess flash removed and the front seat had a square peg beneath it that was meant to locate in a square hole in the cockpit floor. No prizes to the ones who say "bet it didn't"!
Took a bit of careful shaving and carving to get it to fit properly. Rear seat also needed a fair bit of sanding to the base to get it to sit flat on the raised step on the cockpit floor. The collective and control column needed very careful trimming to remove both the flash remnants and the cut-off points from where they were attached to the sprue. I am noticing that all the fine parts have VERY thick attachment points compared to, say, Tamiya or Hasegawa or even Trumpeter. However eventually every thing was trimmed and placed. I took the decision to assemble it raw and then paint completely afterwards. I think it was the right move despite not being what I am used to doing. Tomorrow I will give it a coat of primer - if Halfords grey cellose is suitable? - then a couple of coats of the right grey from the AKAN kits. If not then painting will have to wait until I can get a can of Tamiya or similar.
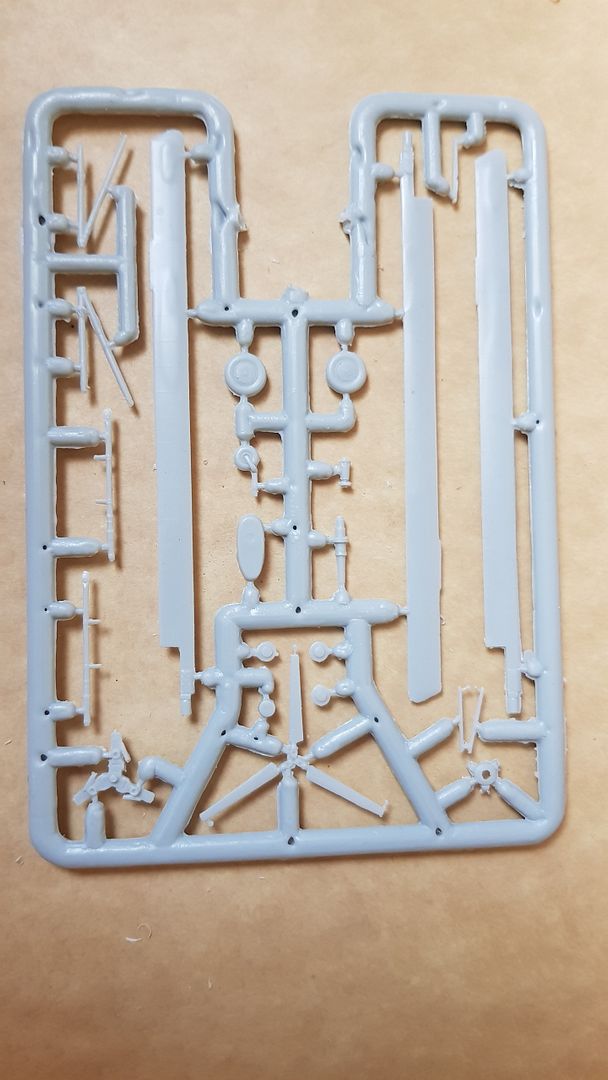
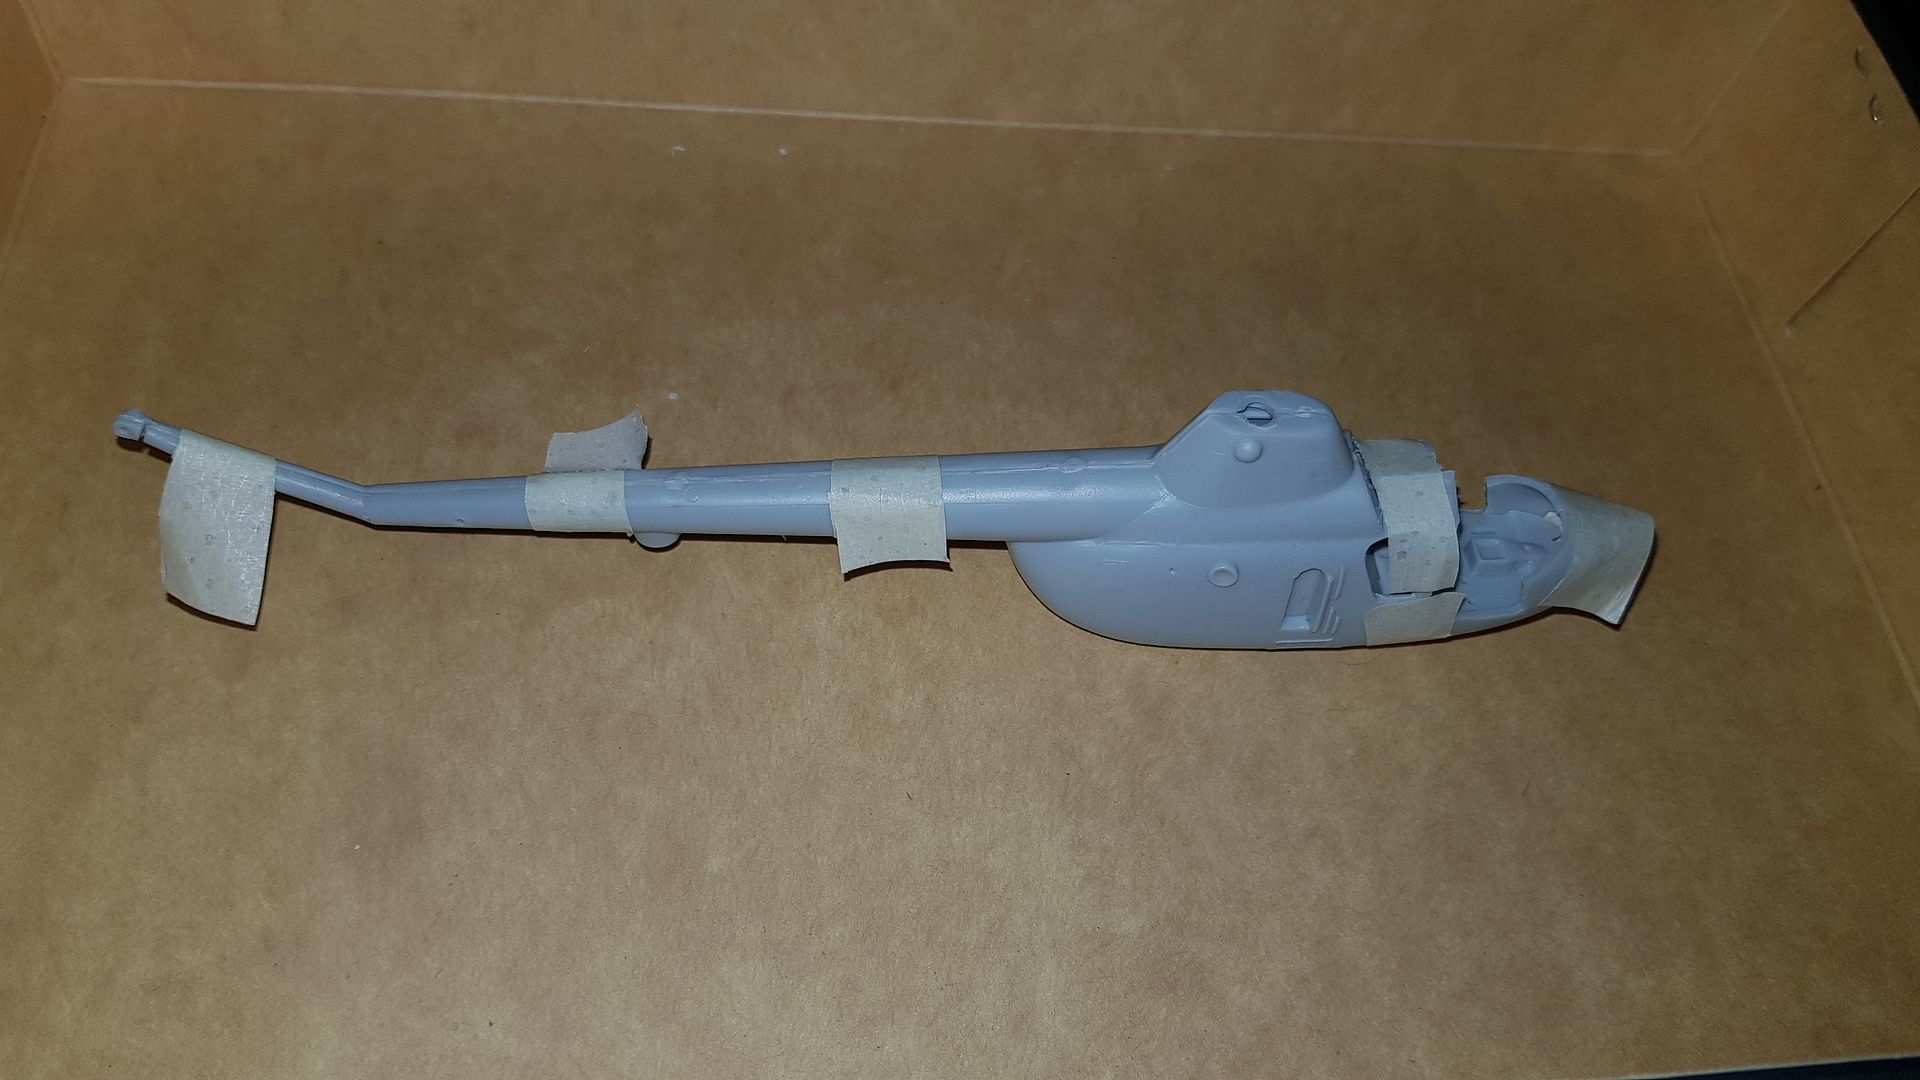
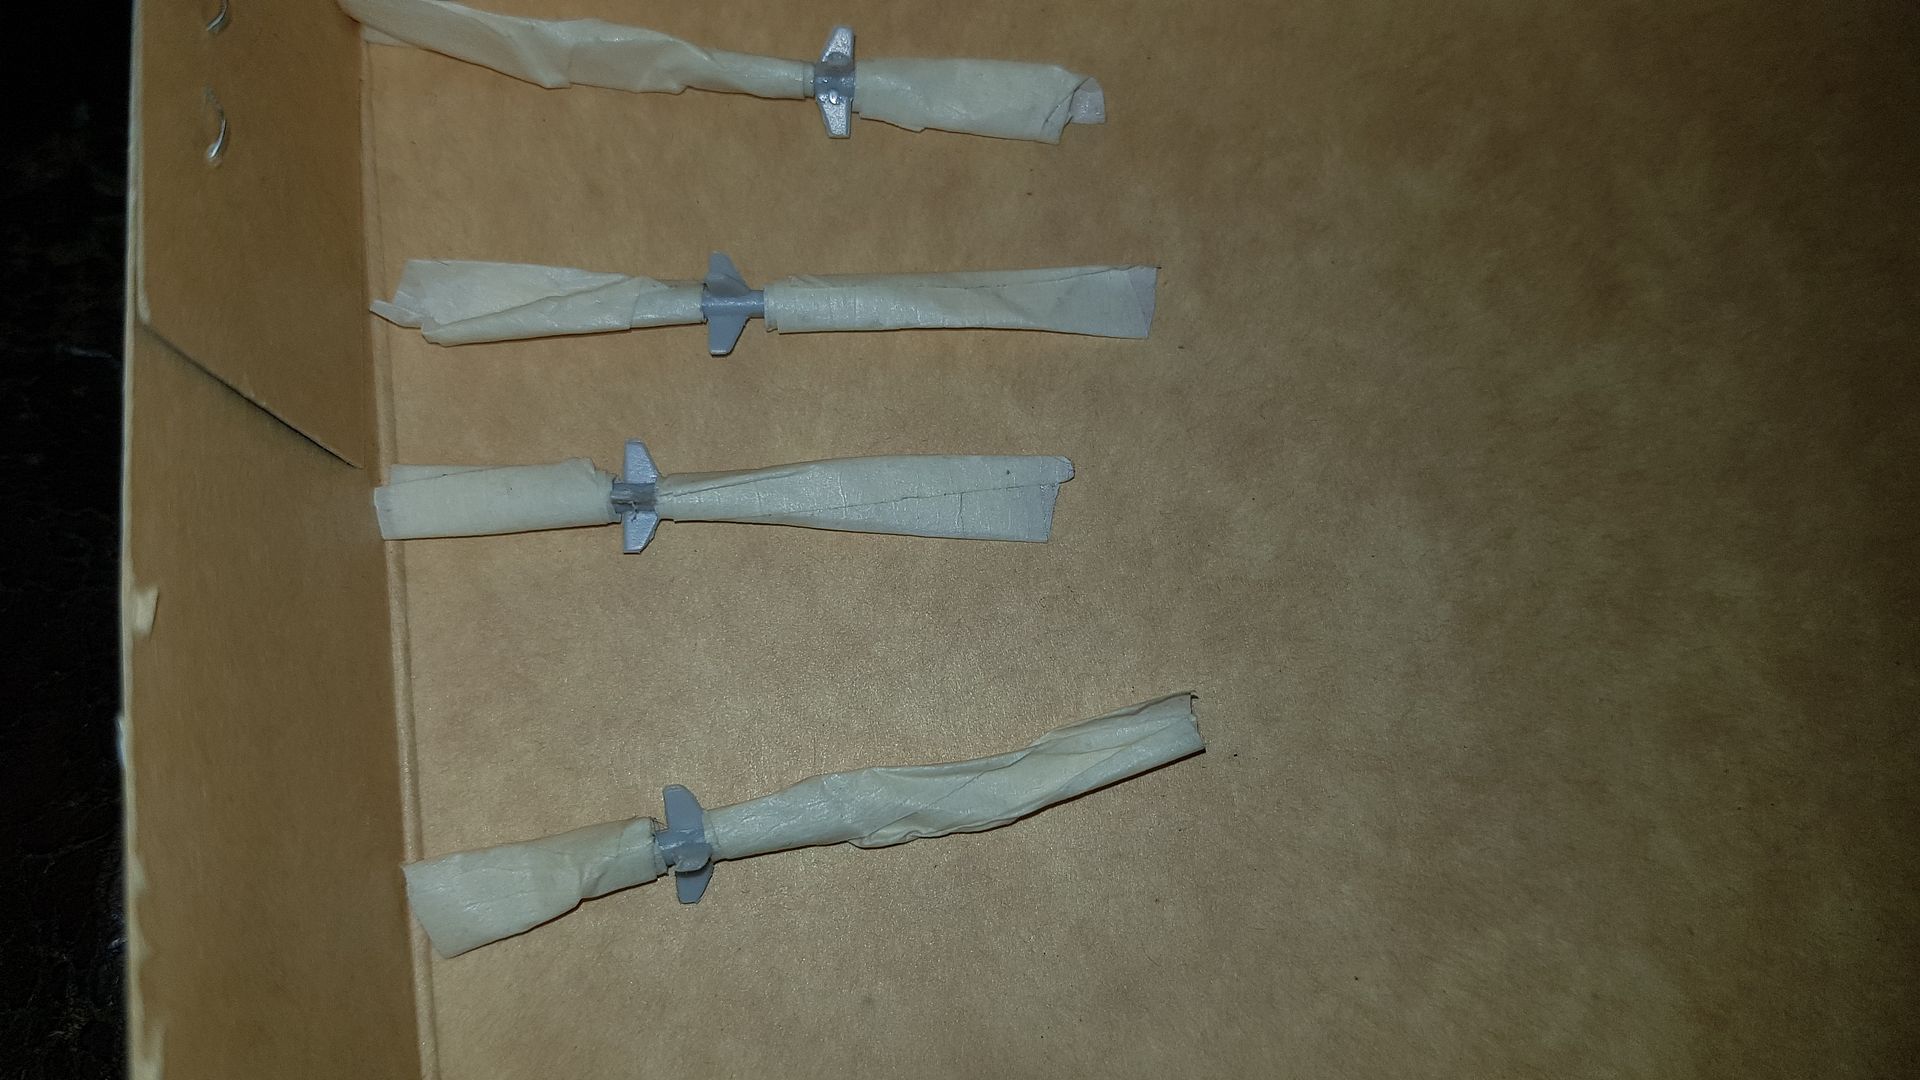
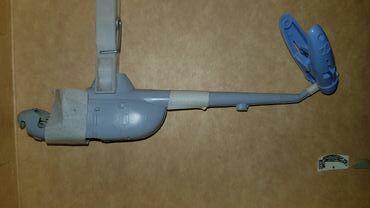
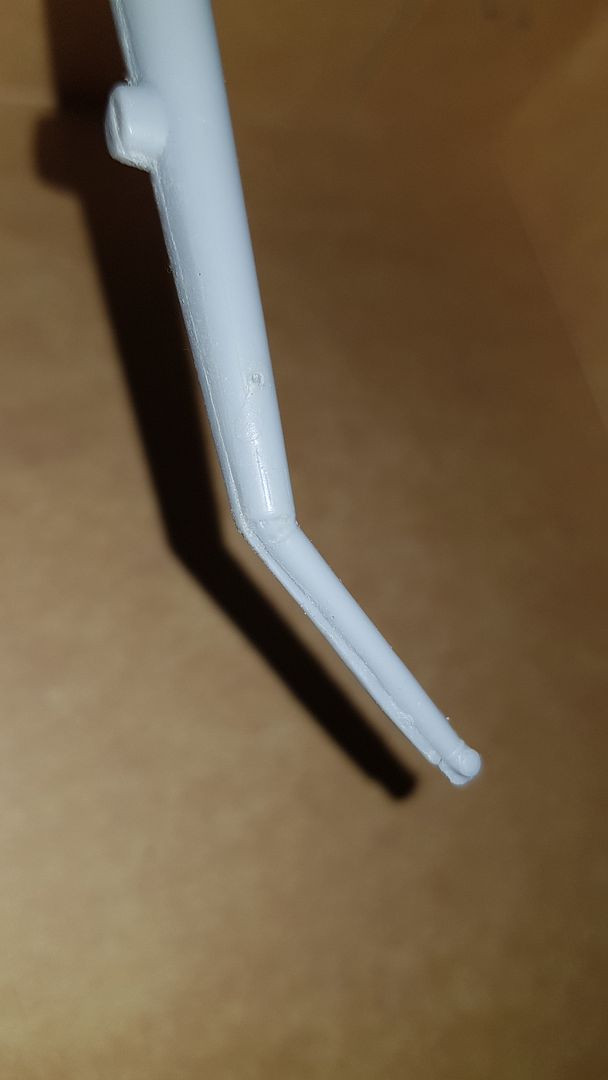
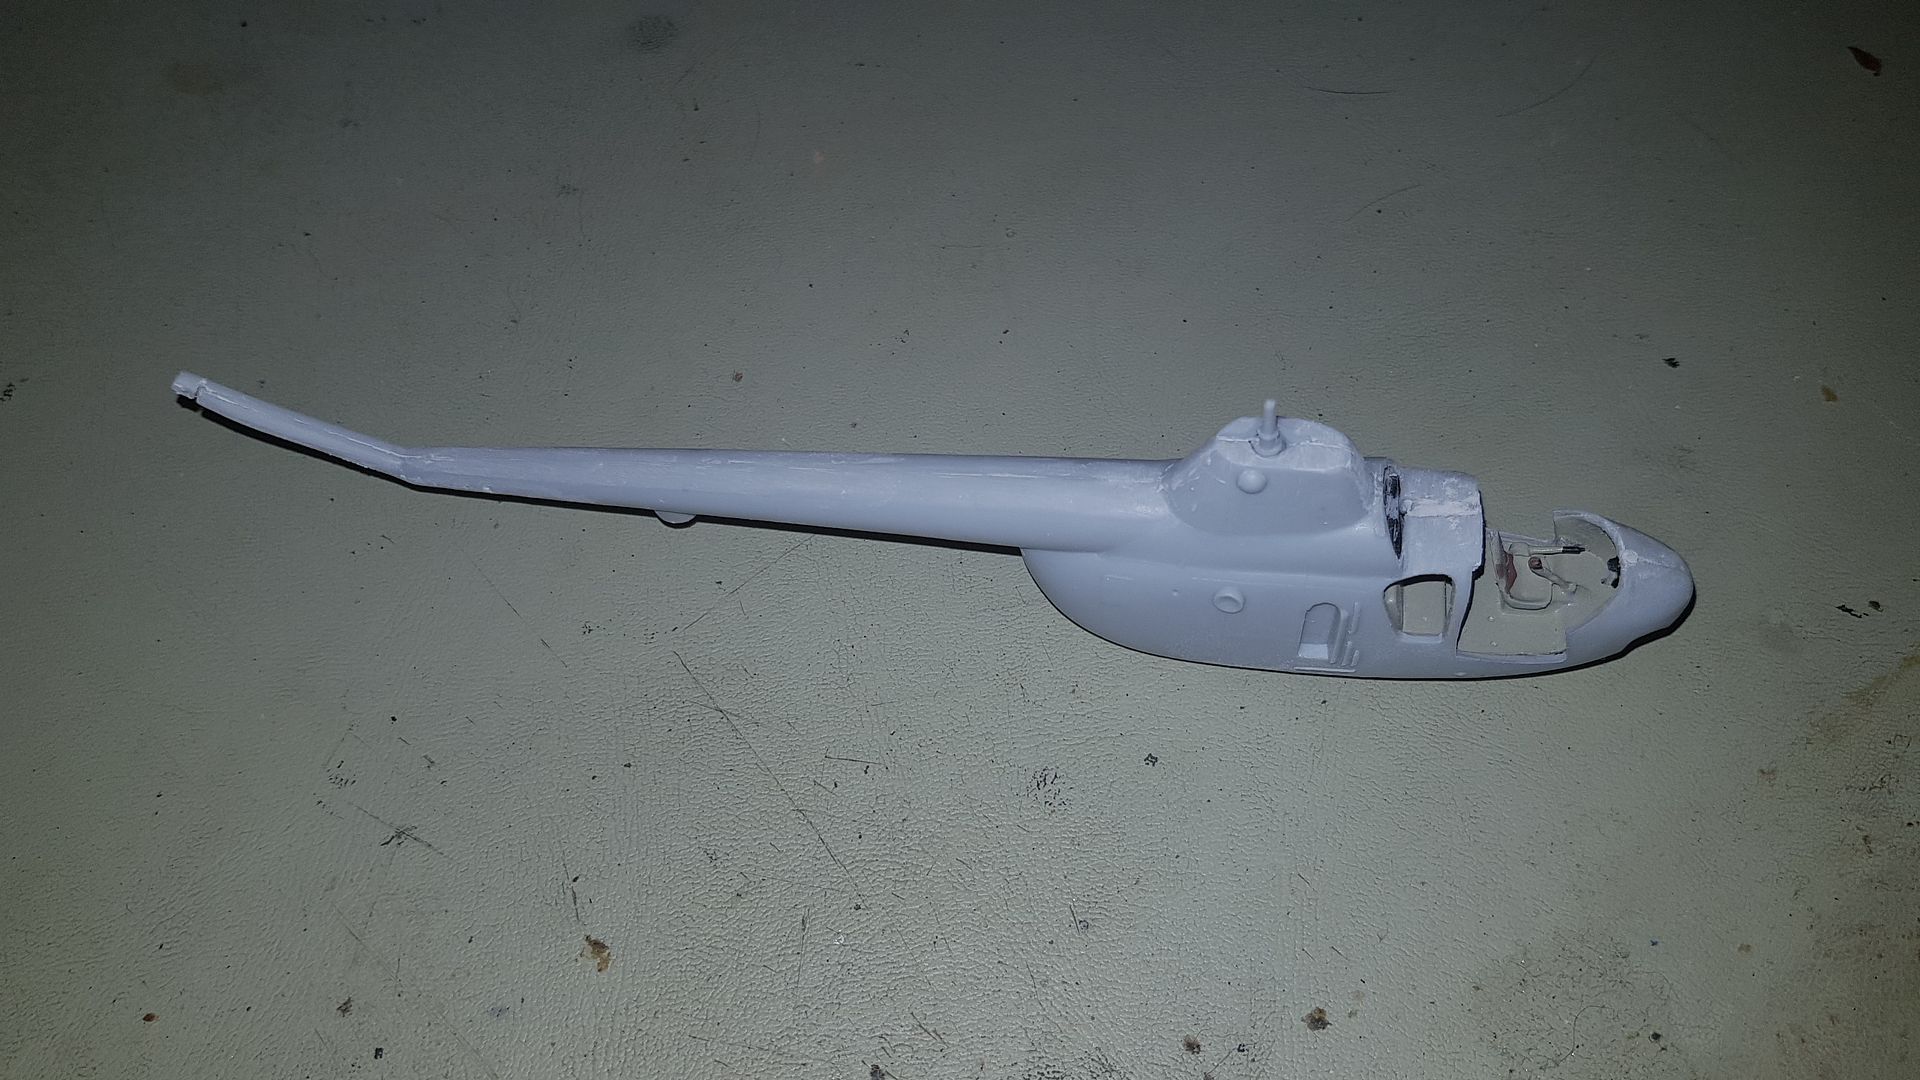
To finish the night off I moved onto the rotor shaft. I can then assemble the fuselage halves once the cockpit is painted. Again a simple operation that turned out a wee bit more complicated than first met the eye. To start with - the captive plate that sits in the rotor pillar looked to have a hole through it - until it was turned over.. The hole did not go all the way through.... So I measured the hole dia where it existed with a set of calipers and put that size drill though. Then looked at the shaft. It was obvious it could only go one way - but in the instructions it was drawn symetrical..... Doh!!!
Took a fit of jiggery pokery to work out which was the right way around which then revealed the hole was actually too small.... So a bit more fine work took place to persuade the shaft to fit throught the hole. The captive piece was then cemented onto the end of the shaft and the plate into one side of the rotor pillar.
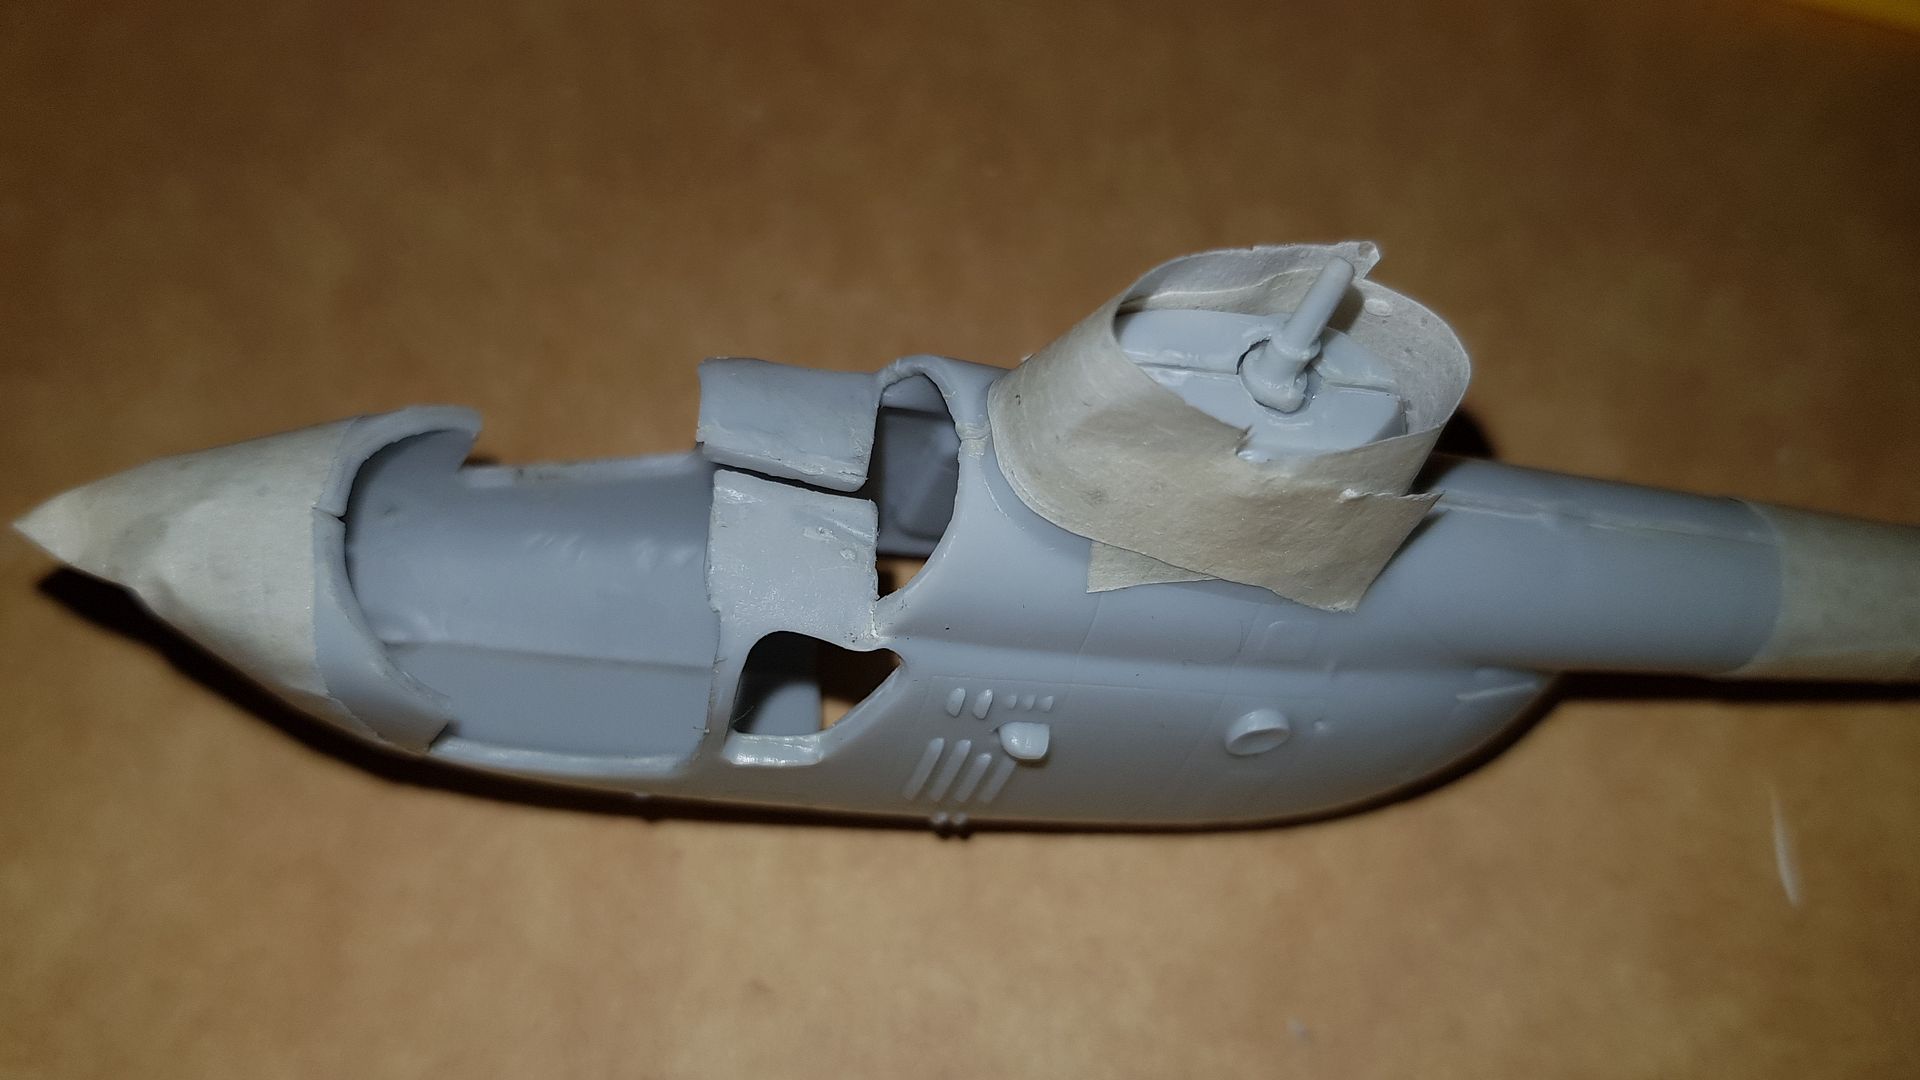
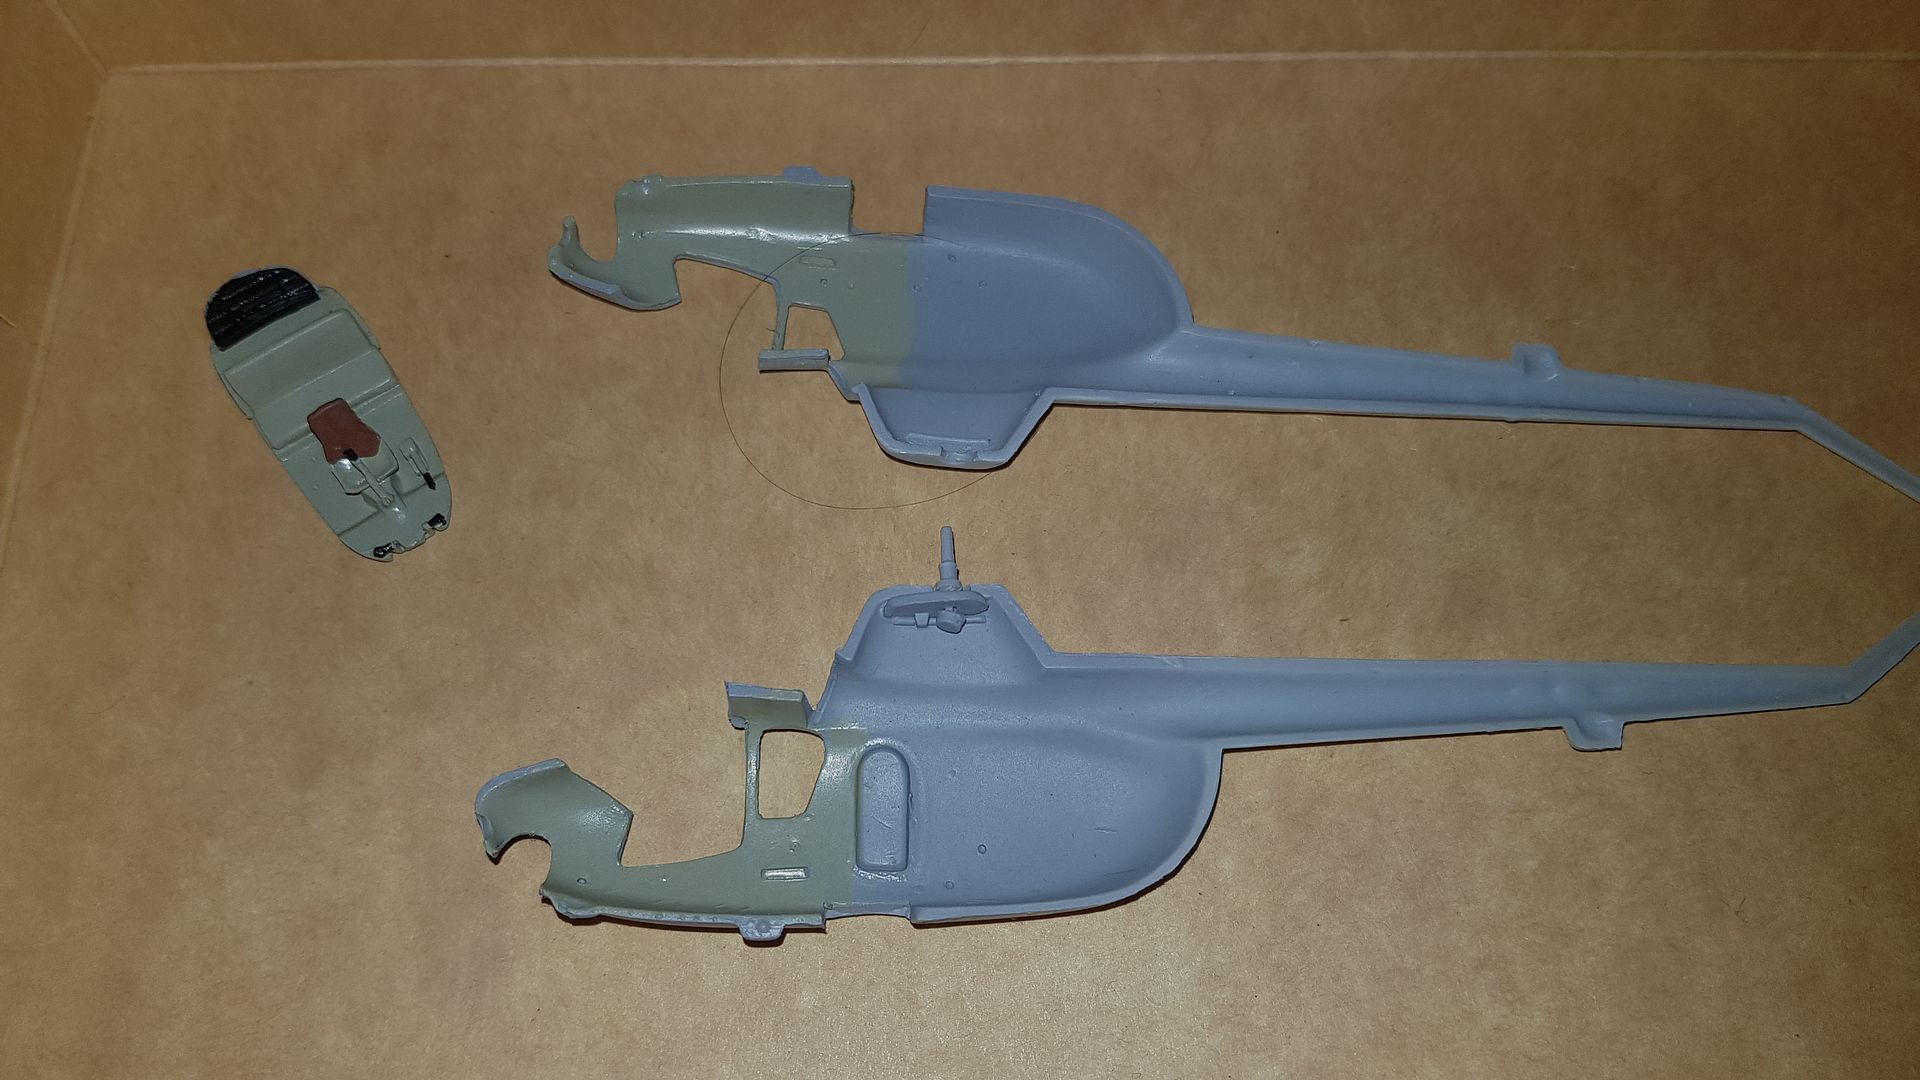
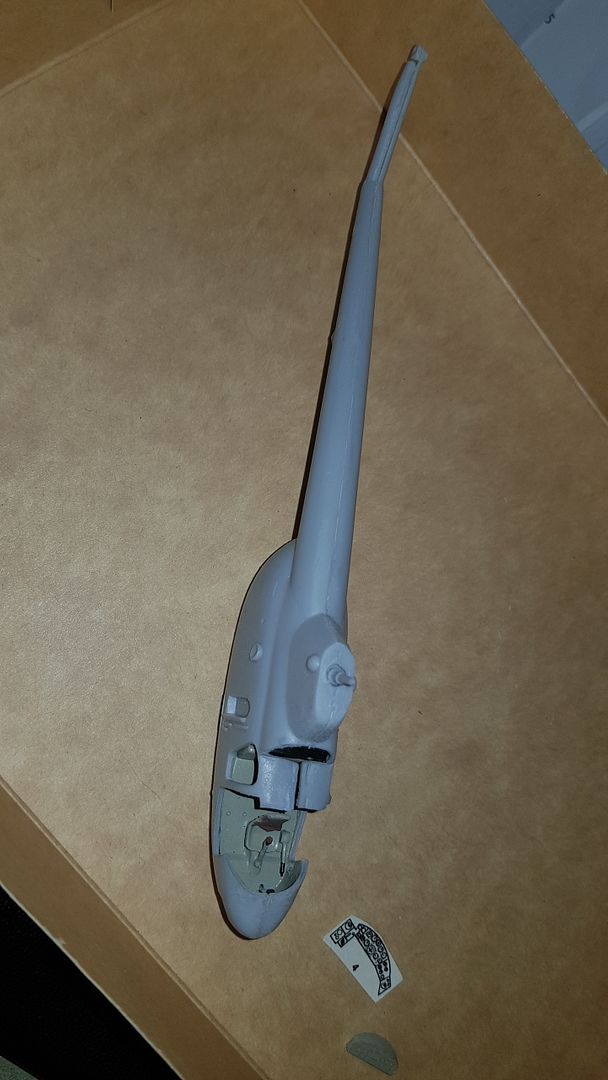
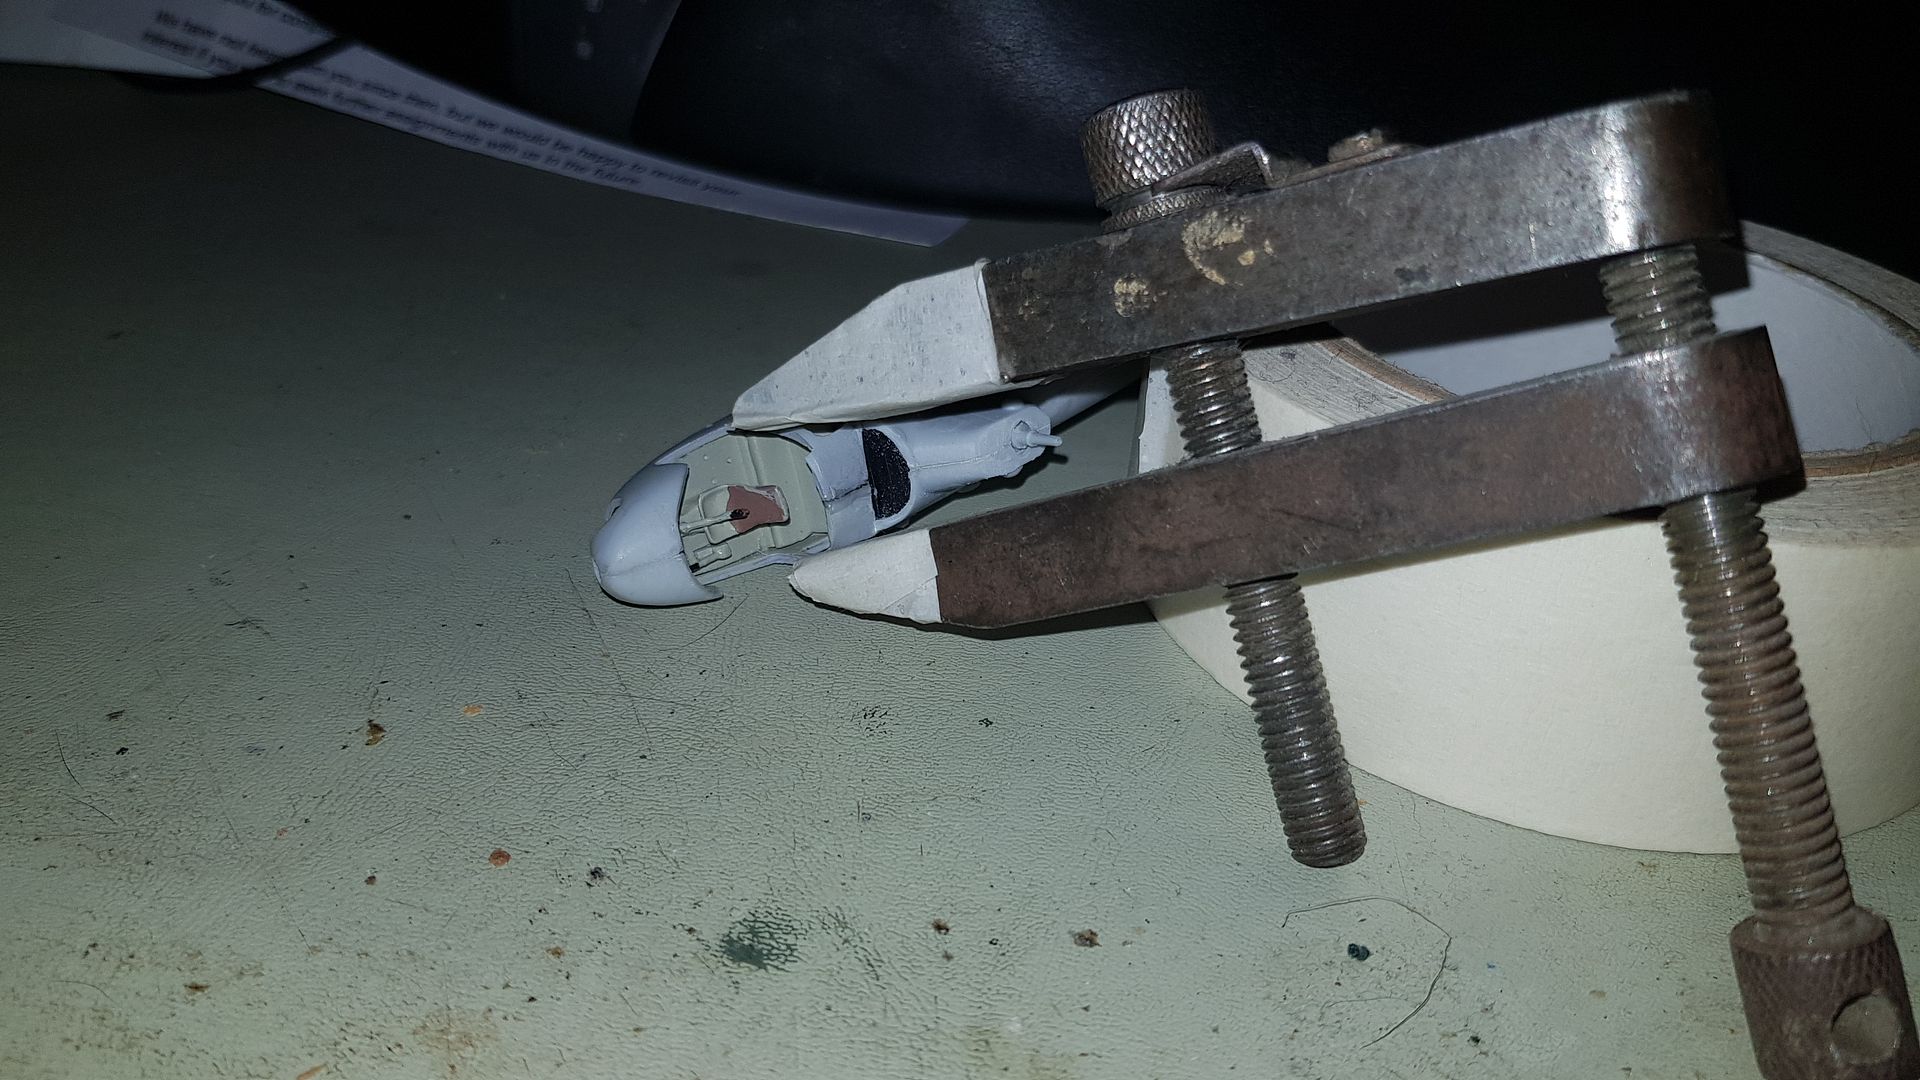
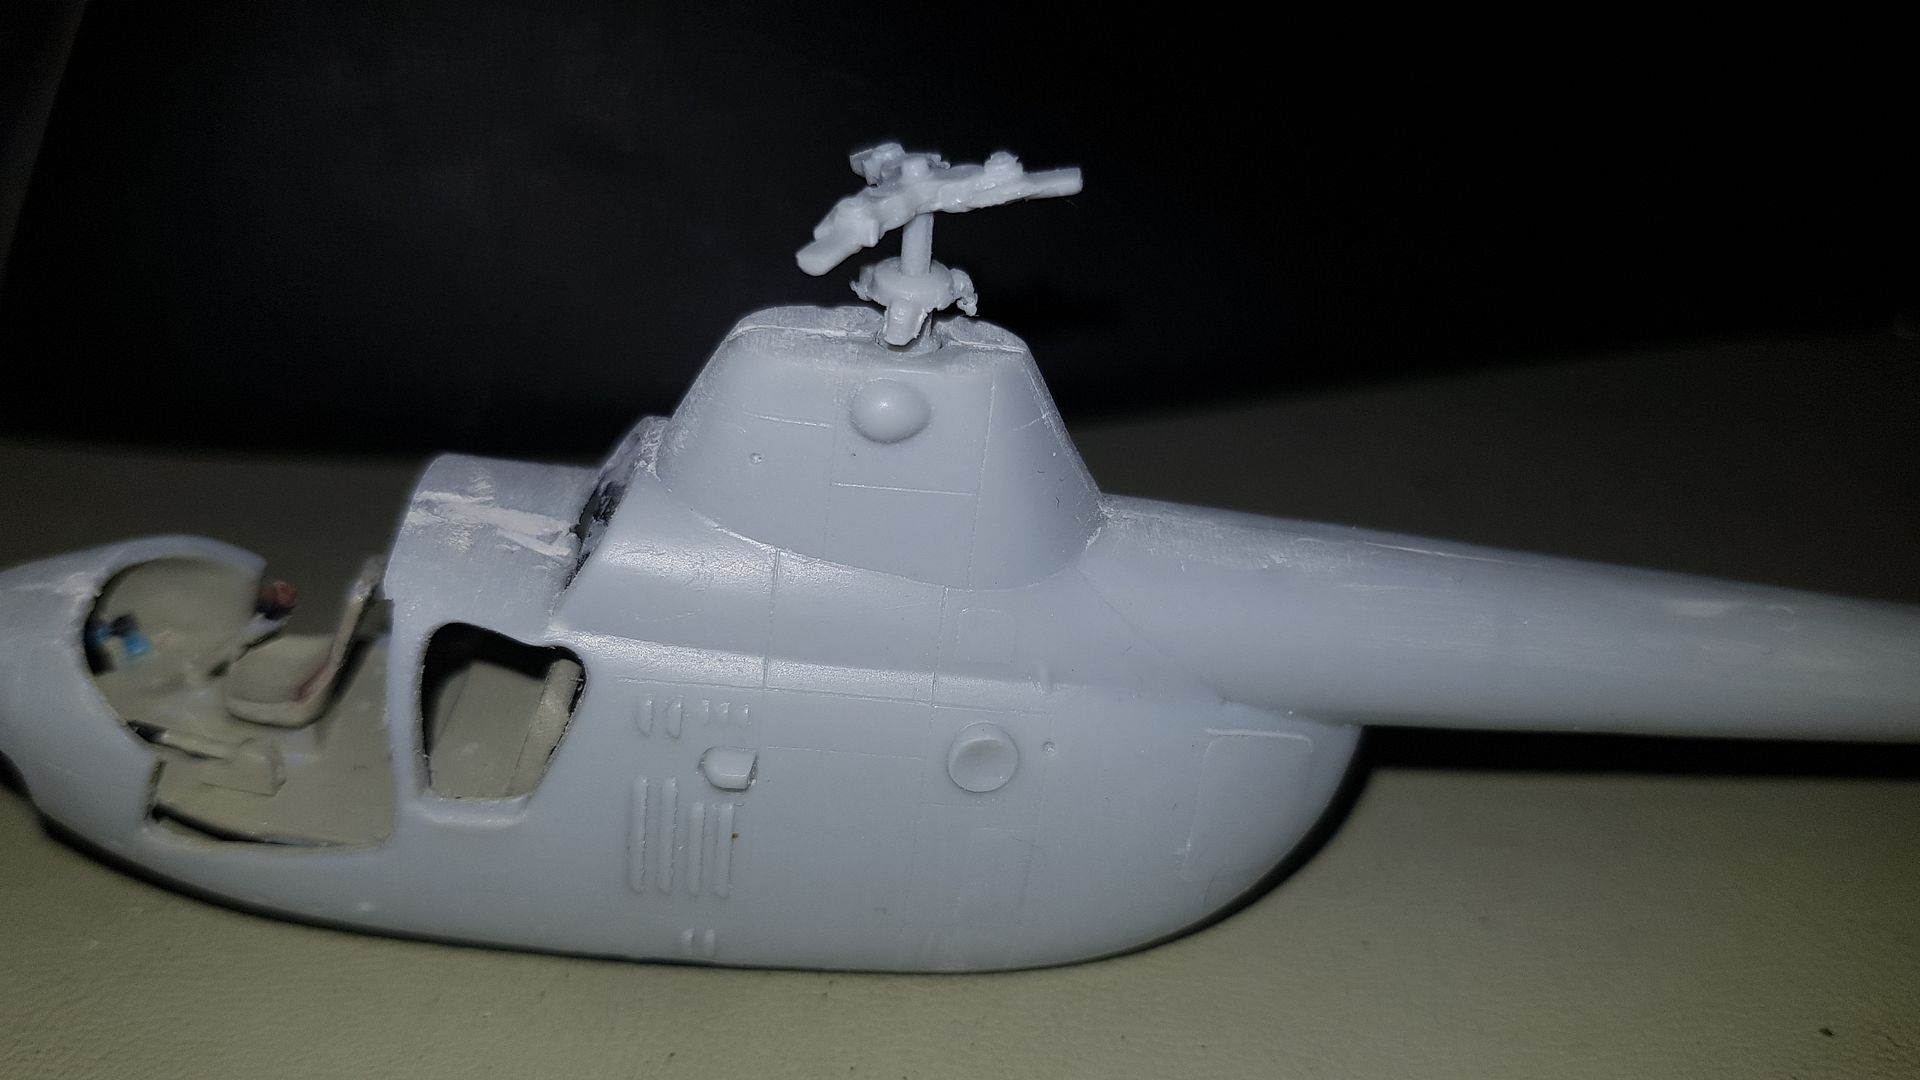
The pillar was not taped tightly in case of cement squeezing out but you can see very plainly in this shot the gap in the cockpit roof... I am thinking - going by the front edge - that its not a case of shrinkage but one of the pieces is slightly warped so once everything is ready for the fueselage halves to be permanently joined a good clamp will correct this. I want to verify this by dry-fitting the cockpit glazing once the fuselage is ready to be tightly taped up. It should be interesting.