digger303 wrote: Thu Oct 26, 2023 11:56 am
RangerNeil wrote: Thu Oct 26, 2023 11:19 am
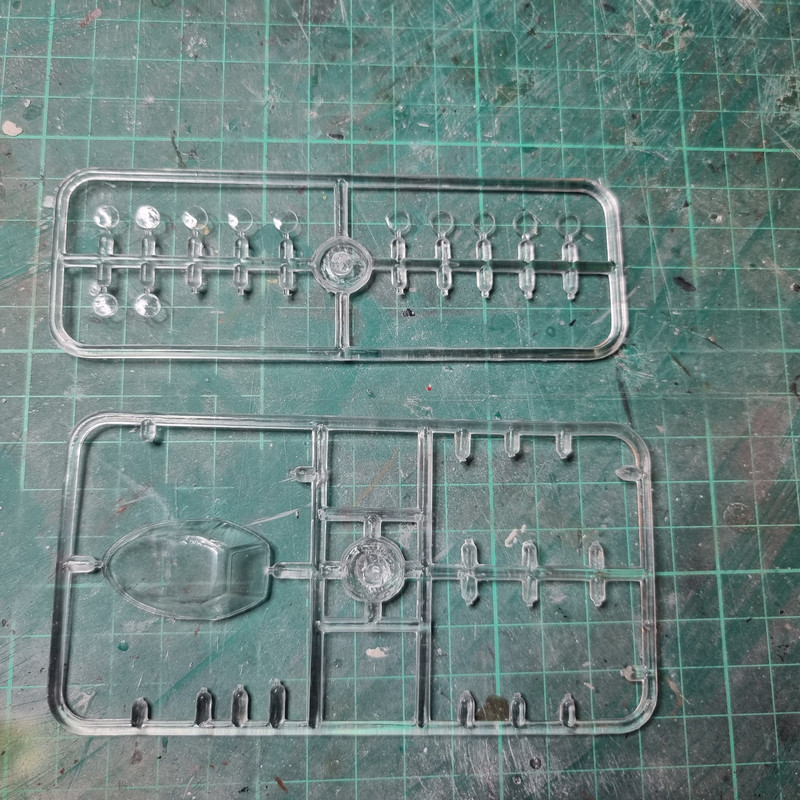
I'm still hunting figures for the finished scenario, no joy there so far. Was thinking of a Paris airshow setting where the beast was first unveiled to the West so ordinary airline crew figures would do. Only set I found so far was mainly air hostesses but I keep looking.

Hmm..... air hostesses huh ....me thinks these late nights are causing the imagination to lead you off the path be strong young Padewan ...


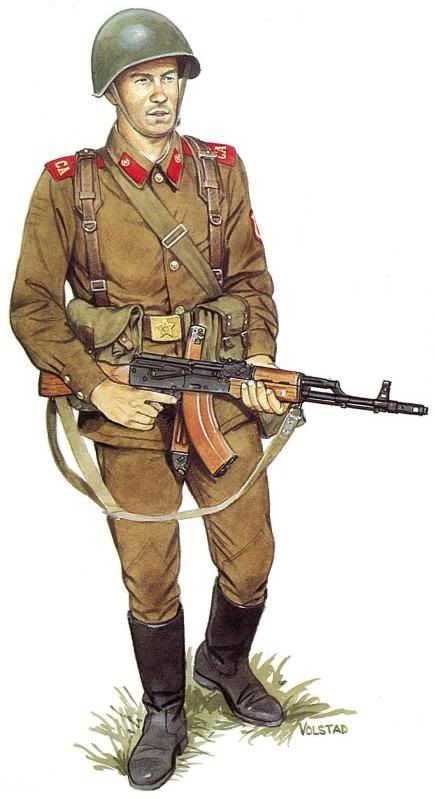
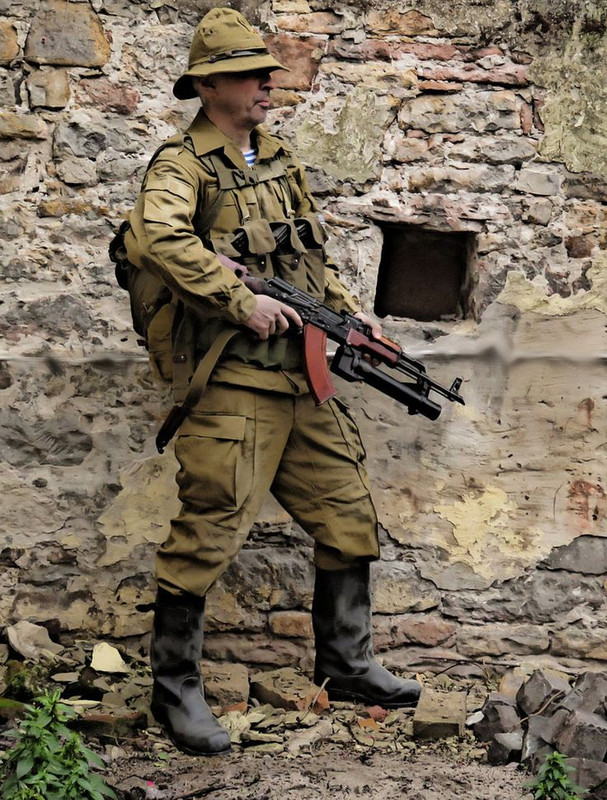
I will put it thus and leave it so: ex-British Army of the 1970's......

smokeriderdon wrote: Thu Oct 26, 2023 7:03 pm
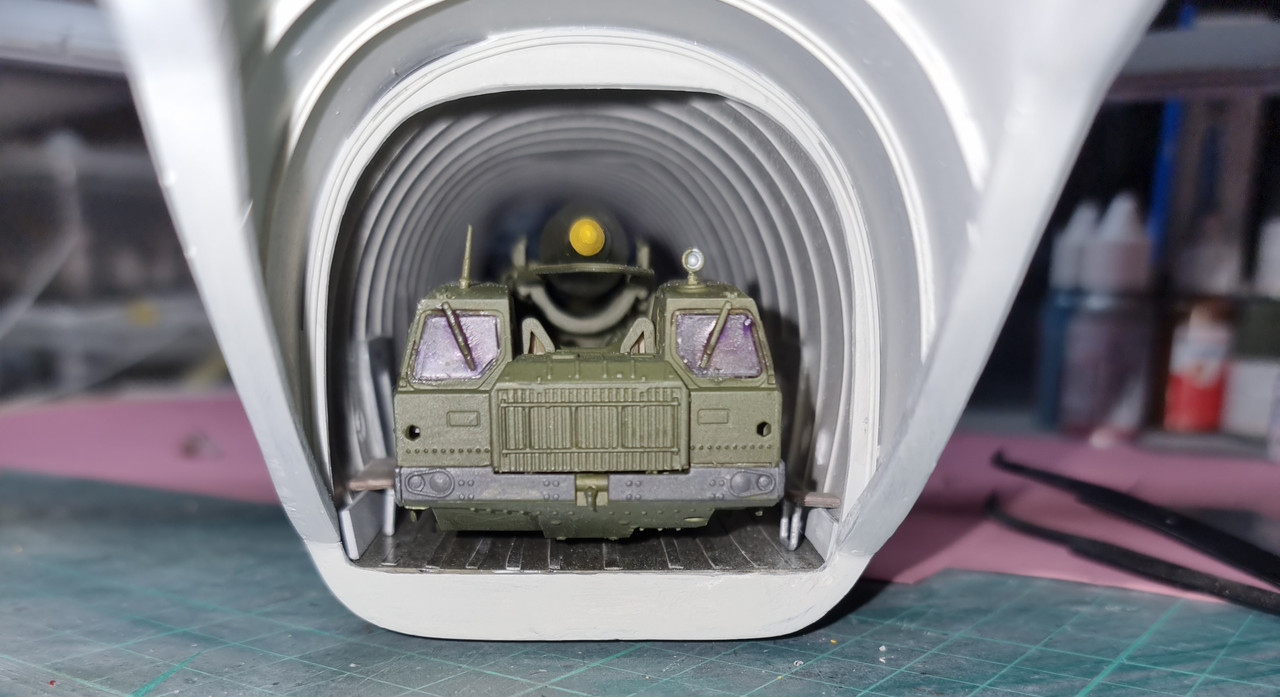
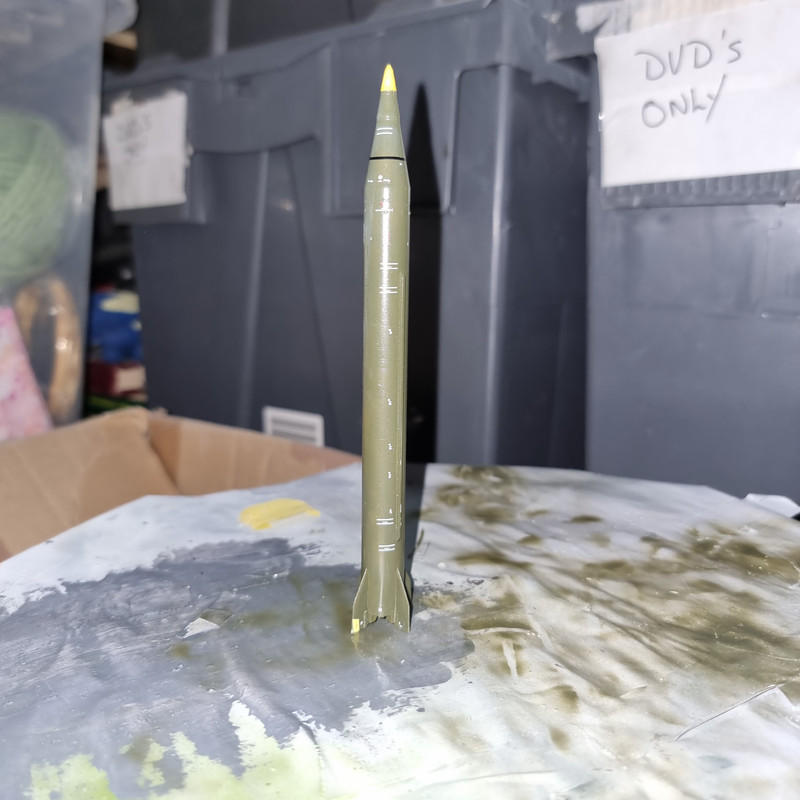
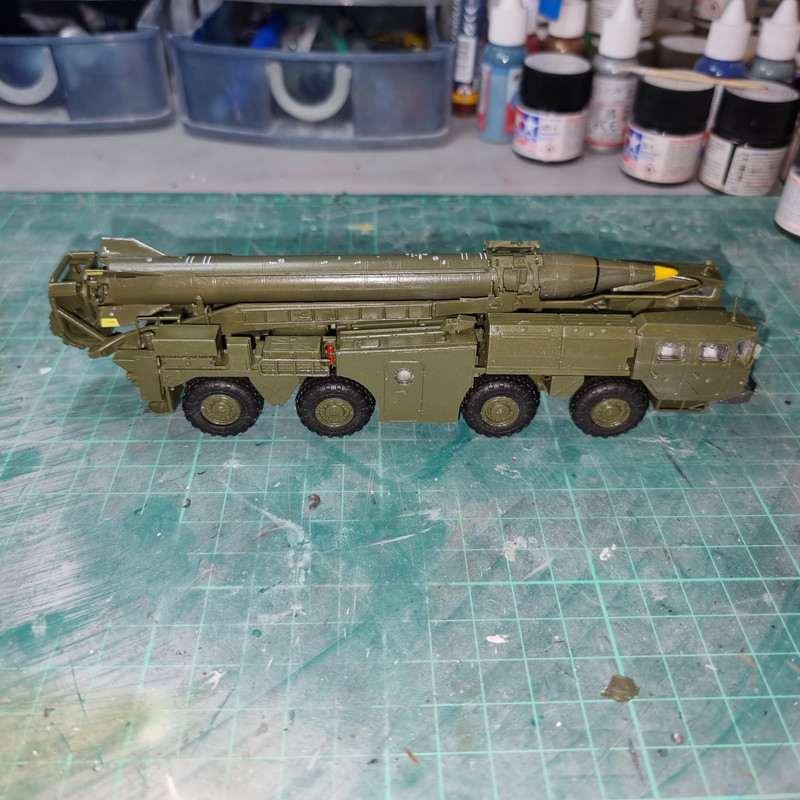
Looking great! One thing though. Youre doing this with the SCUD stuff in or being loaded. Wouldnt they have the seats up with a load in? The loadmaster in me shudders at seats being down with cargo on. LOL
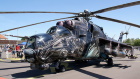
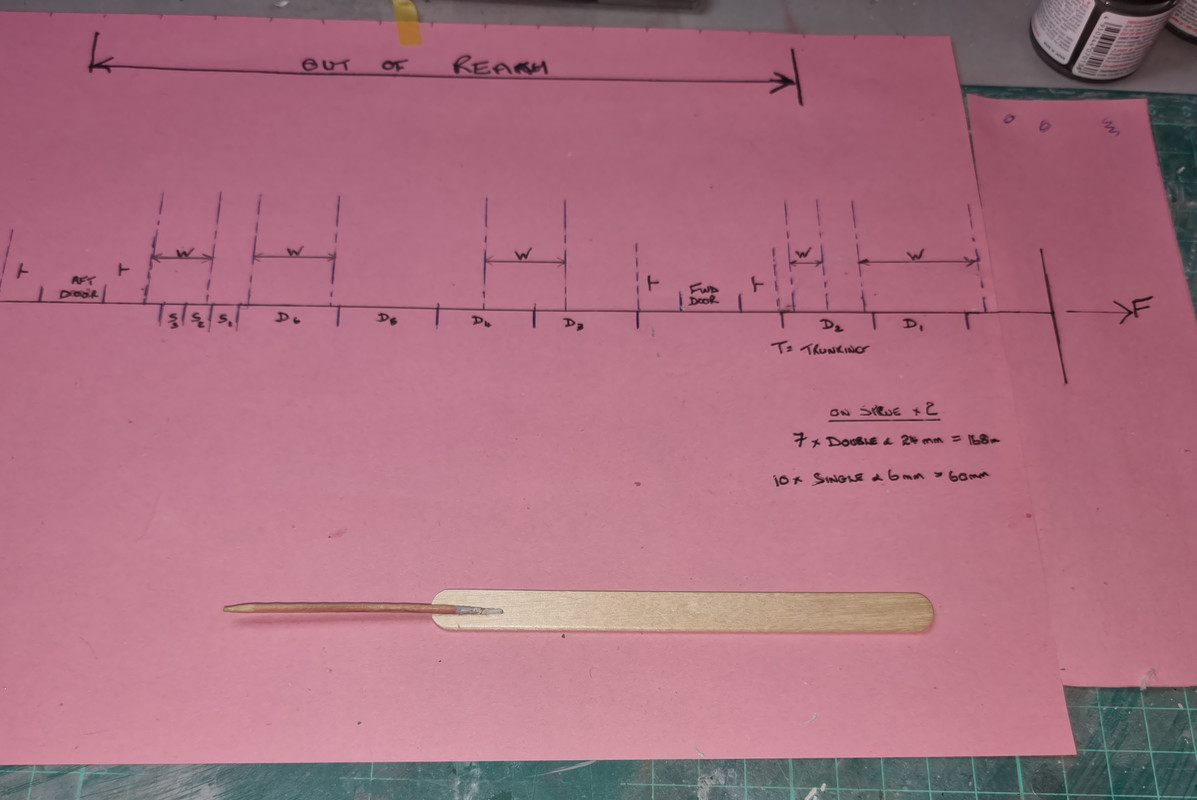
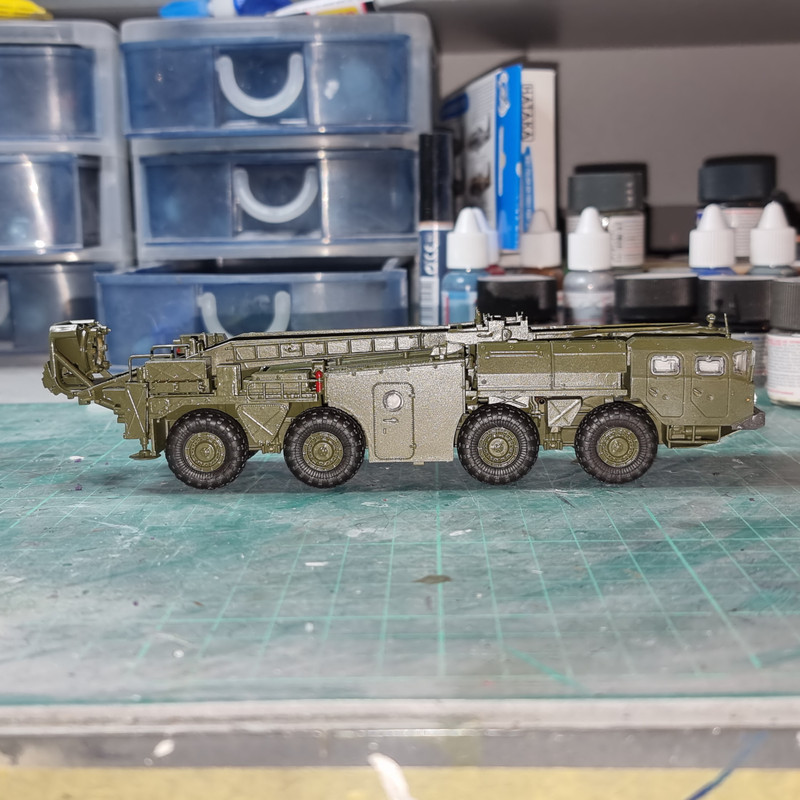
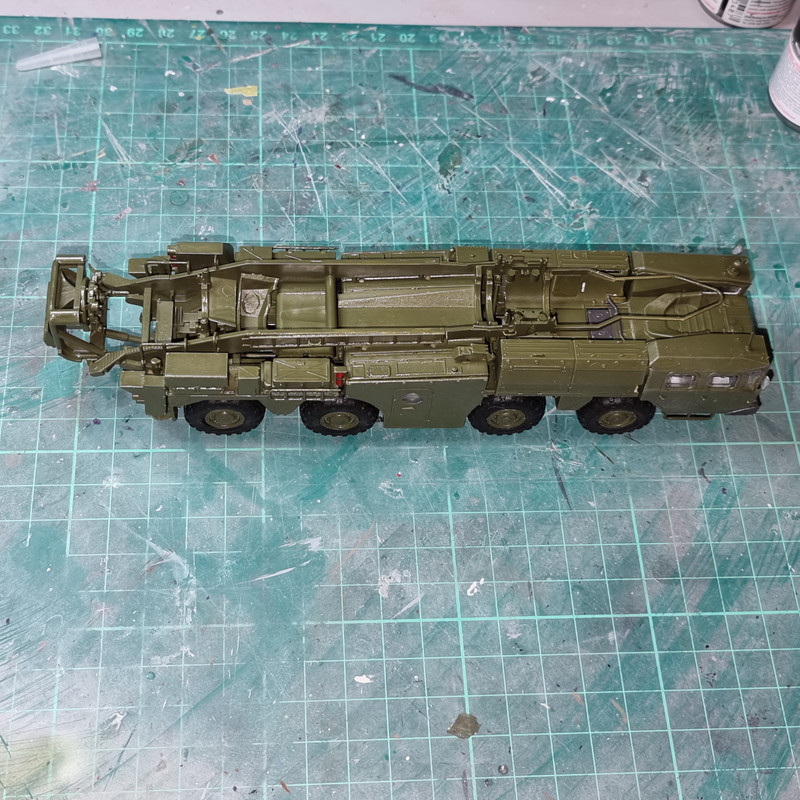
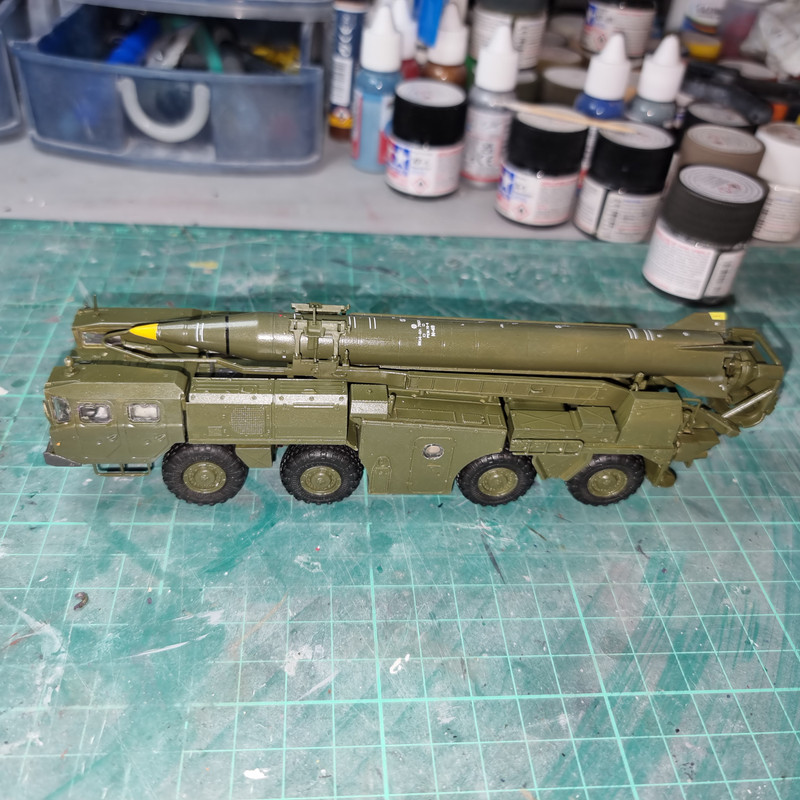
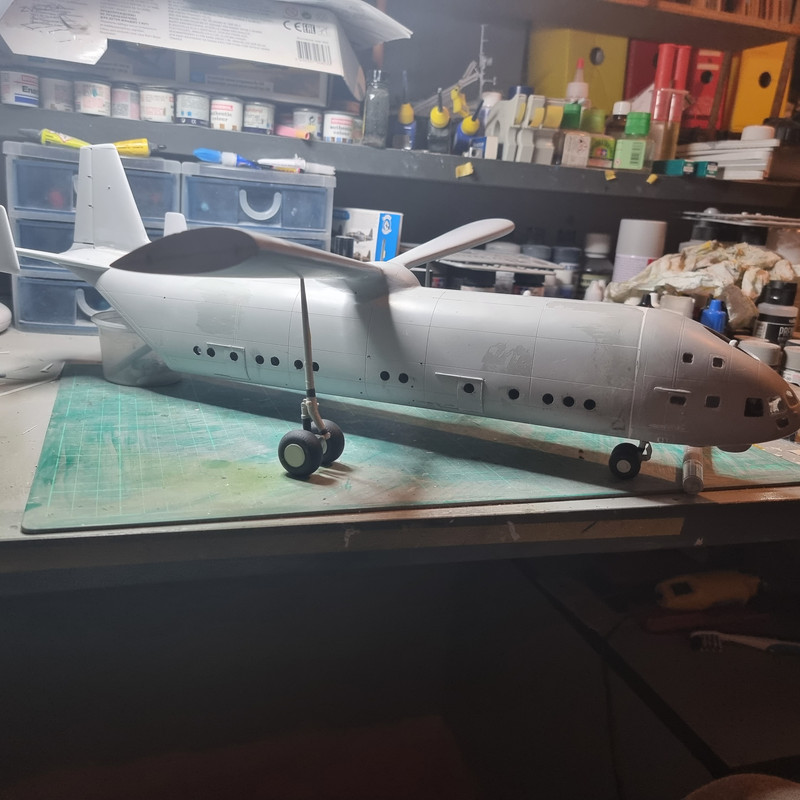
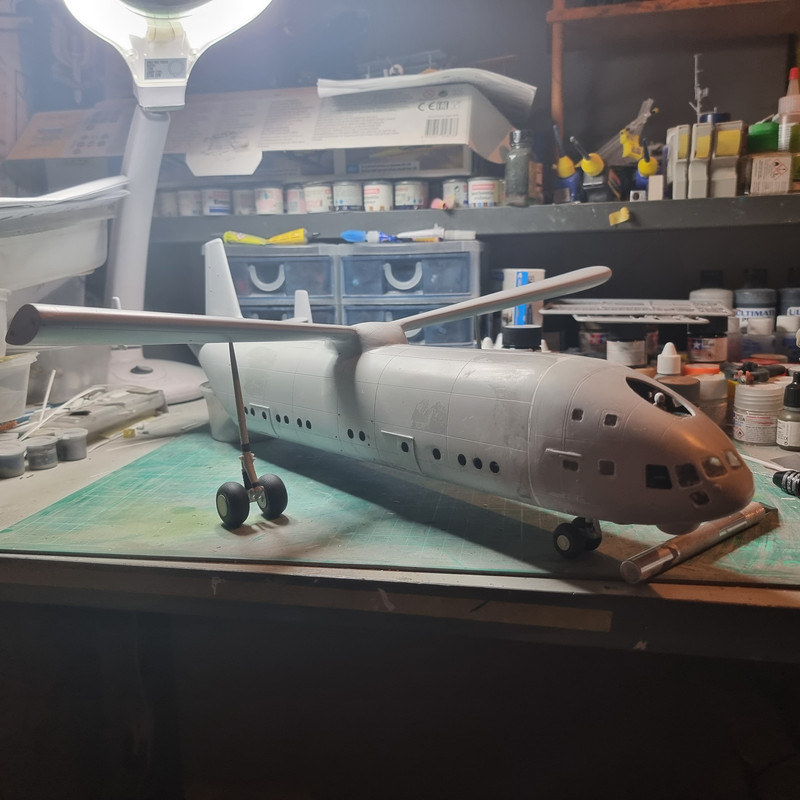
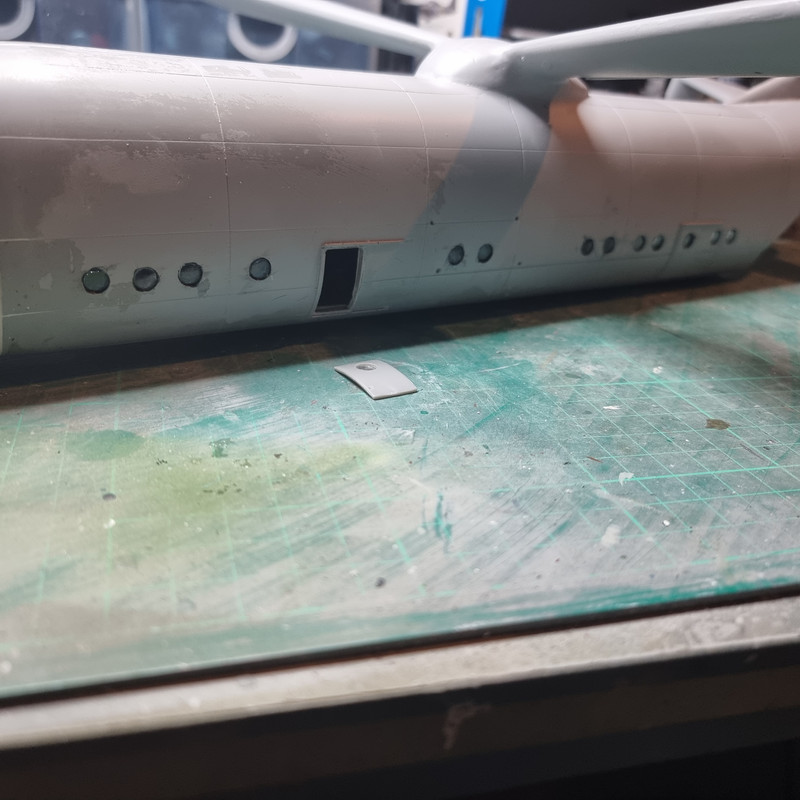
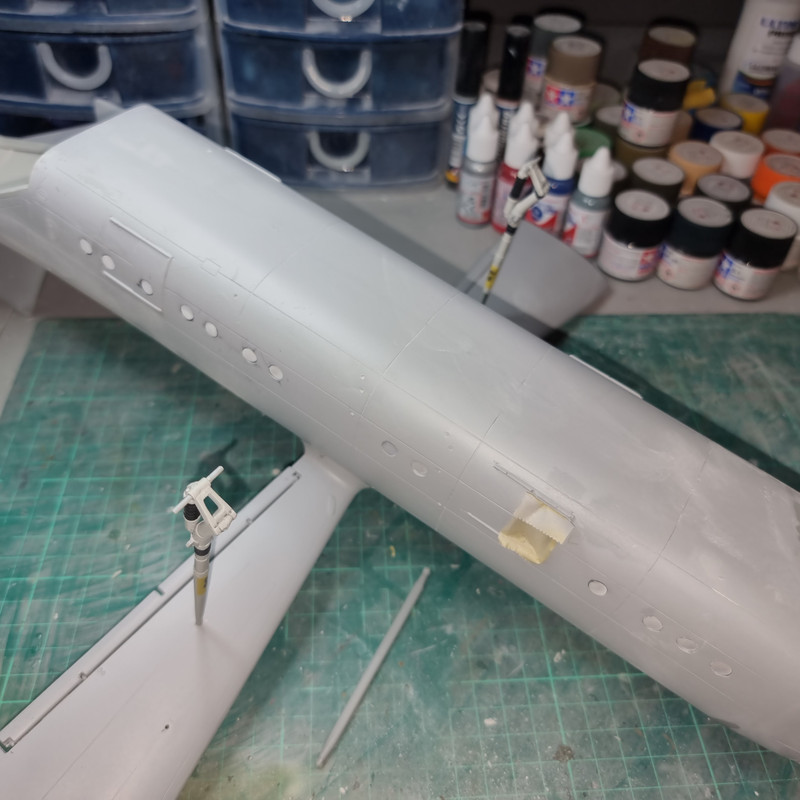
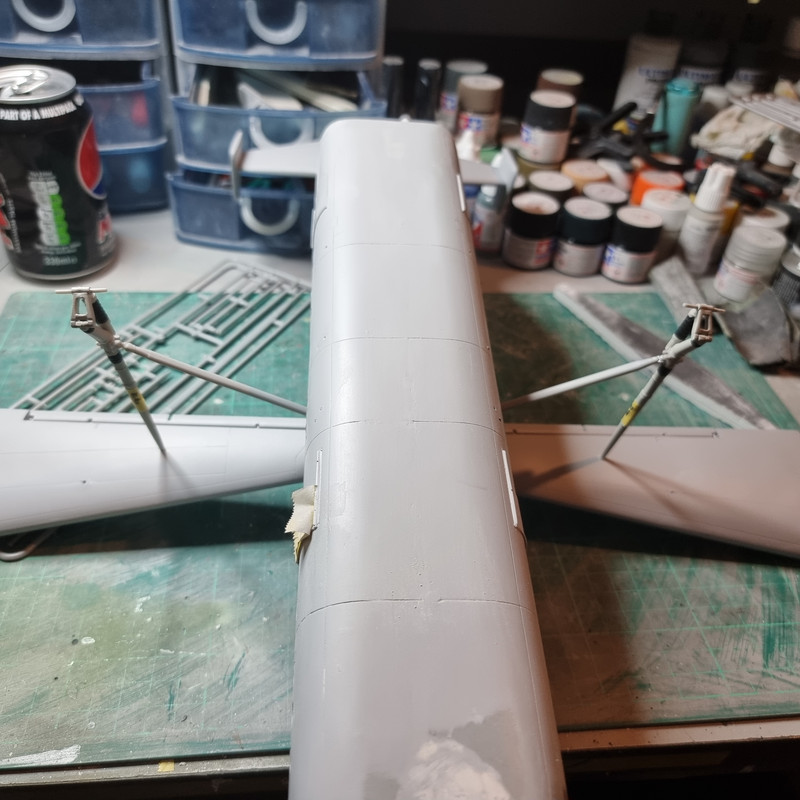
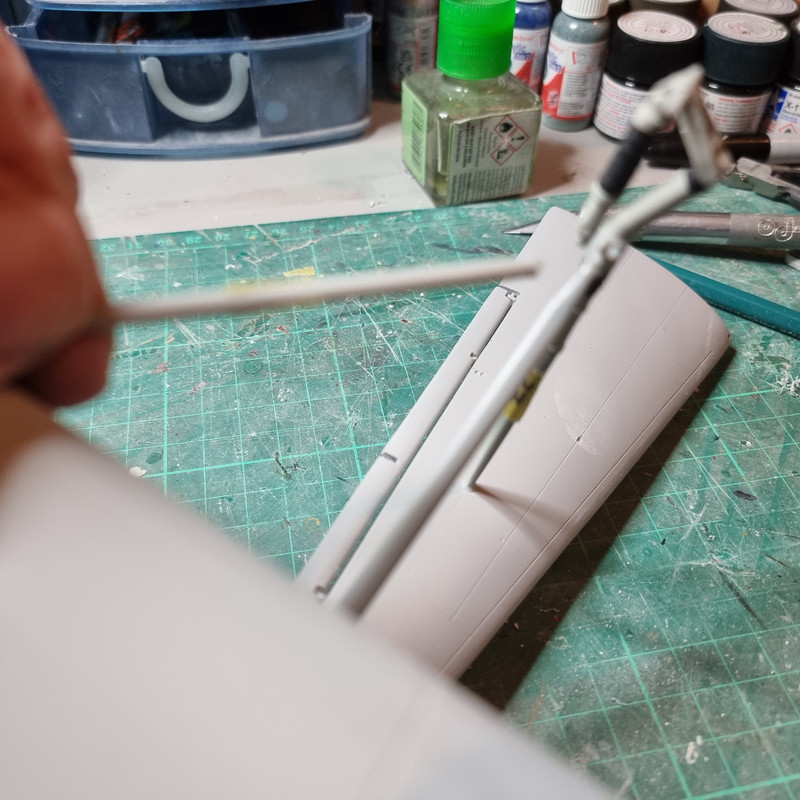
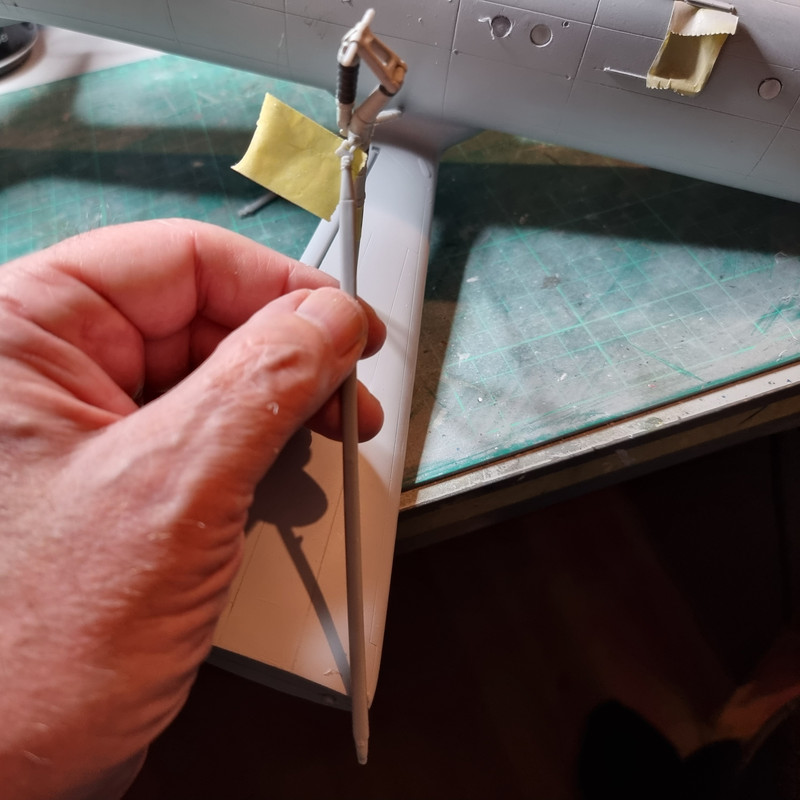
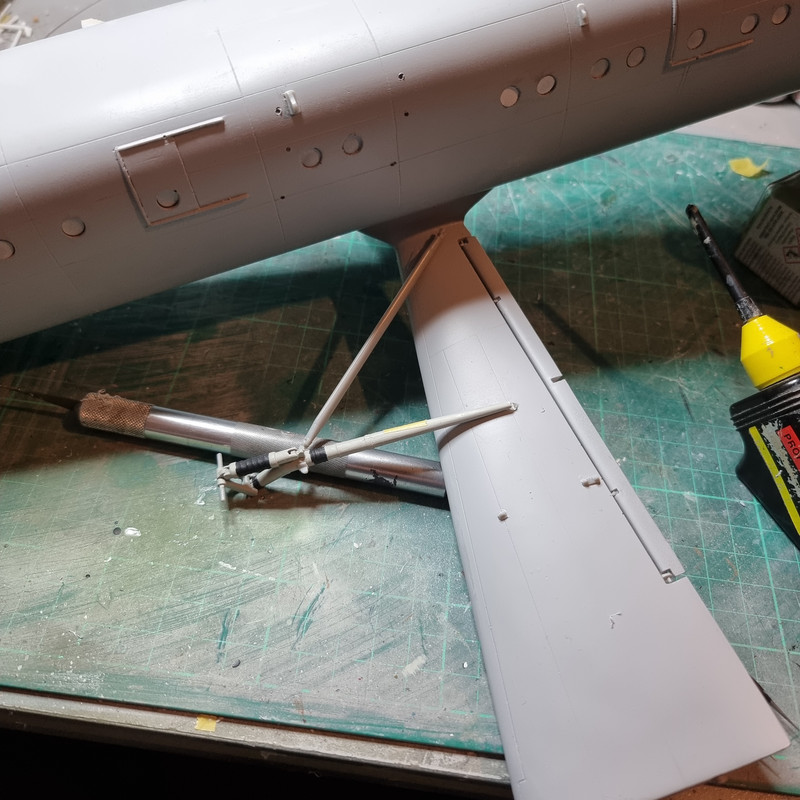
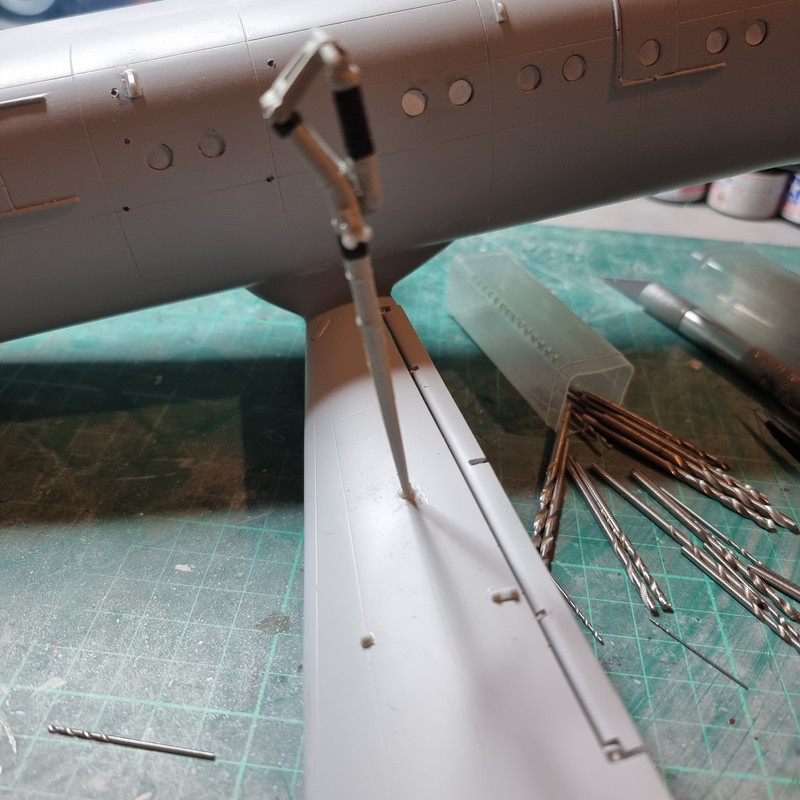
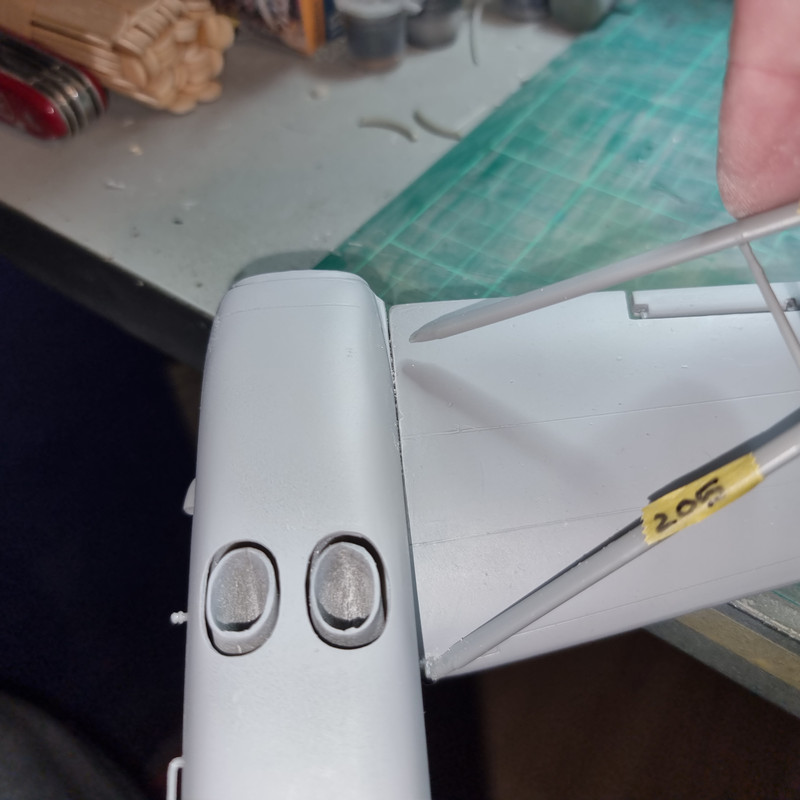
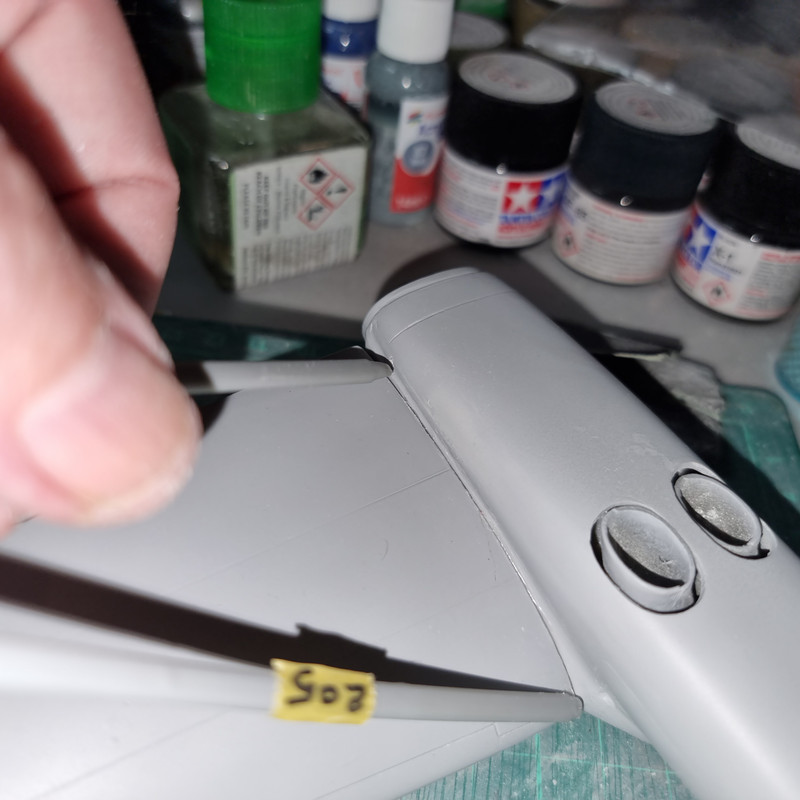
The Scud TEL will be half in, half out, front wheels on the loading ramp. Which reminds me - I need to fabricate the loading ramp extensions as well as the pedestrian boarding ladder. There is method in the madness of having the seats down though - it serves to illustrate just how damn BIG this thing is. I remember Andovers, Belfasts and C-130's carrying freight and it was barely possible to shuffle past so when you look in the back of this and see the seats down either side of the TEL and room to walk past it makes the point quite nicely.
BigWall wrote: Thu Oct 26, 2023 7:54 pm
It's looking great!
I think the rest of the forum members should pitch in and buy you a new release Tamiya kit once you're done with this build. You deserve a break!
Thanks for the kind words.
Thats a nice thought - never happen - but nice thought!!
You'd all have had plenty of time to save up though, this beast is no where near finished. No where near......
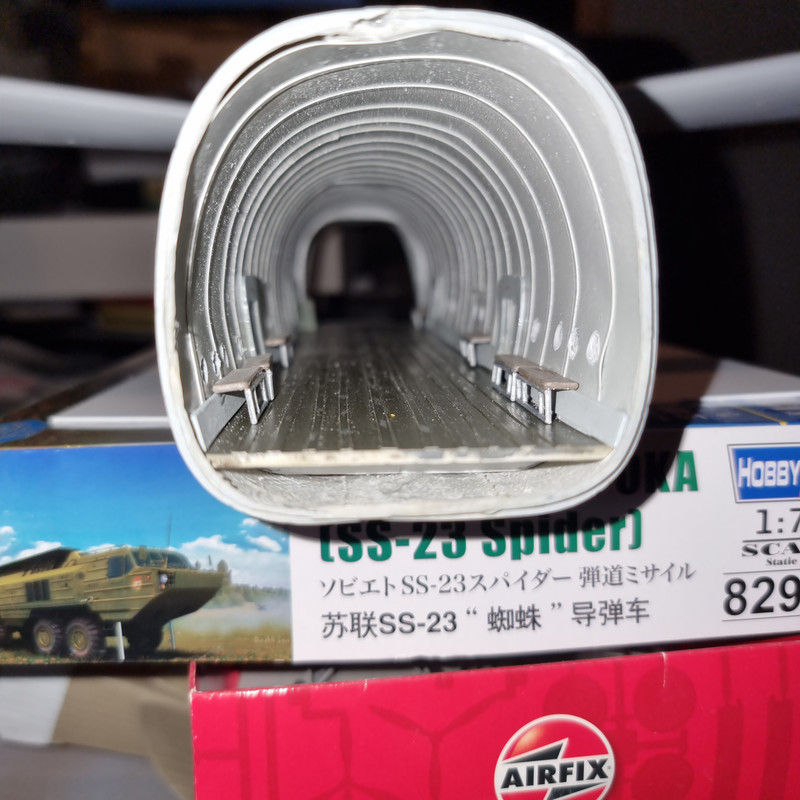
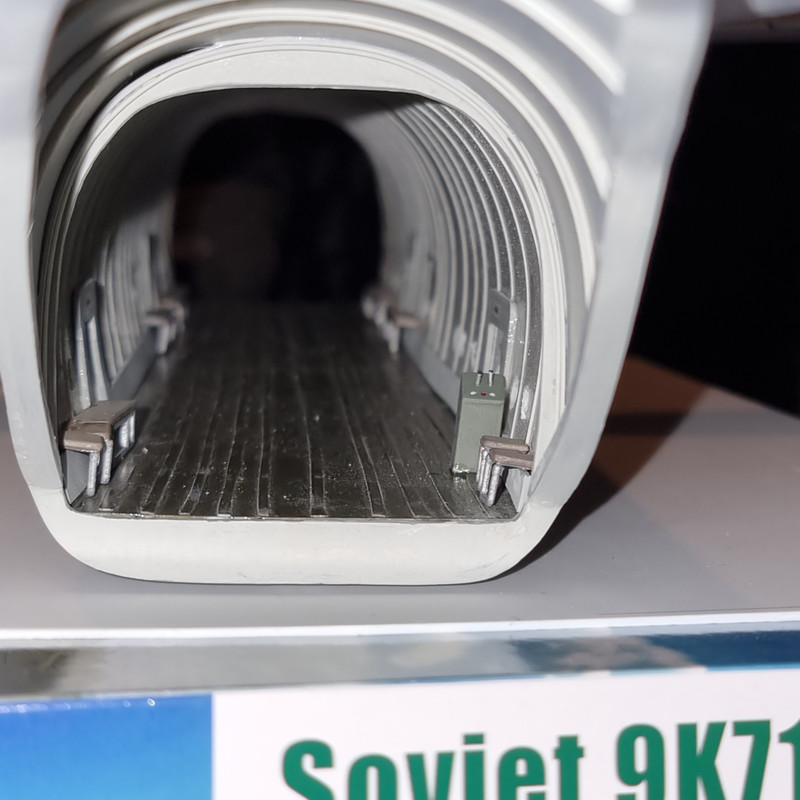
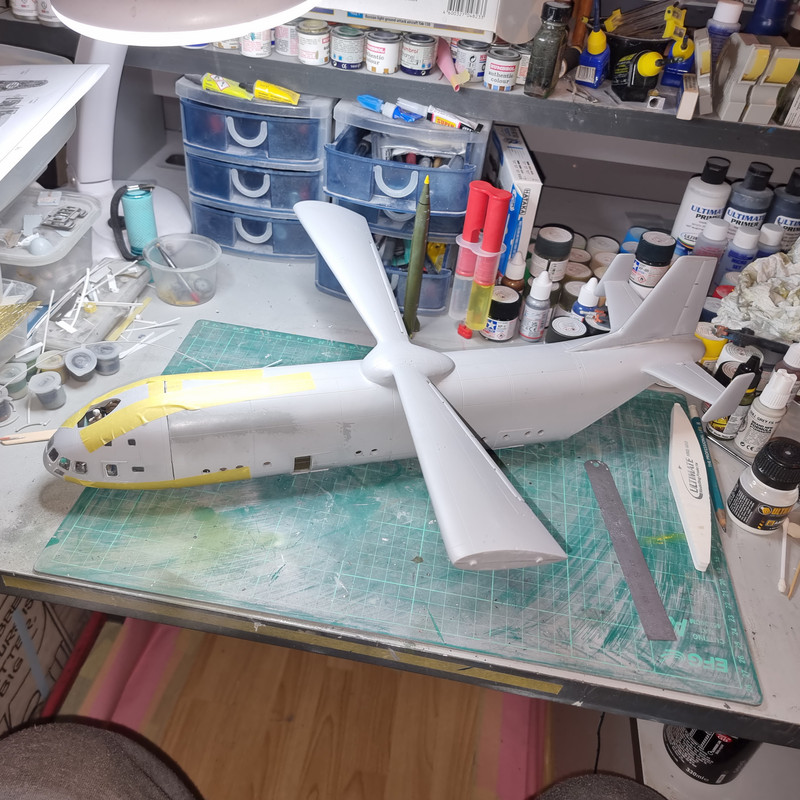
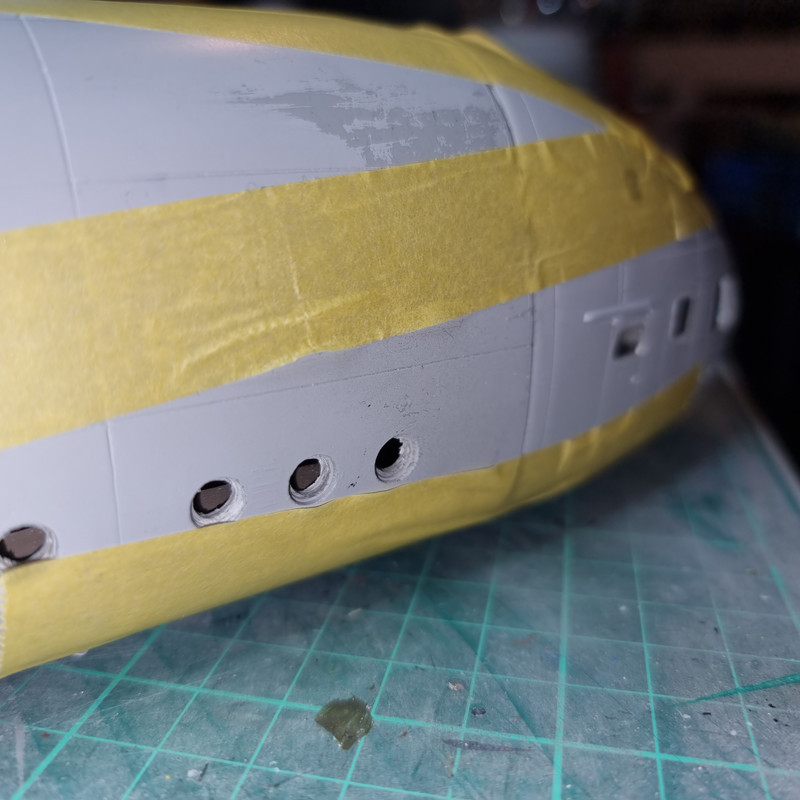
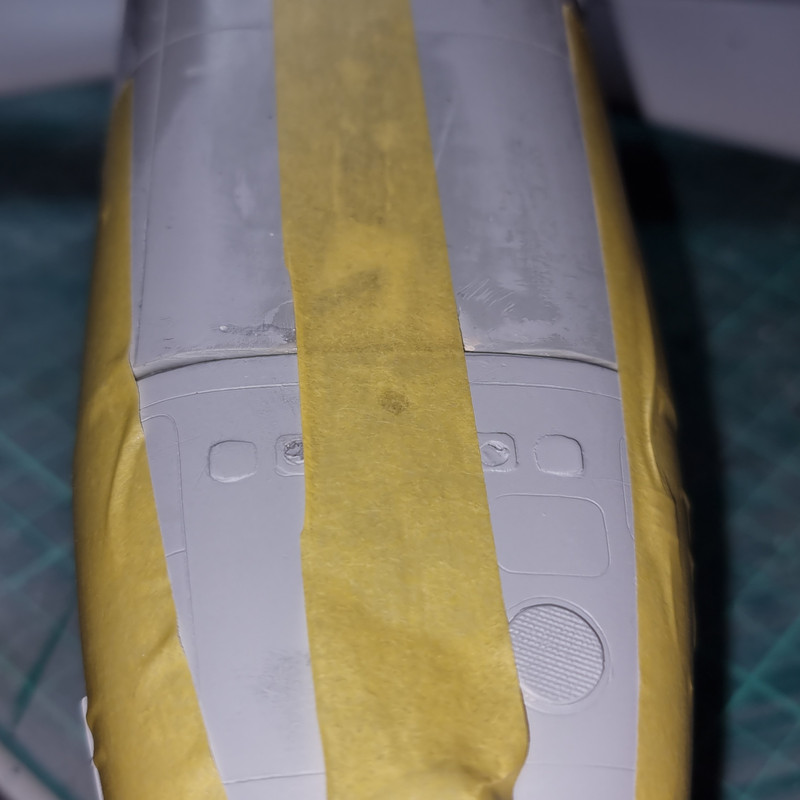
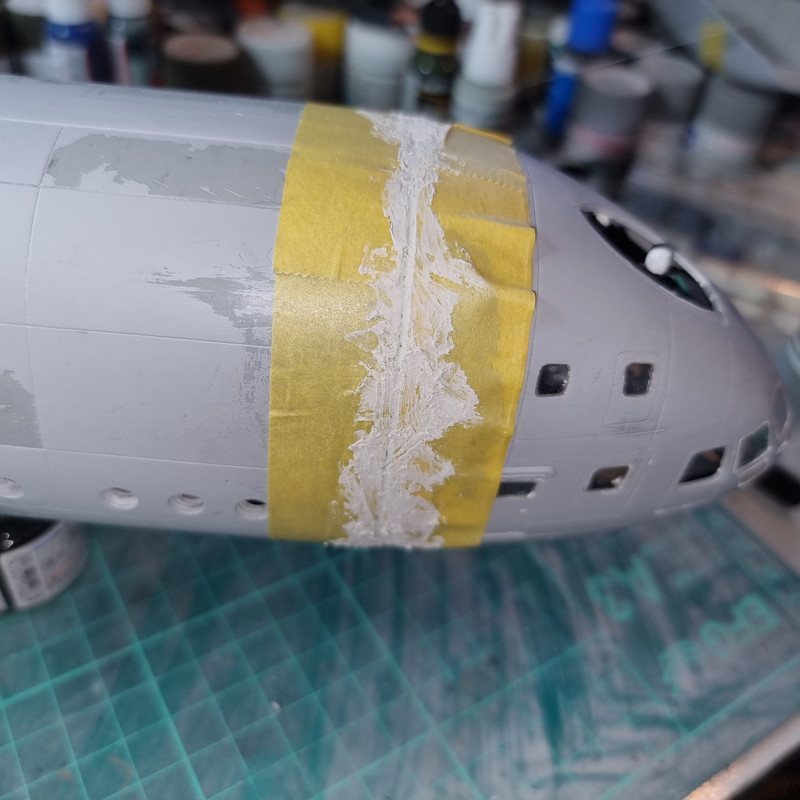
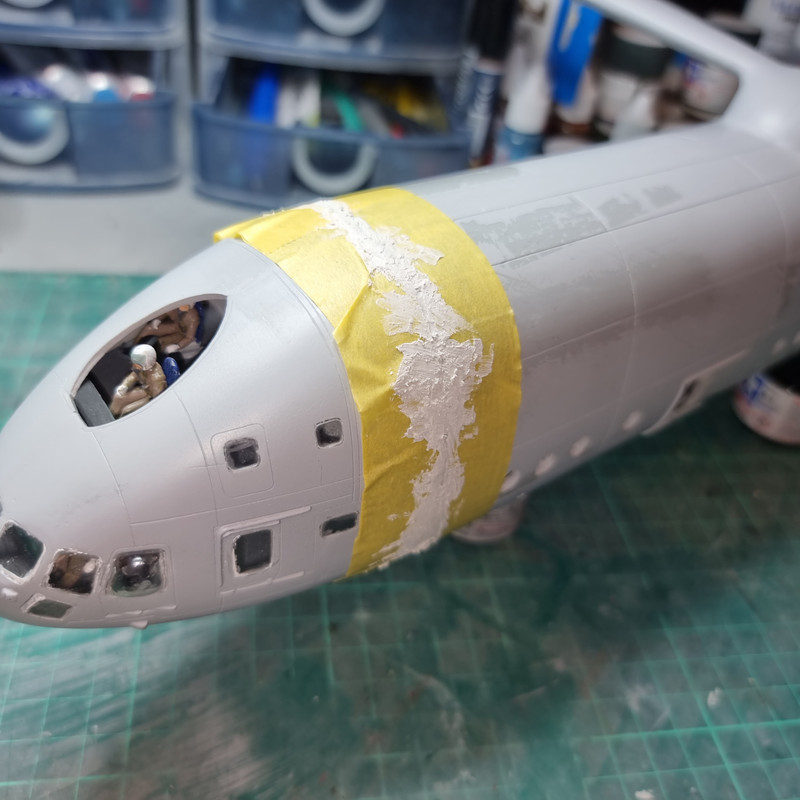
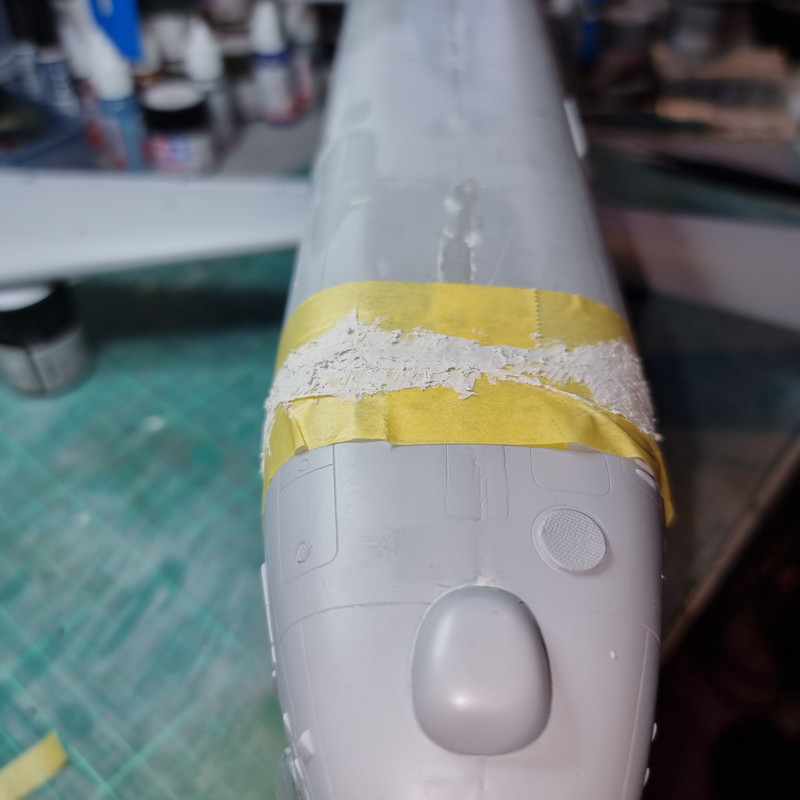
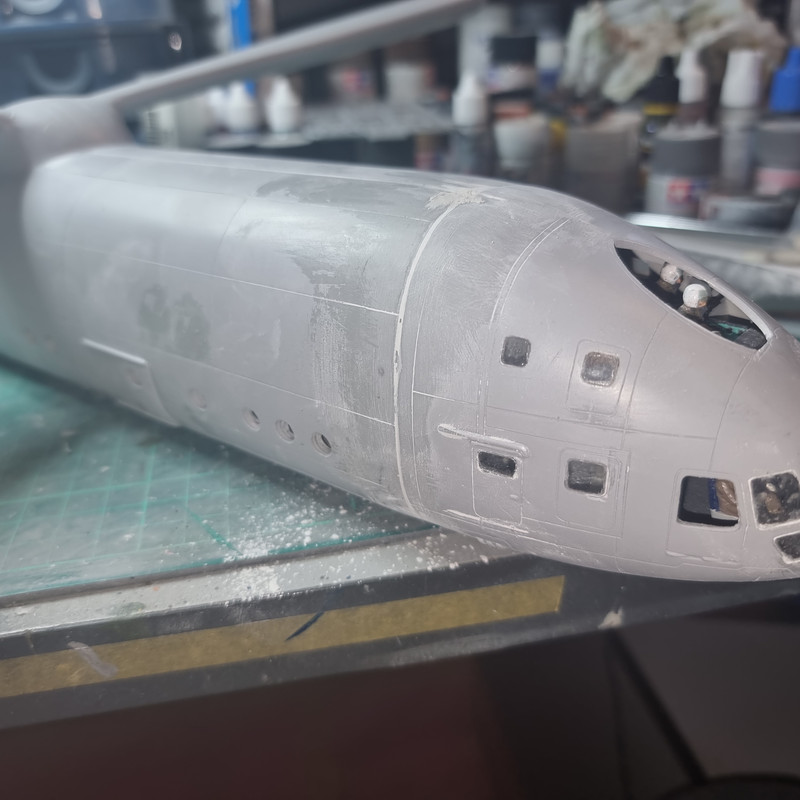
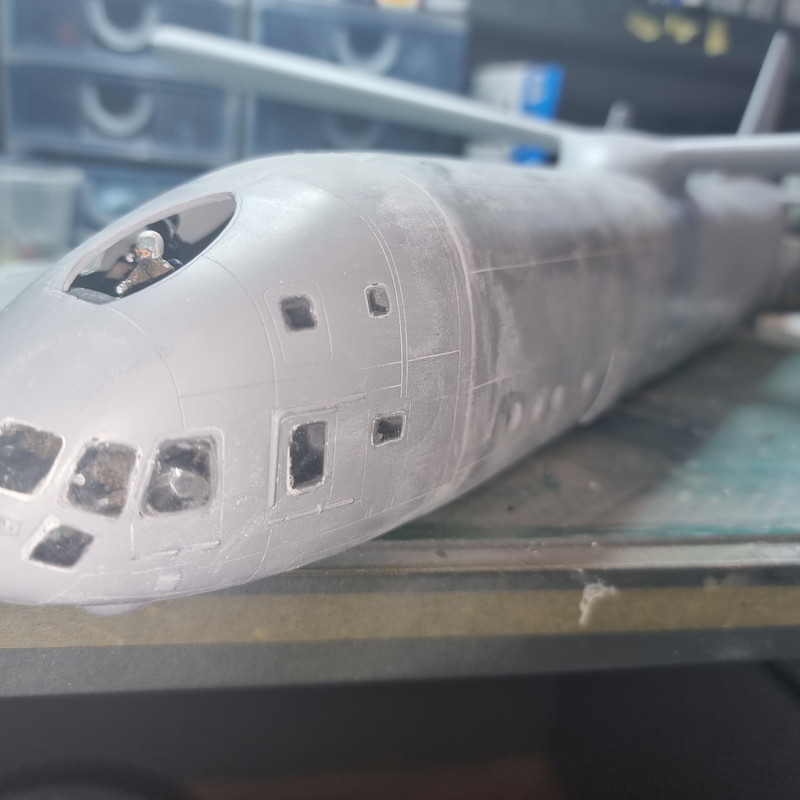
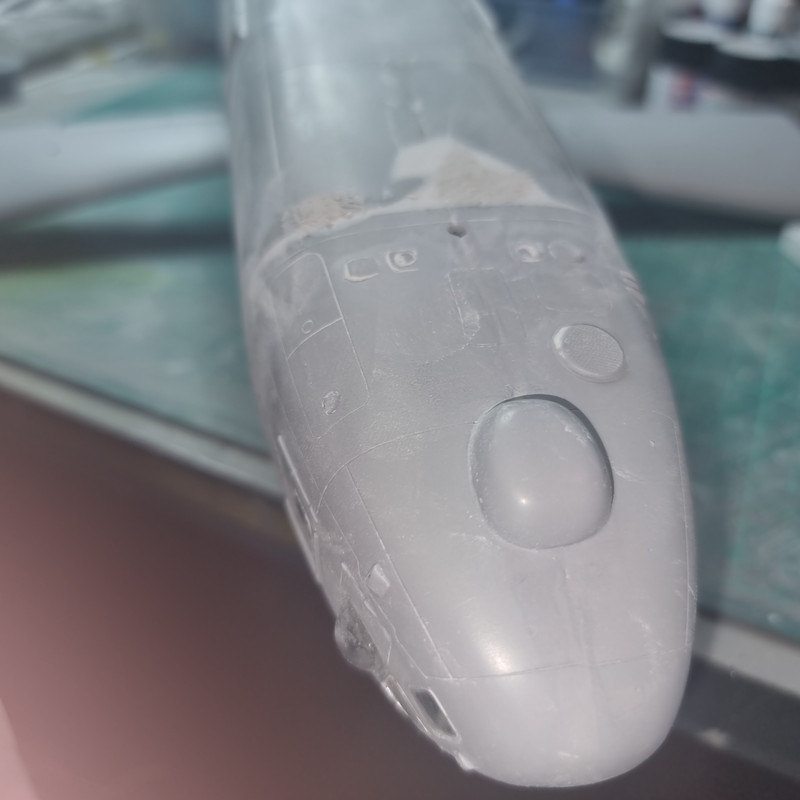
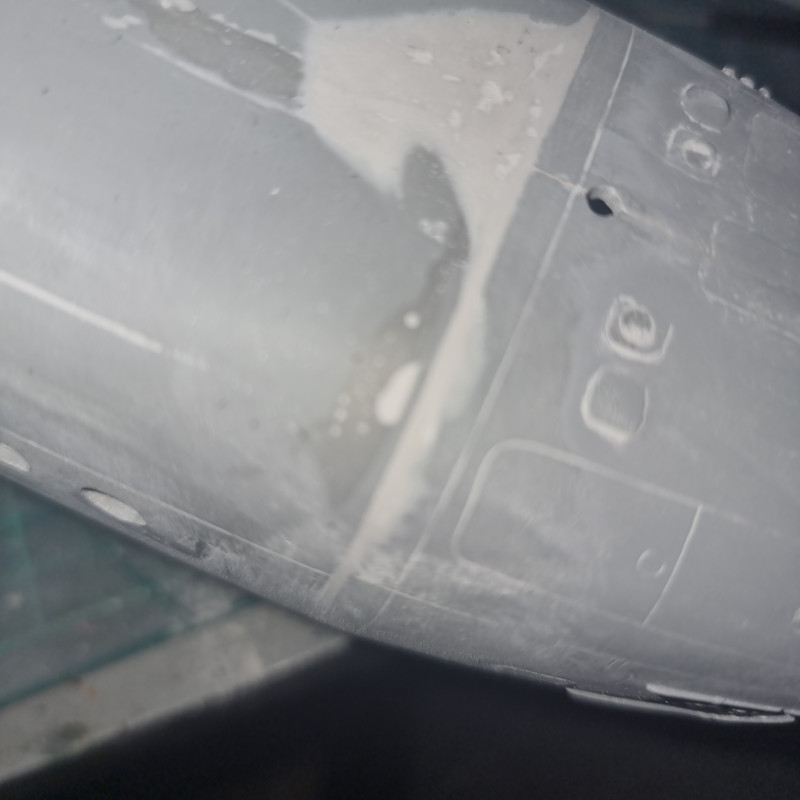
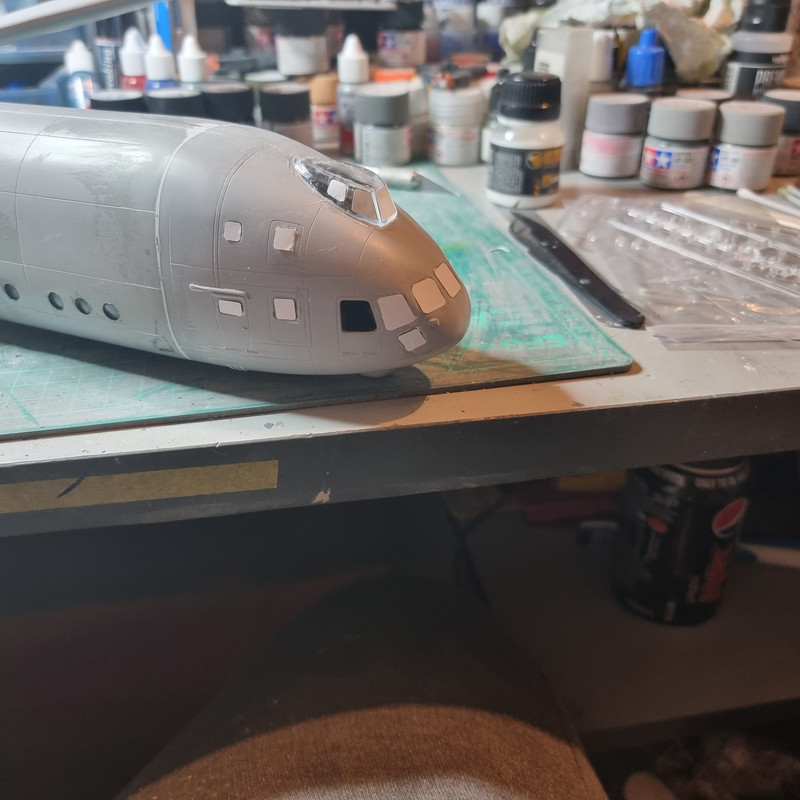
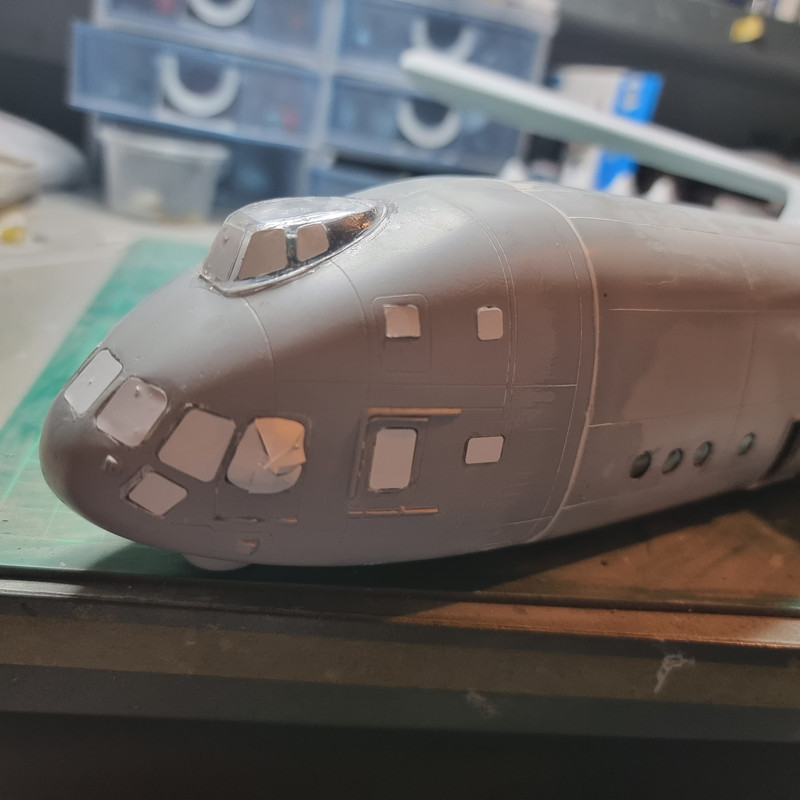
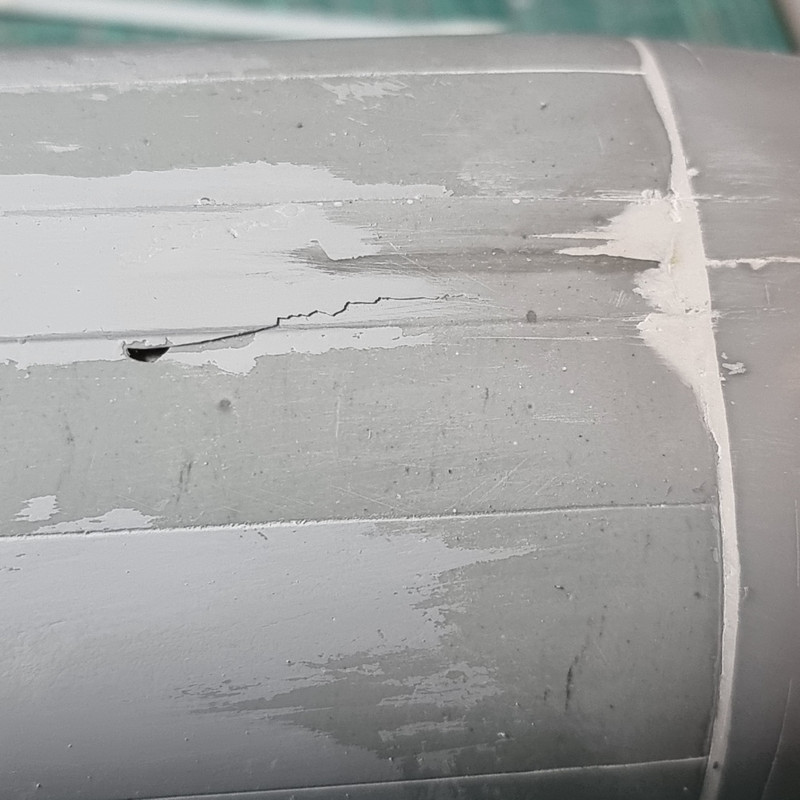
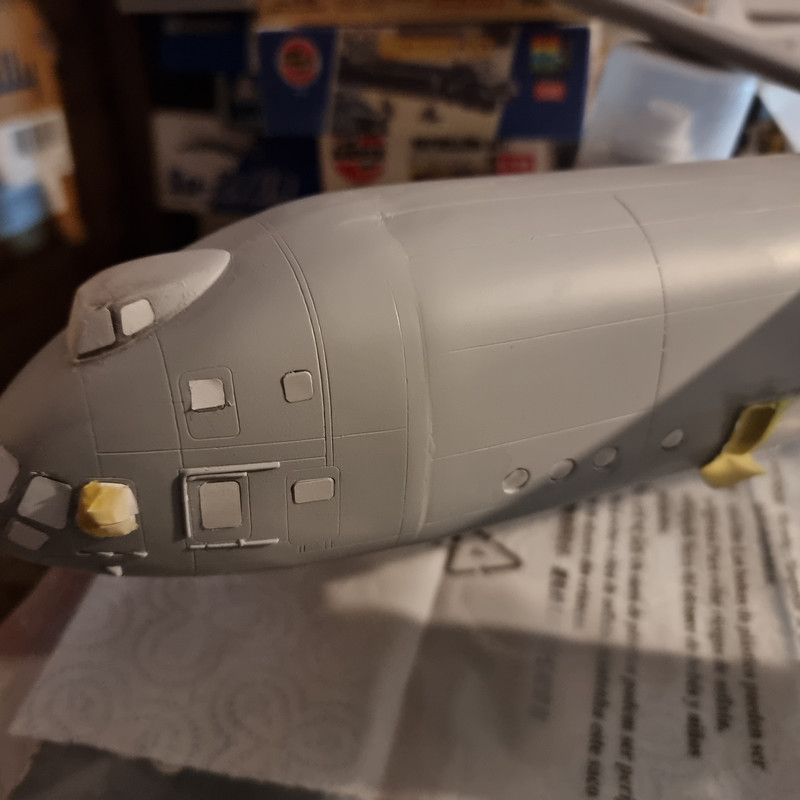
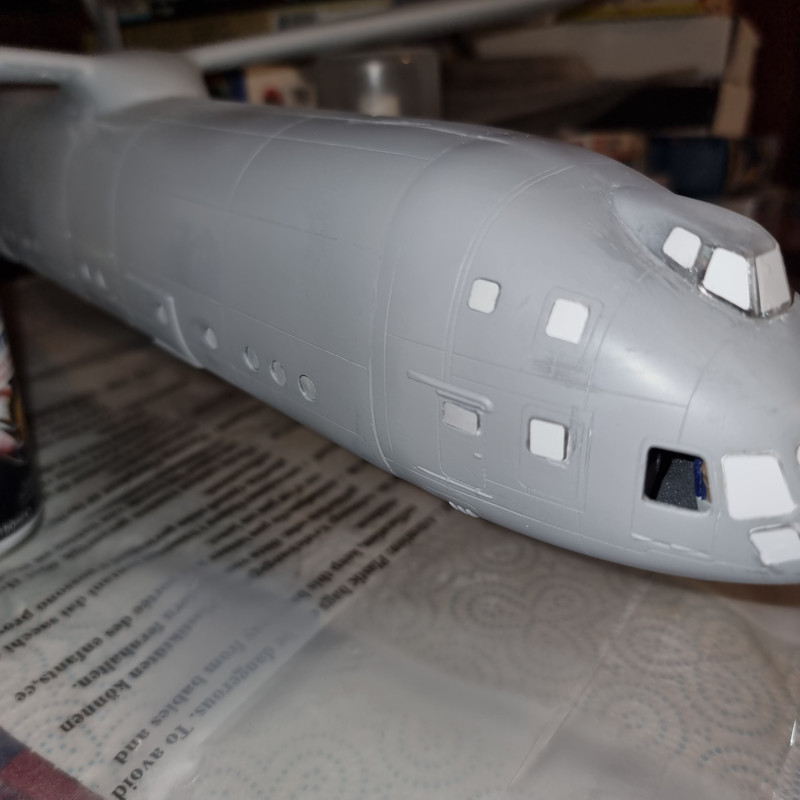
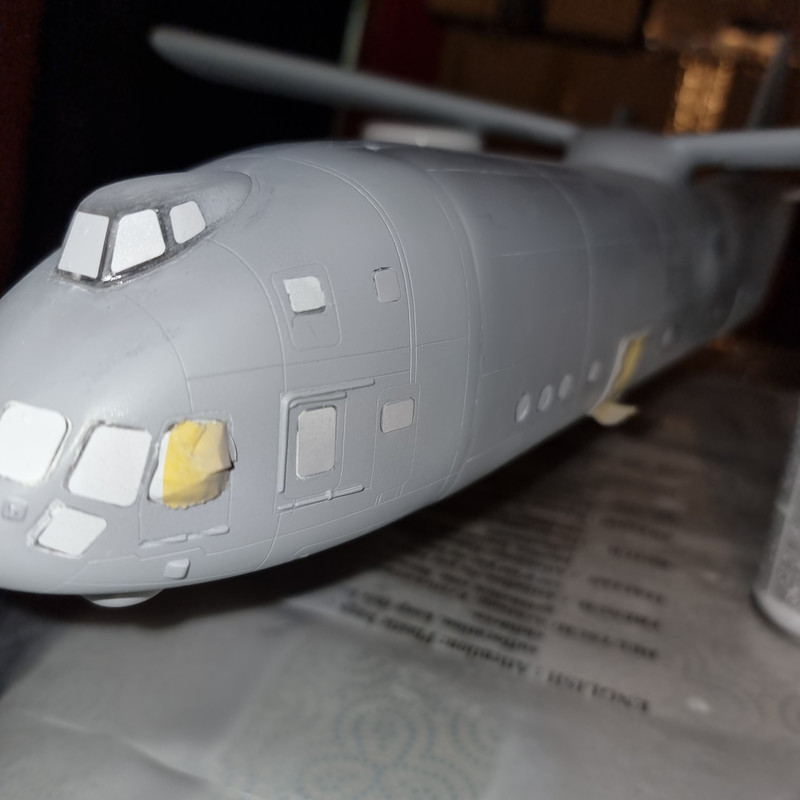
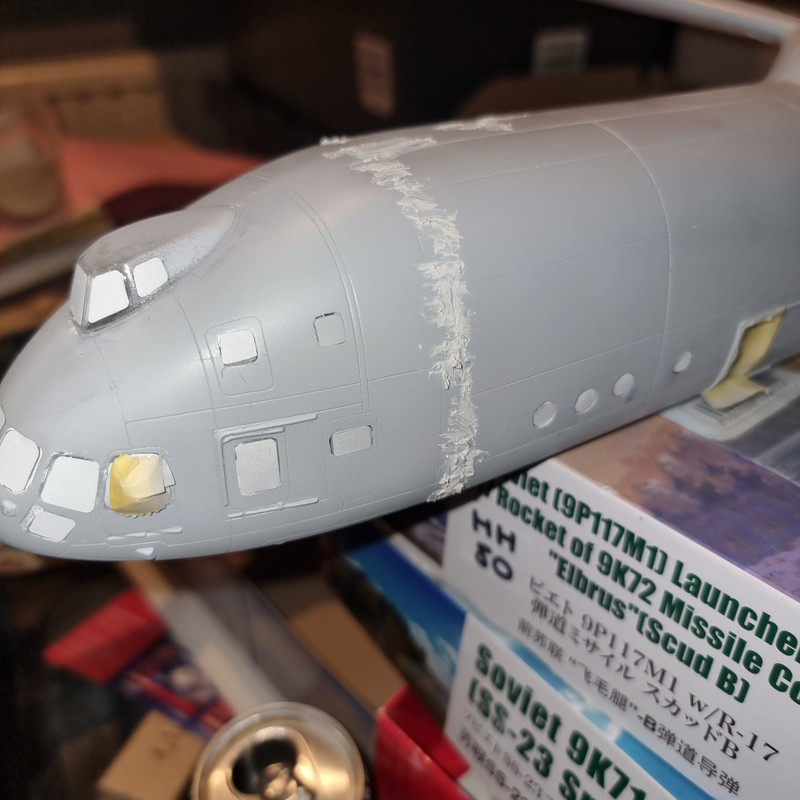
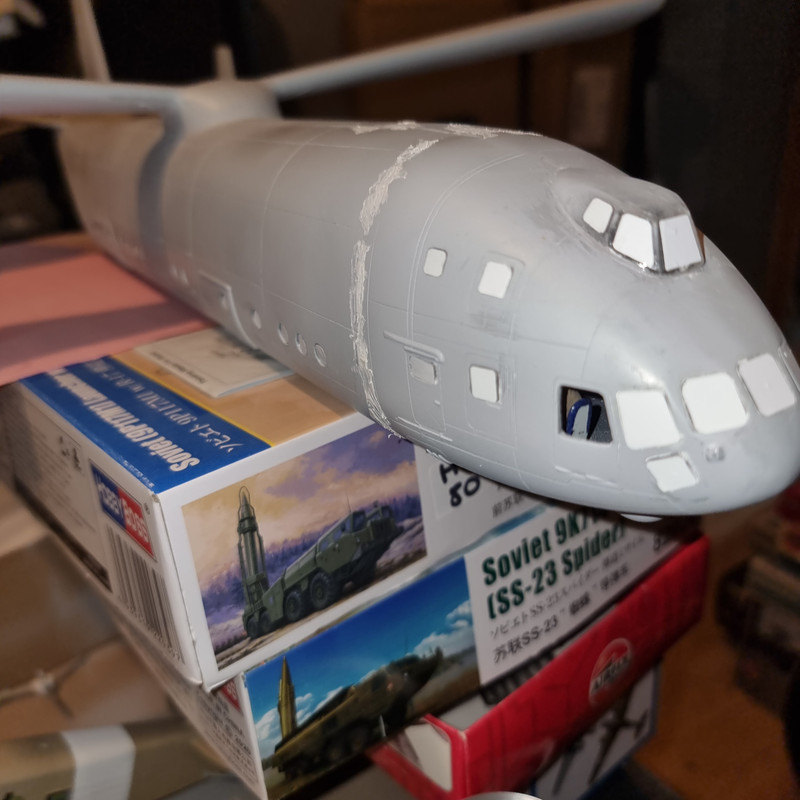
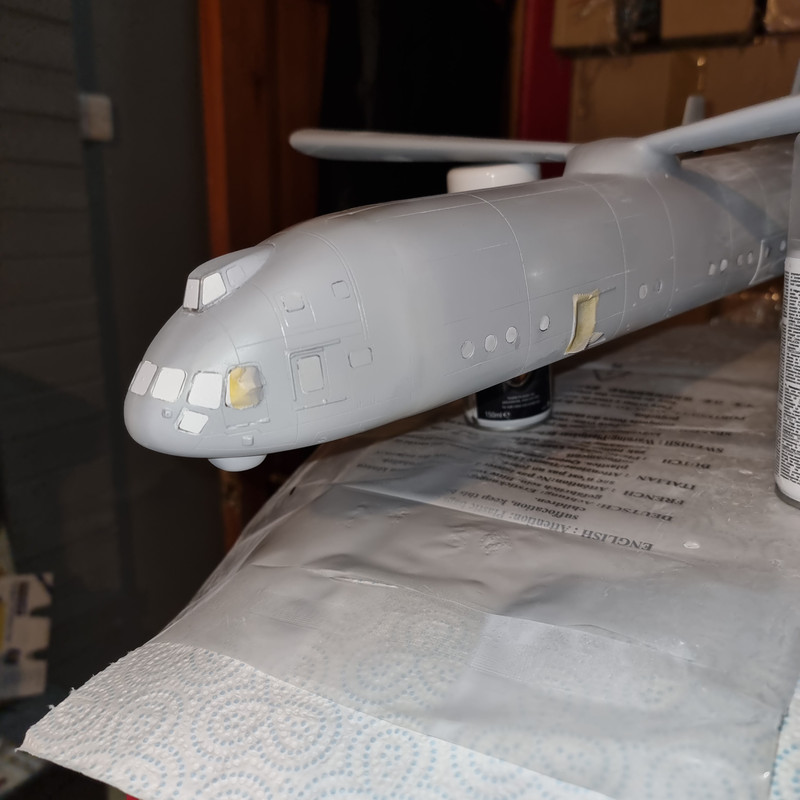
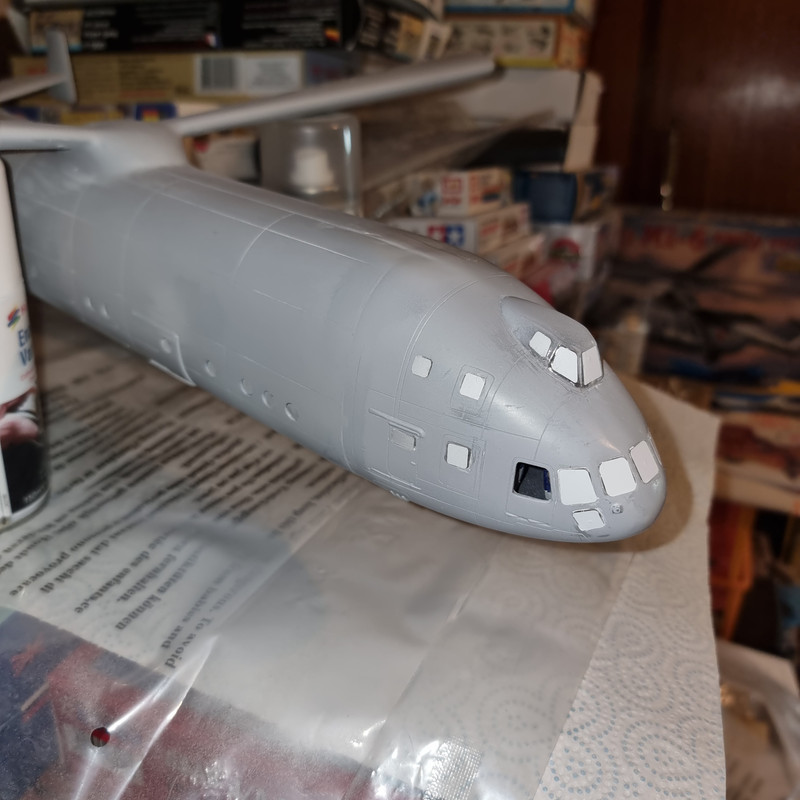
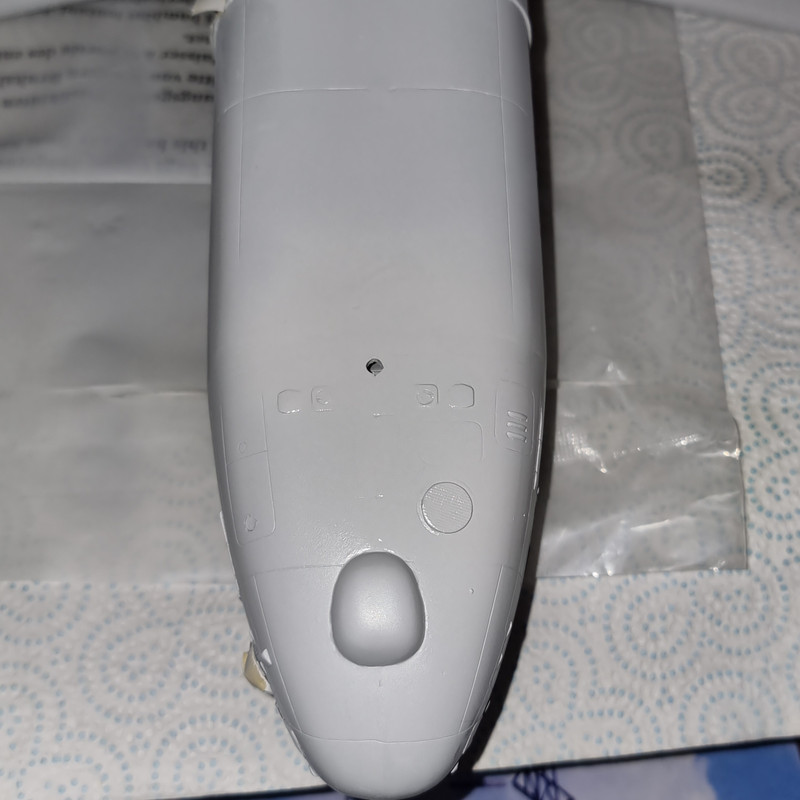
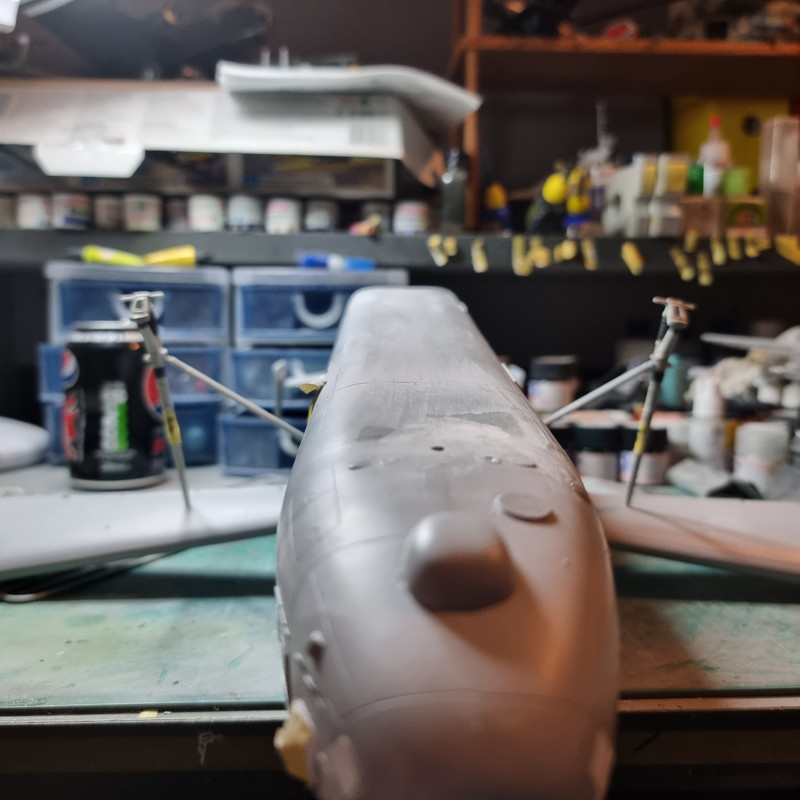
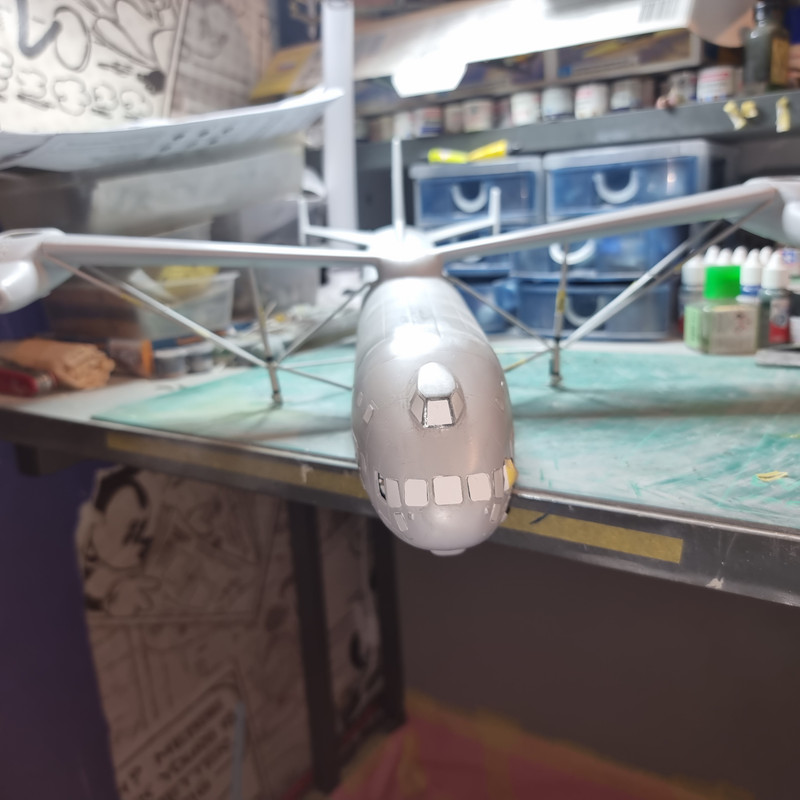
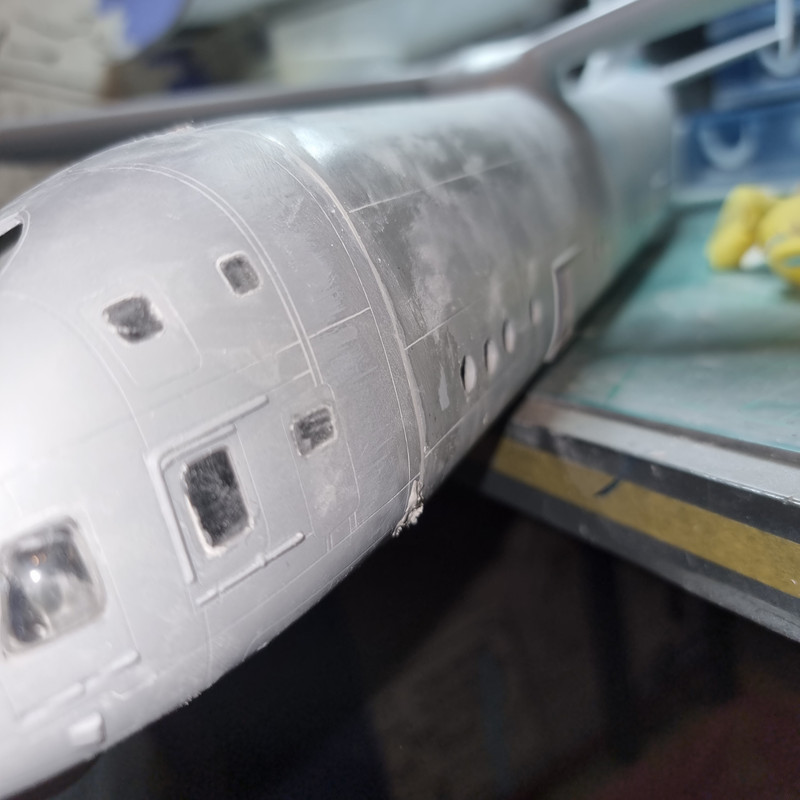
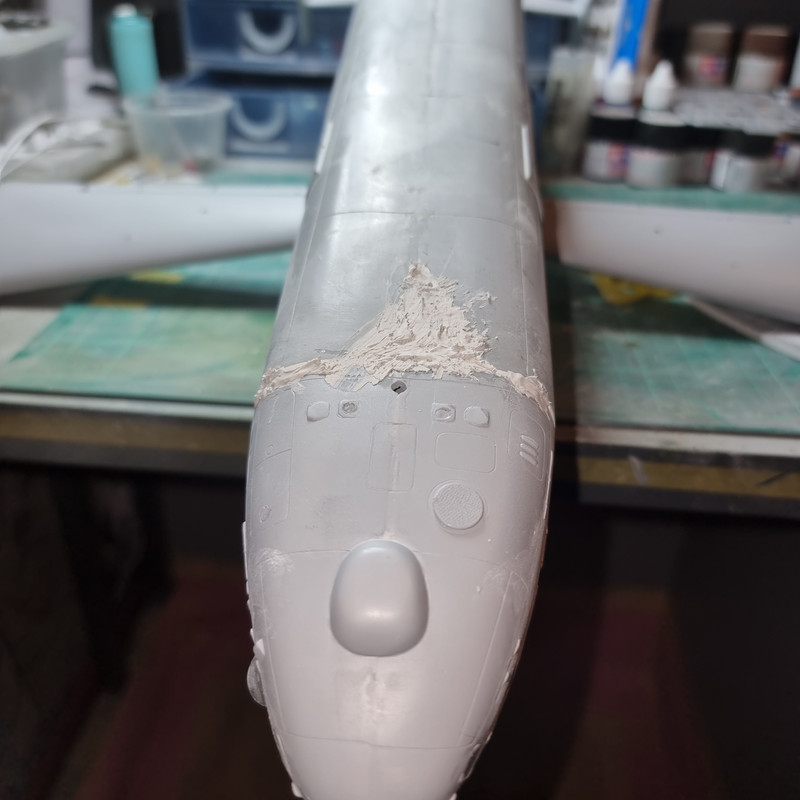
Which brings us nicely to todays progress. After many hours of sanding - and some work with a file - the first stage of sanding the fuselage/cockpit join is done. The sides, although a large gap, have started levelling nicely.

The top and bottom are a different story. The top of the fuselage has a 10mm wide spine that should have matched a "peak" on the cockpit roof. I don't think the designers of either part were talking to one another as the entire cockpit is the height of the spine so its a case of filing & sanding the areas either side of the spine to create the "peak" on the cockpit roof. Getting there slowly - VERY slowly.
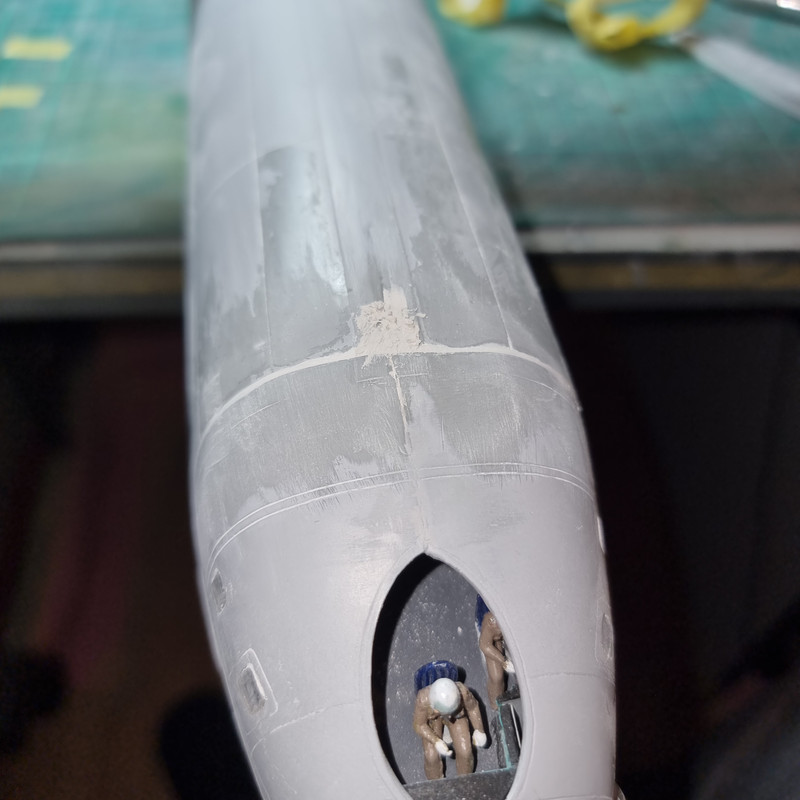
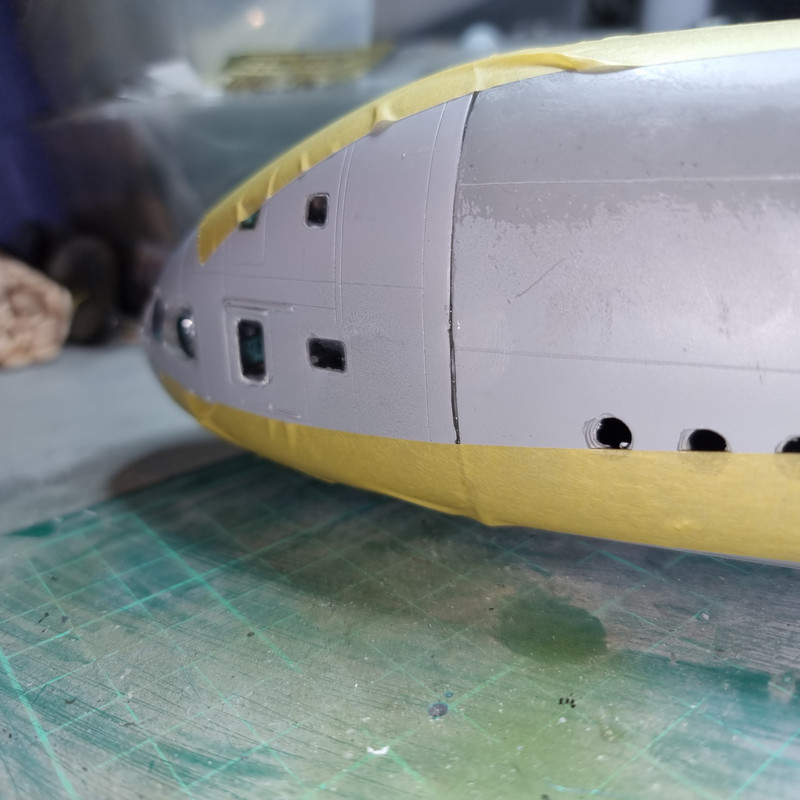
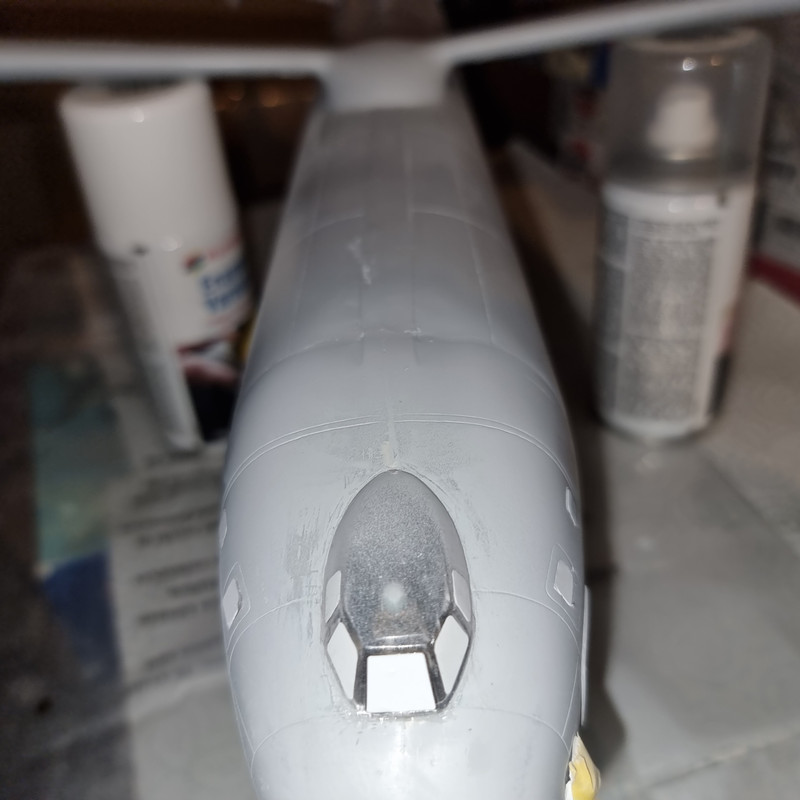
The bottom - man, is it weird!

The corners of the fuselage are a lot squarer than that of the cockpit so I either:
1) Pad the cockpit with filler to blend the corners in. This will lose a lot of panel details that will need to be re-scribed.
2) Sand the fuselage corners down to match the cockpit. A lot more work with the risk of going through the resin/matting at the extremities.
3) A combination of (1) and (2).
The initial plan is to go for number 2 and if the matting becomes exposed adjust to number 3. But to add to the fun the centre of the fuselage has sagged during the moulding process so the corners are higher than the cockpit but the centre is lower.... Figures..... So the centre line has to have a roughly Vee shaped section of filler to bring it up to the level of the cockpit.
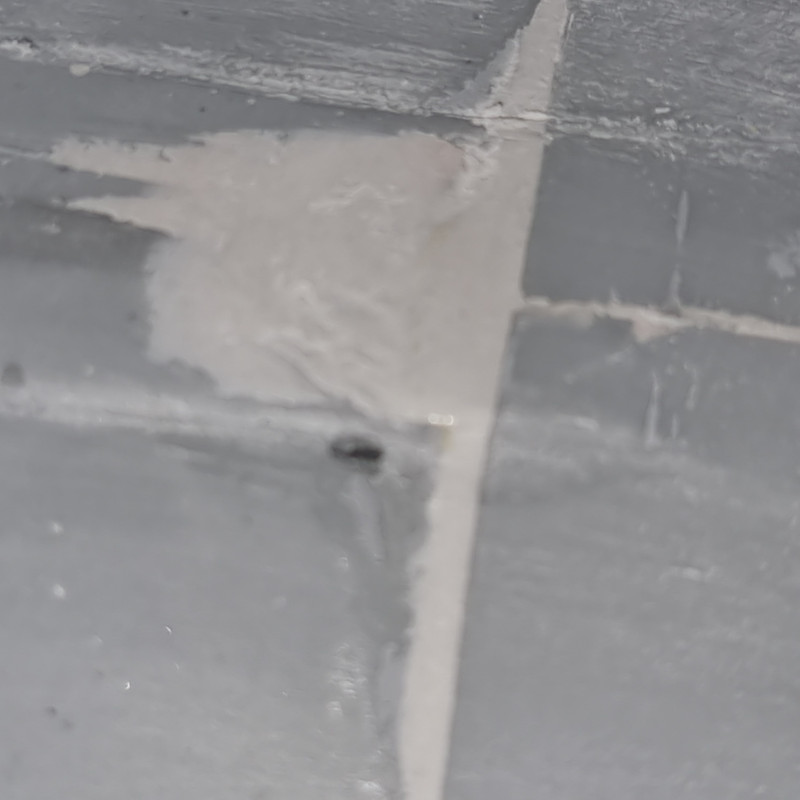
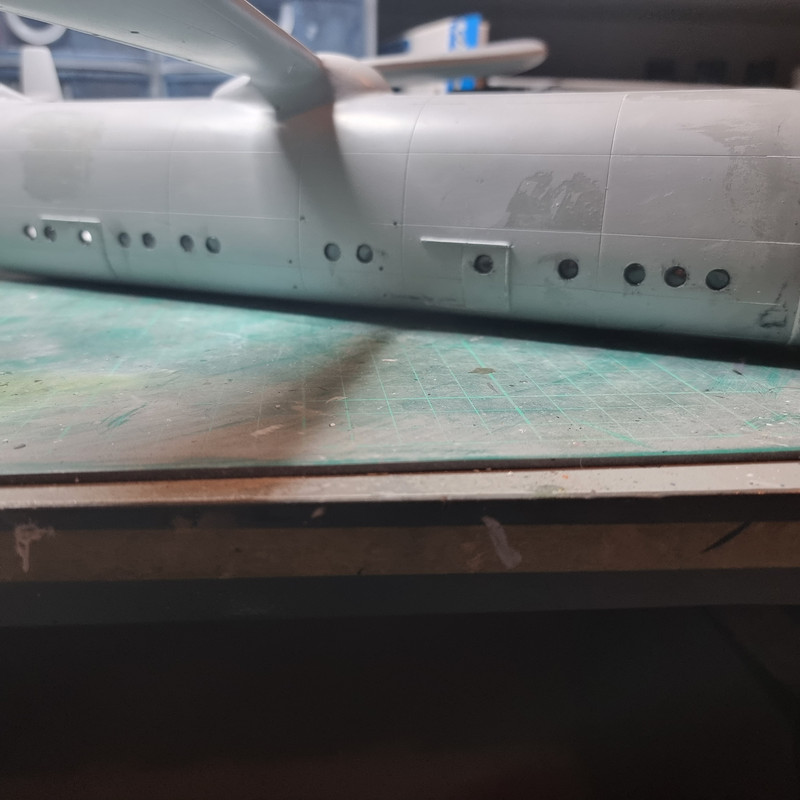
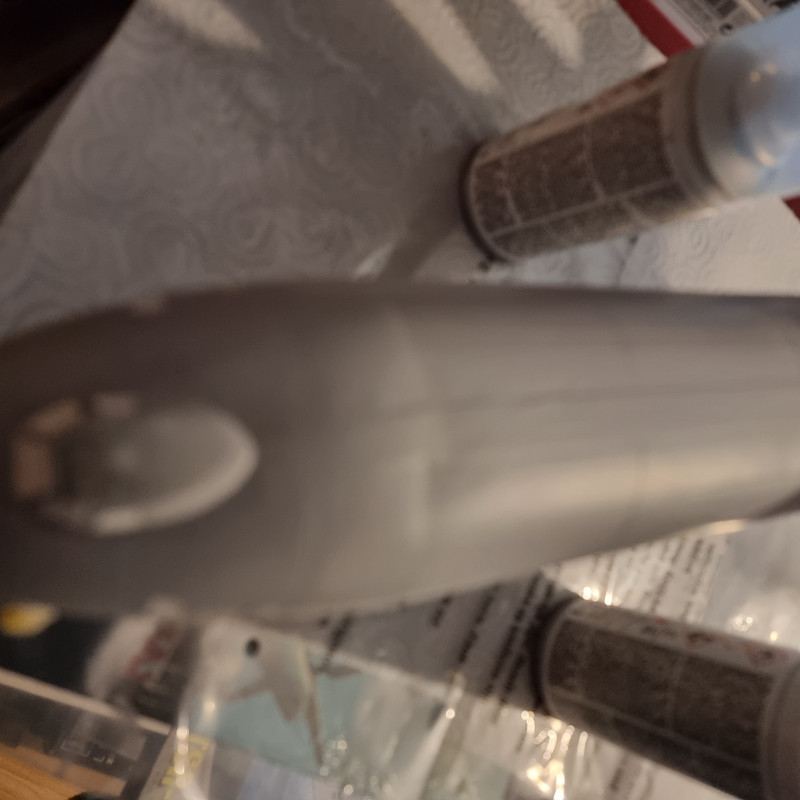
Other thing I've noted - and is bothering me a lot - is the number of patches of primer the masking tape has lifted off the resin fuselage. Its not filling me with confidence for masking up for top coats......
I am thinking once this and the Mi-6 are done and the SM-79 and Swordfish are finishec it will be time to go back to armour - or something so, so simple its not going to give me any headaches