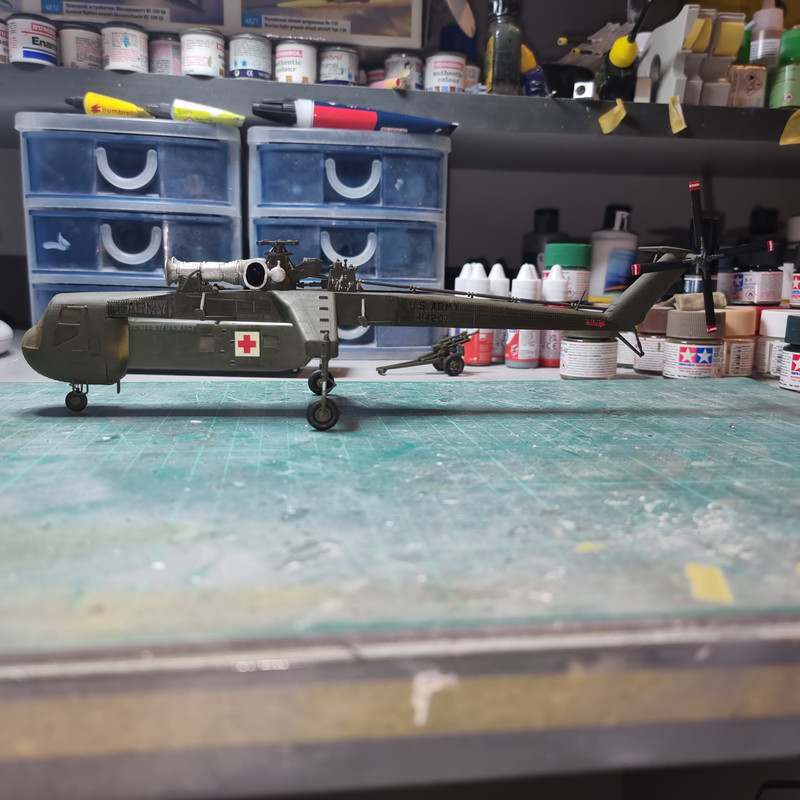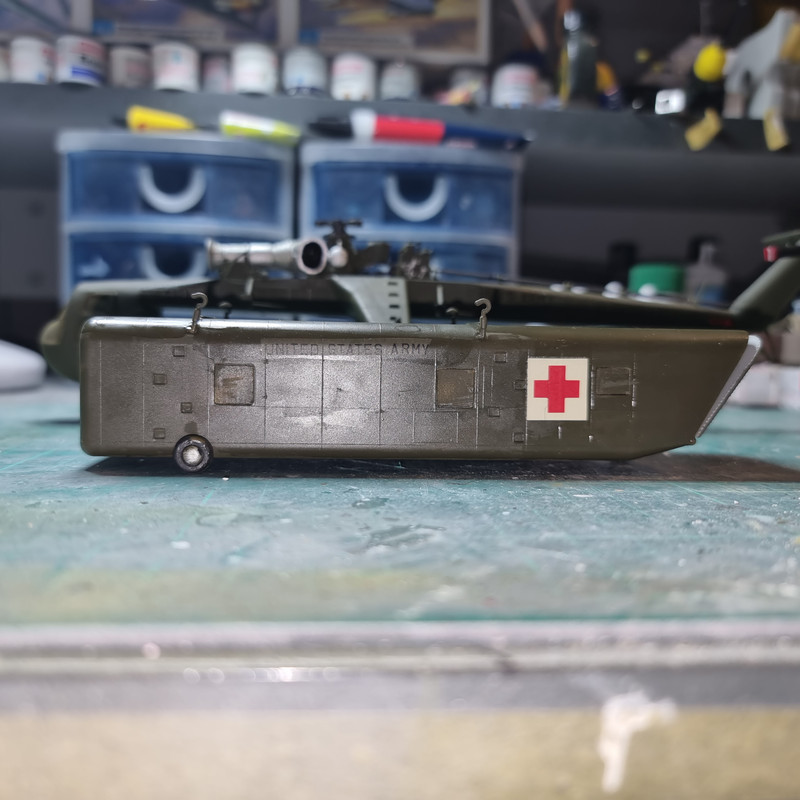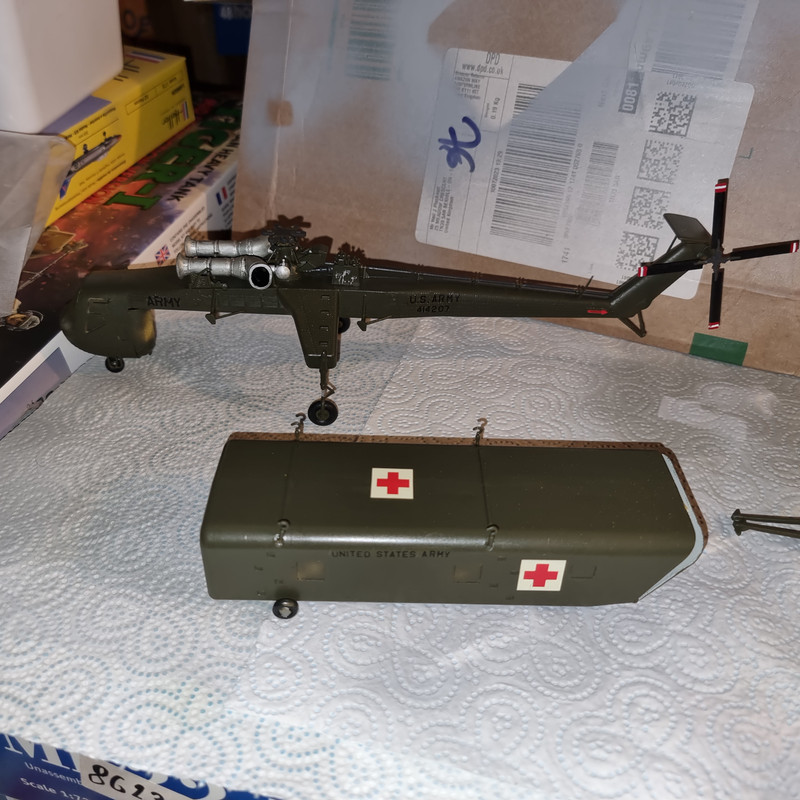


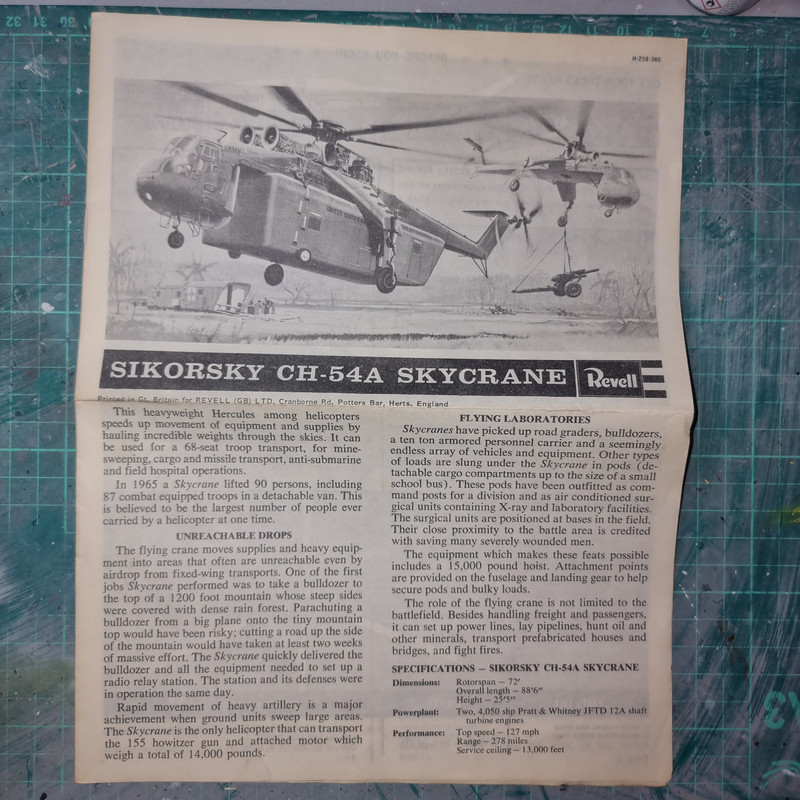
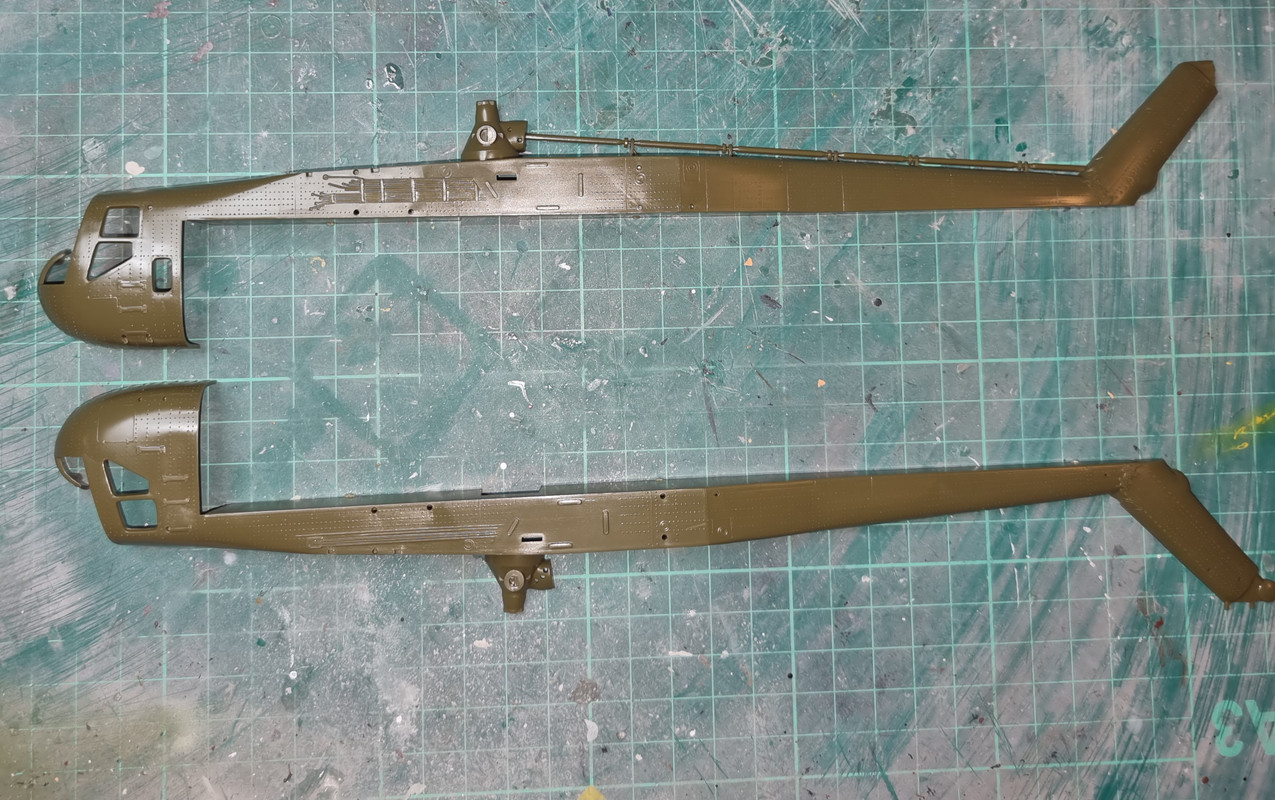
Anyways - enough negativity - this is the Revell kit I built as a lad so its many decades old - at least 50!!. Pretty basic as is to be expected and has some weird paint-callouts (red cockpit seats??) whilst expecting the overall model to be left unpainted.... apart from a fair bit of flash from the aged moulds the kit itself it quite cleanly moulded. Being old there were a lot of loose parts in the bag/box but all seems to be there so far. Its actually quite nice to have the old style instructions where they tell you what to do and what order to do them in rather than the modern exploded view with arrows style!
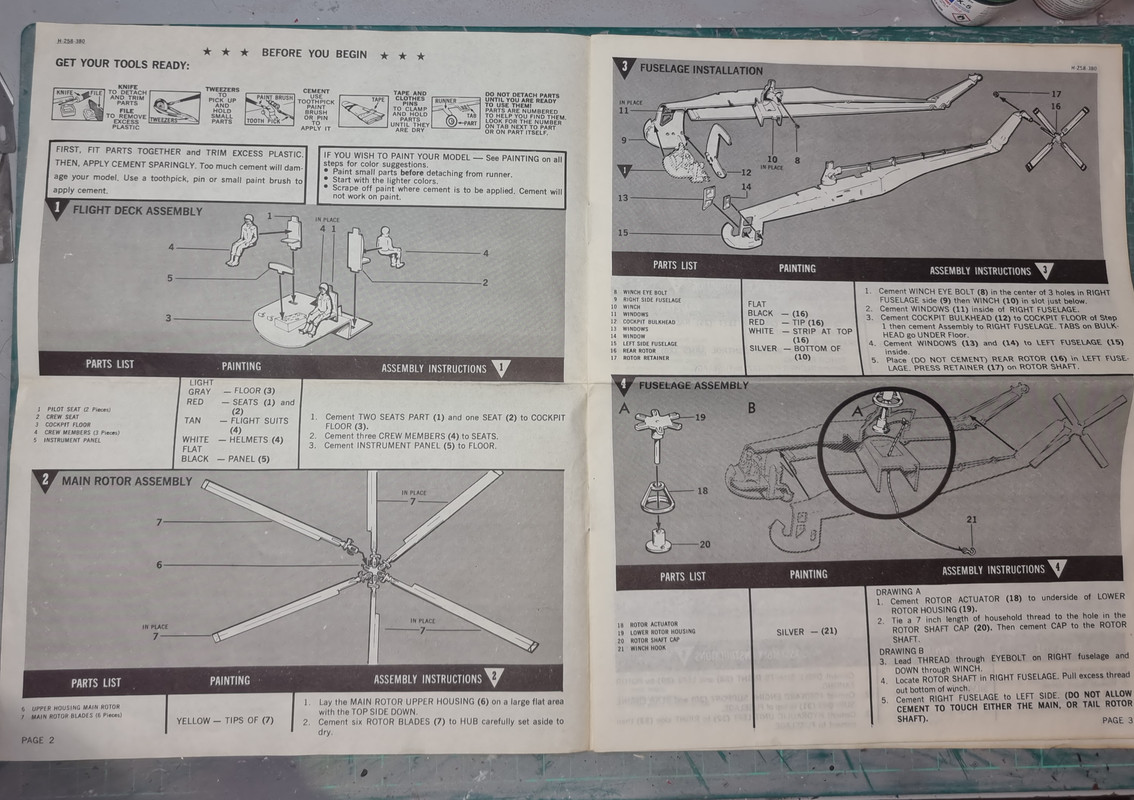
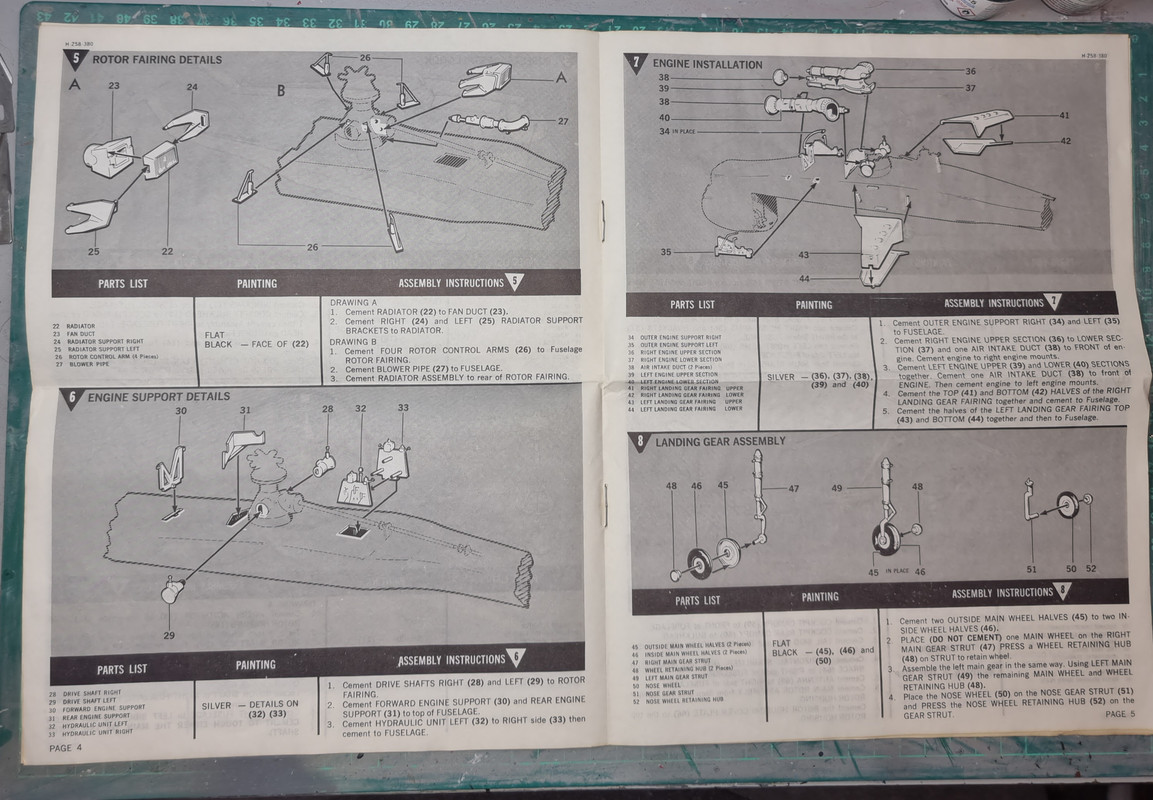
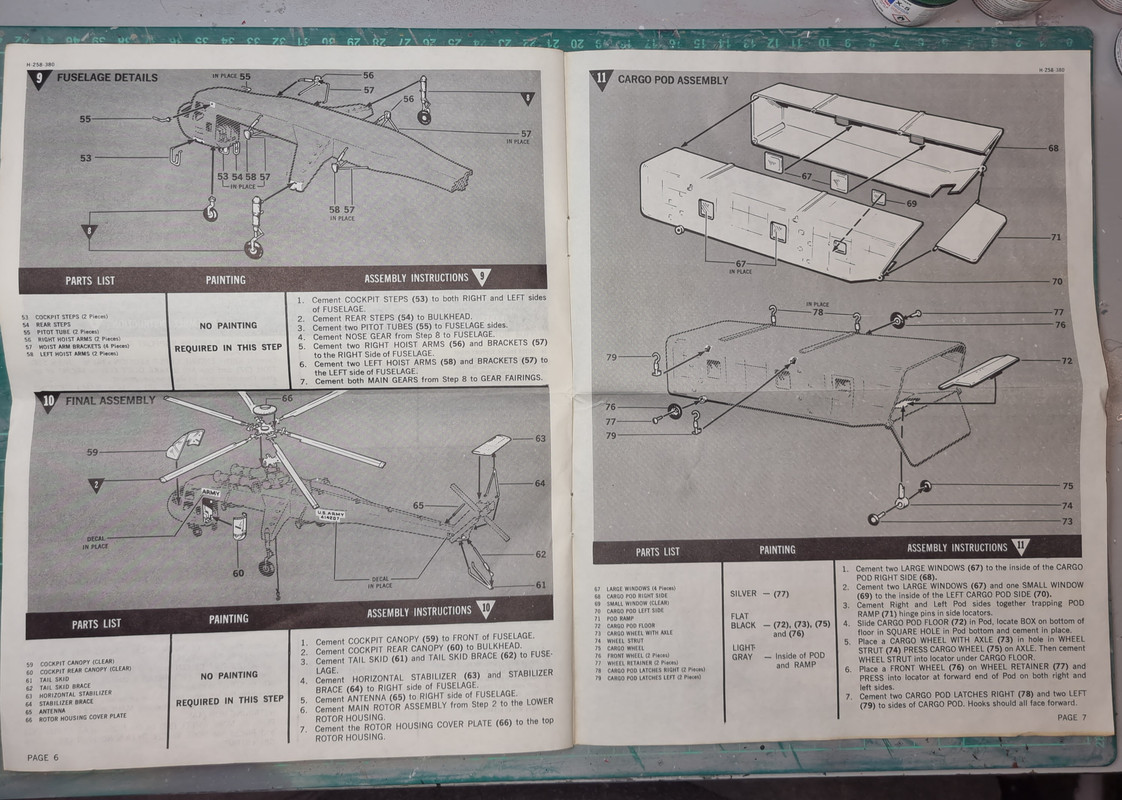
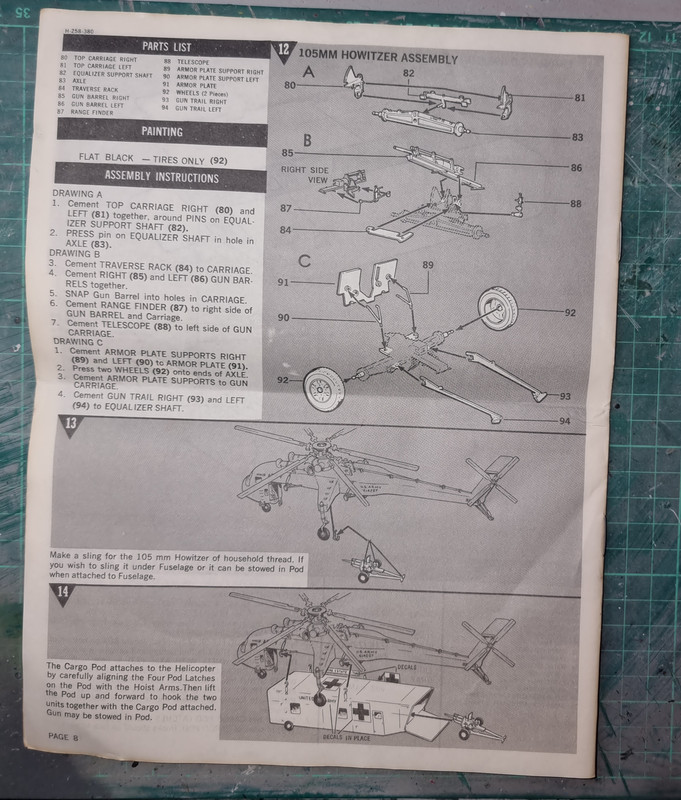
The instructions
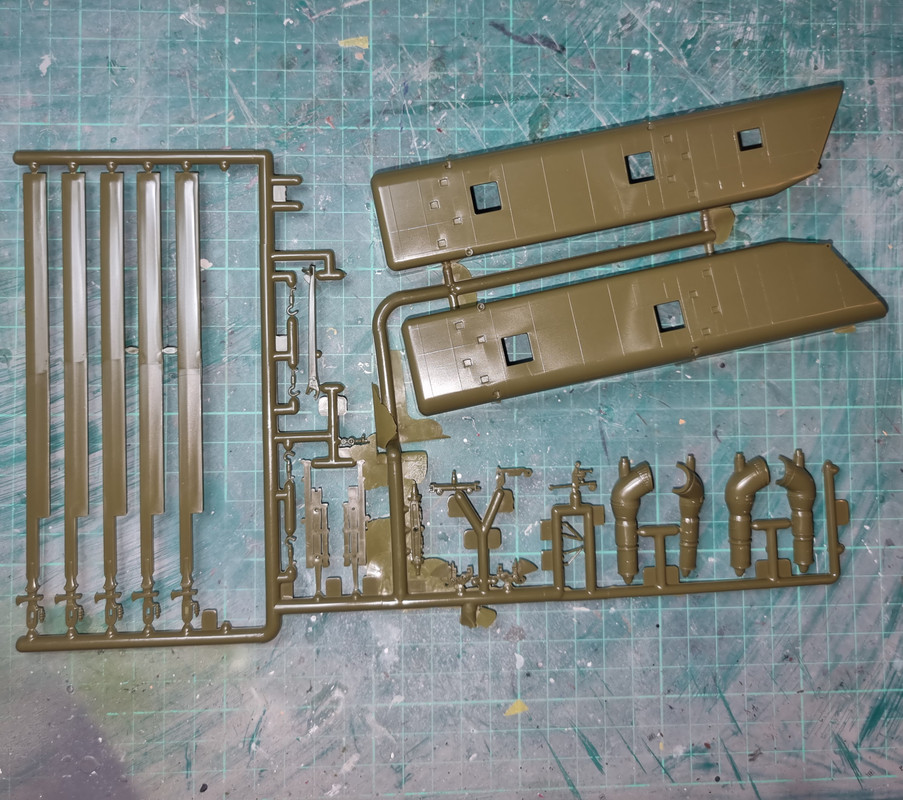
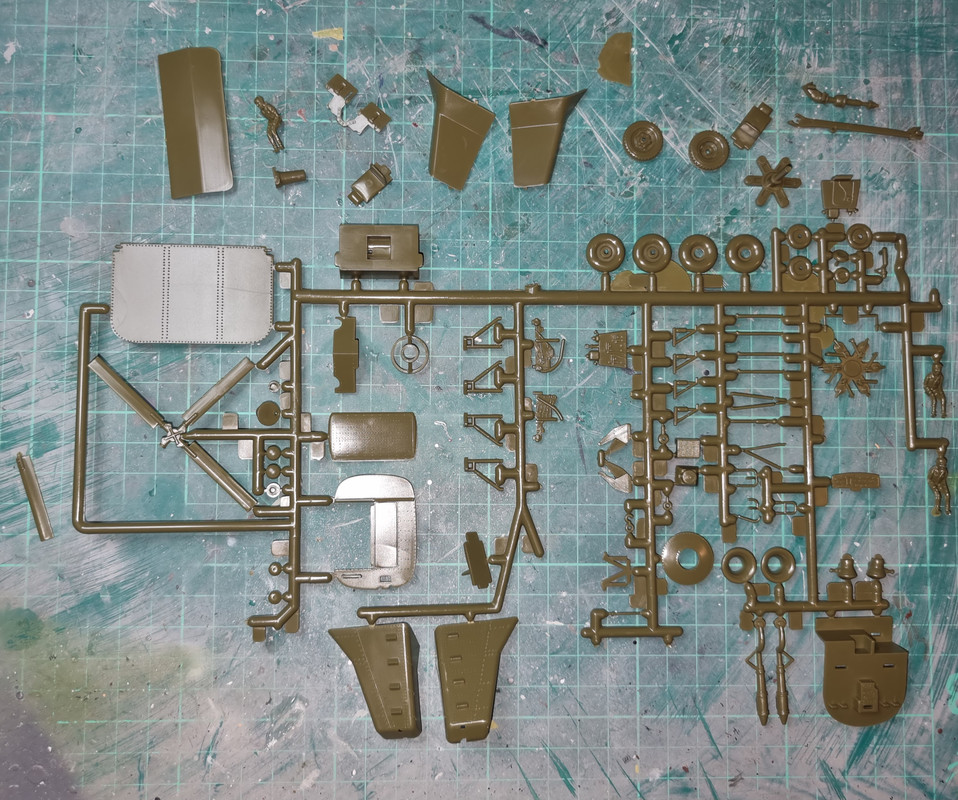
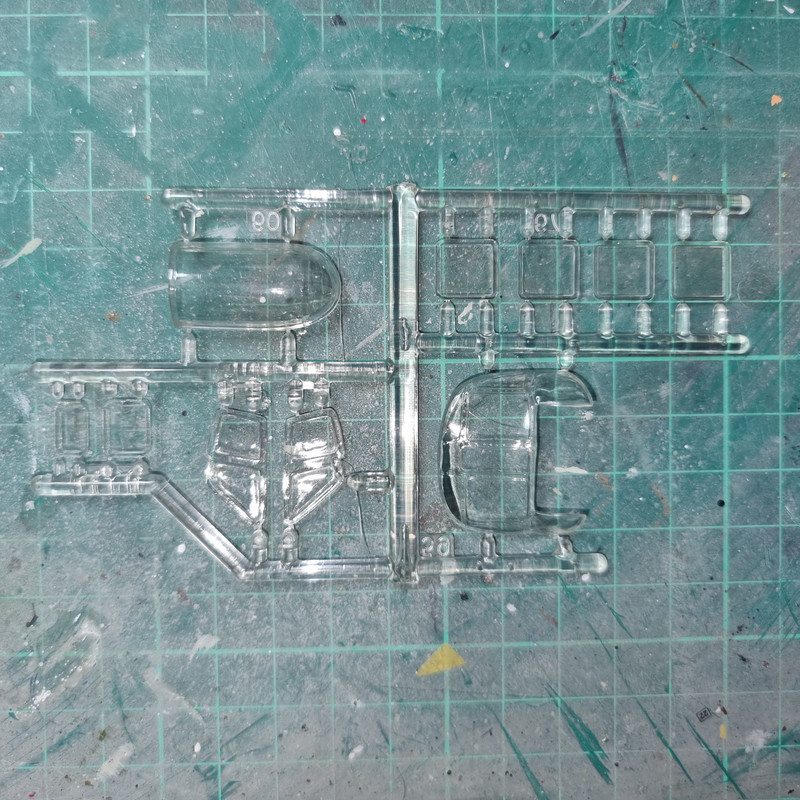
The sprues
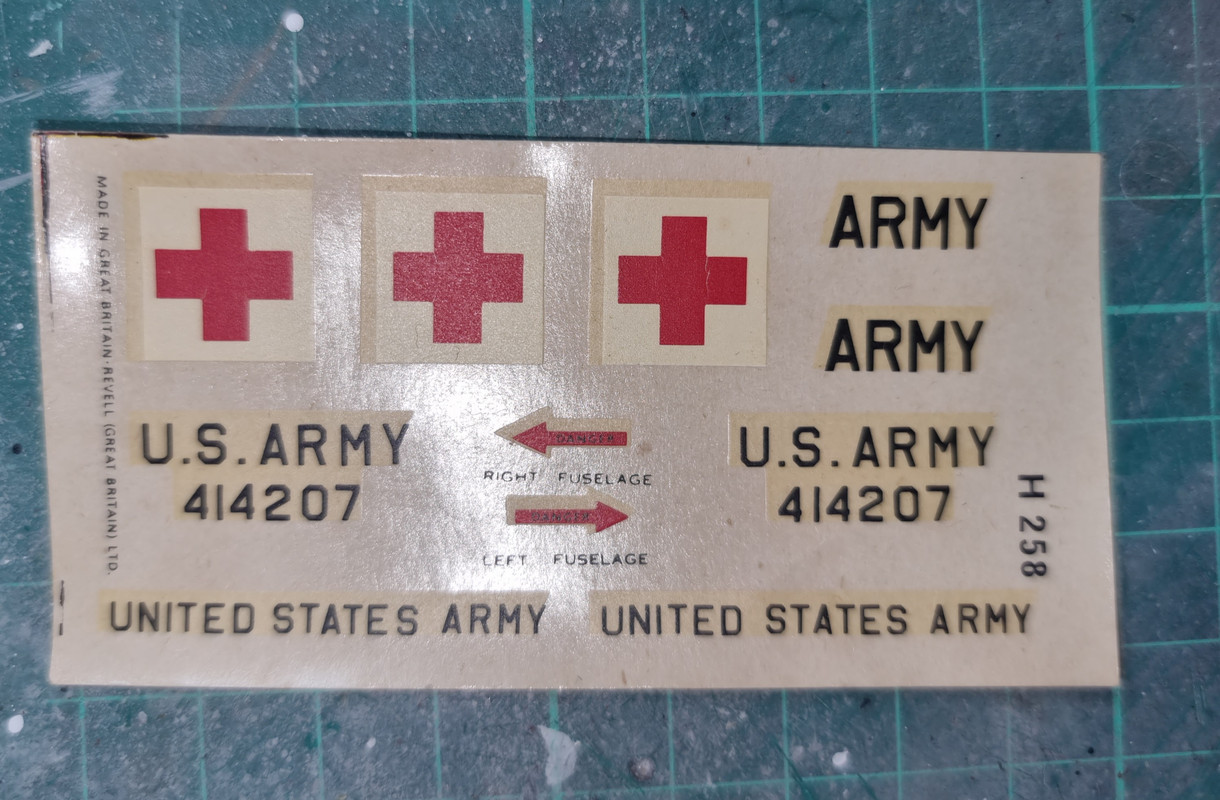
The decals (not sure how good these will be due to age)
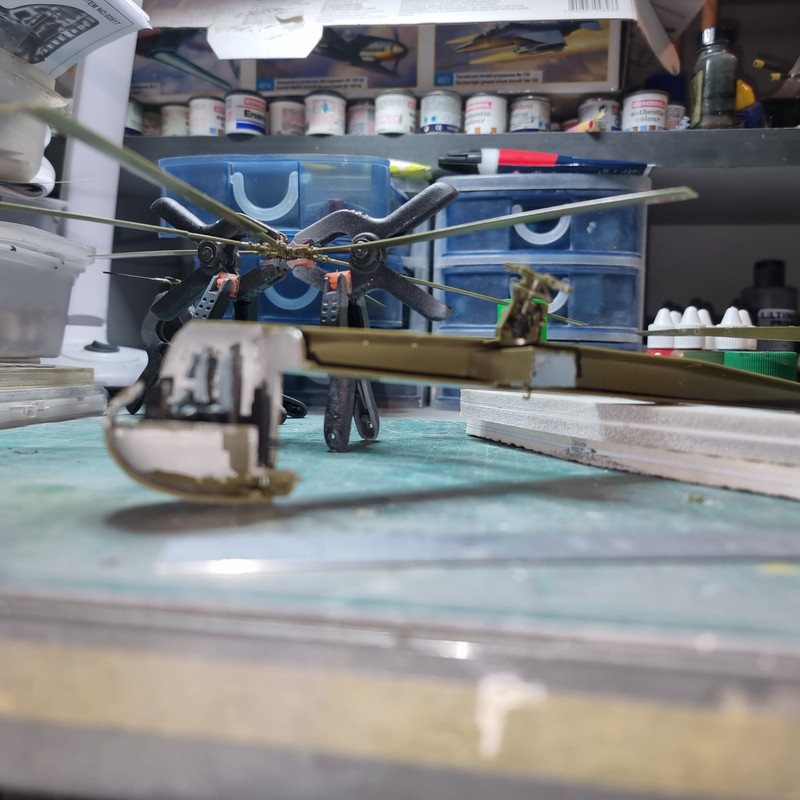
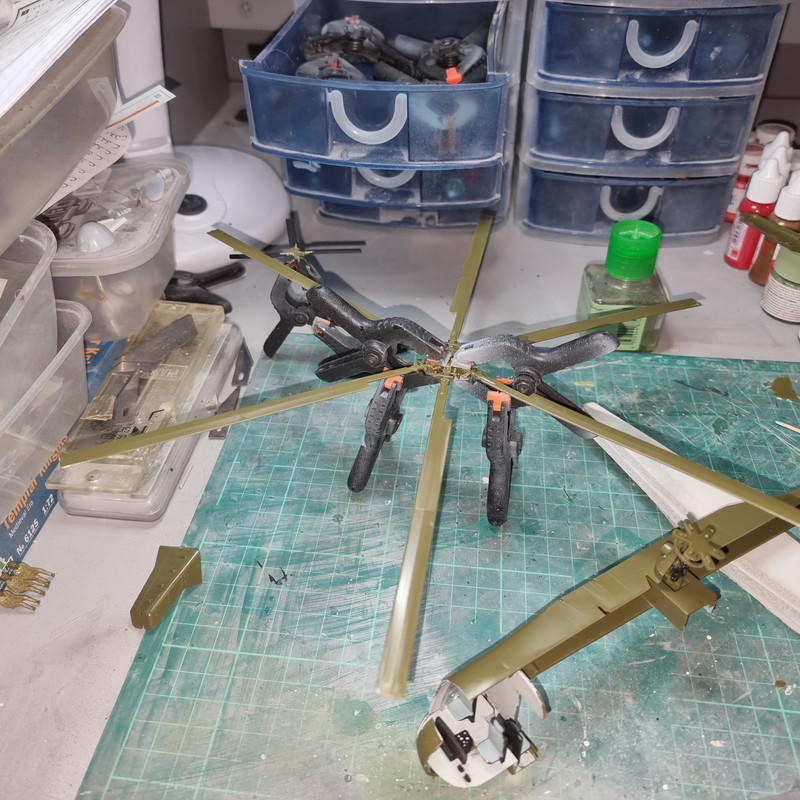
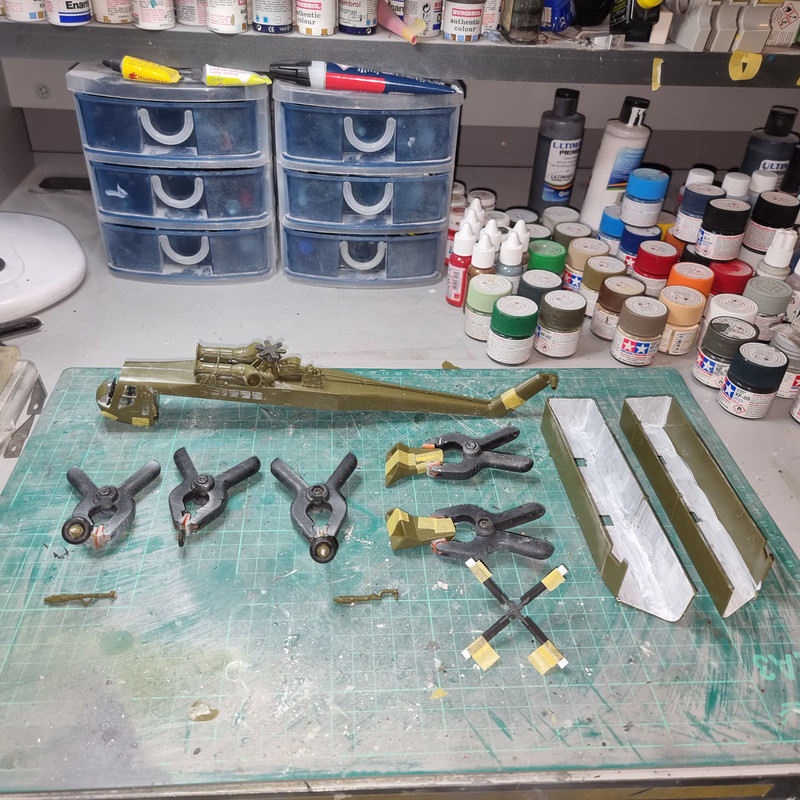
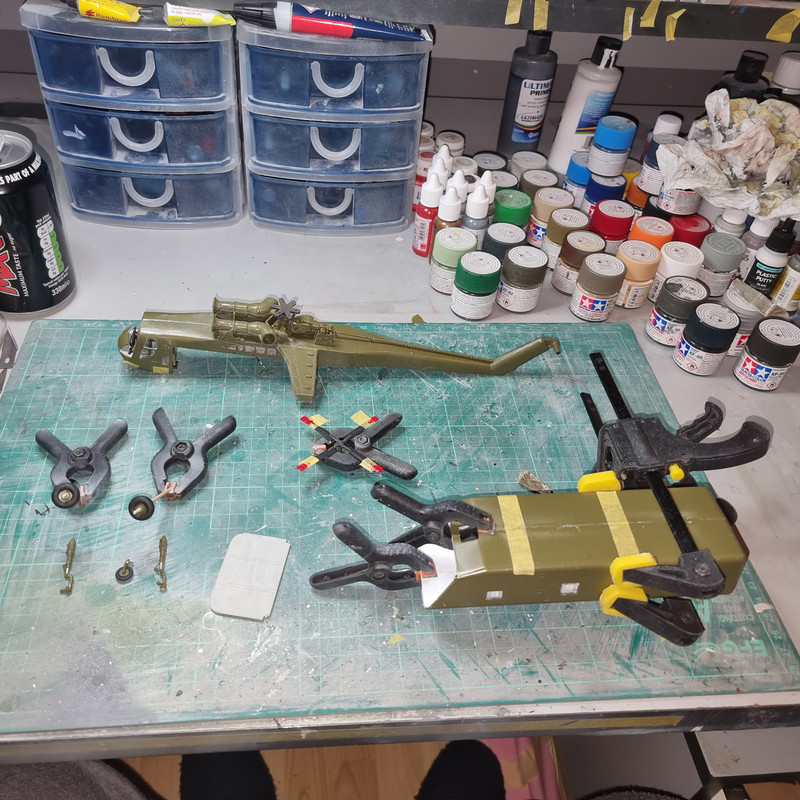
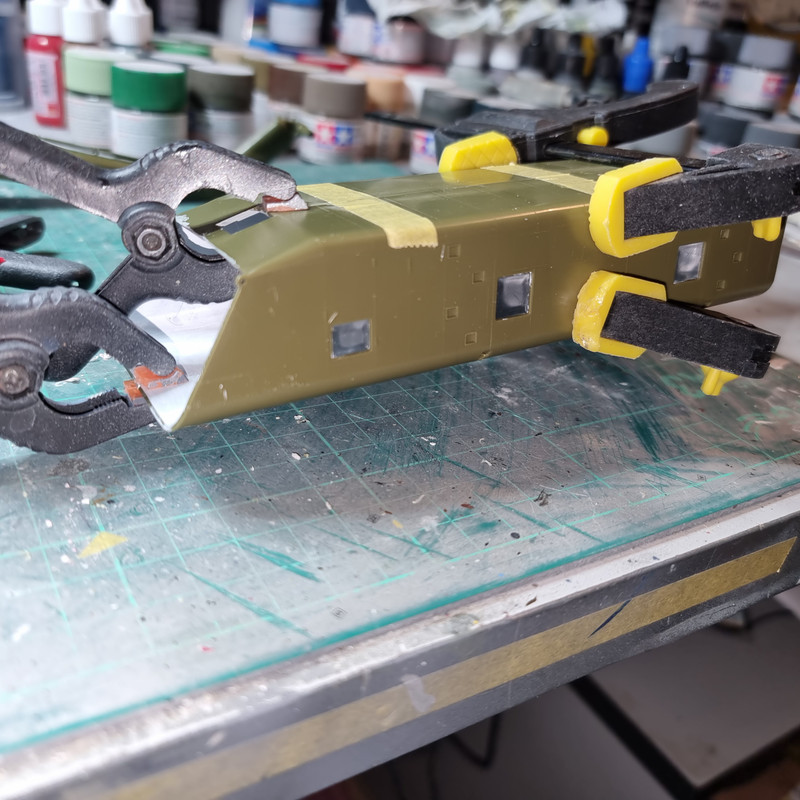
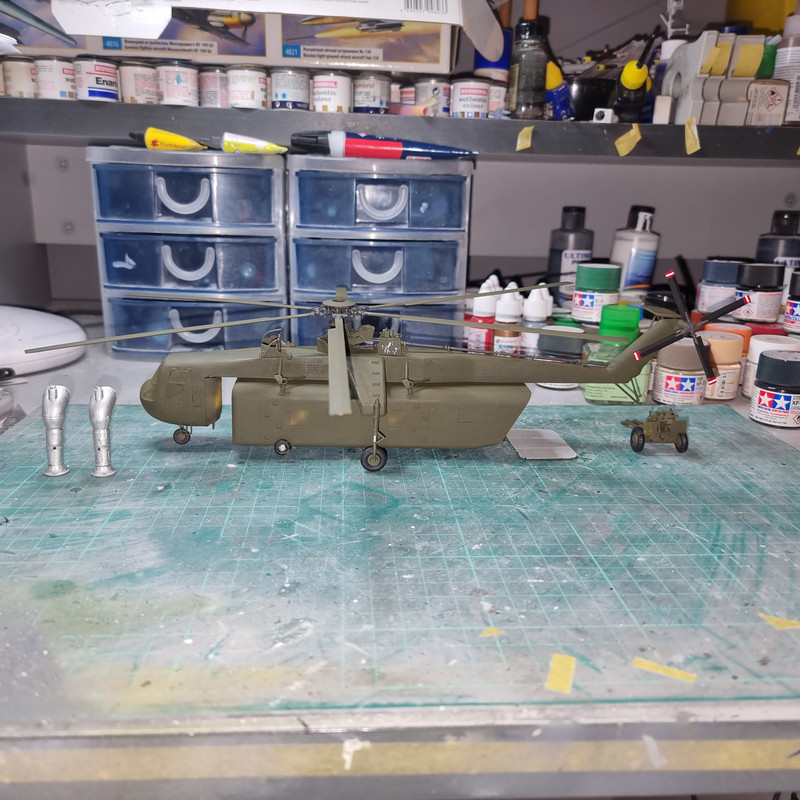
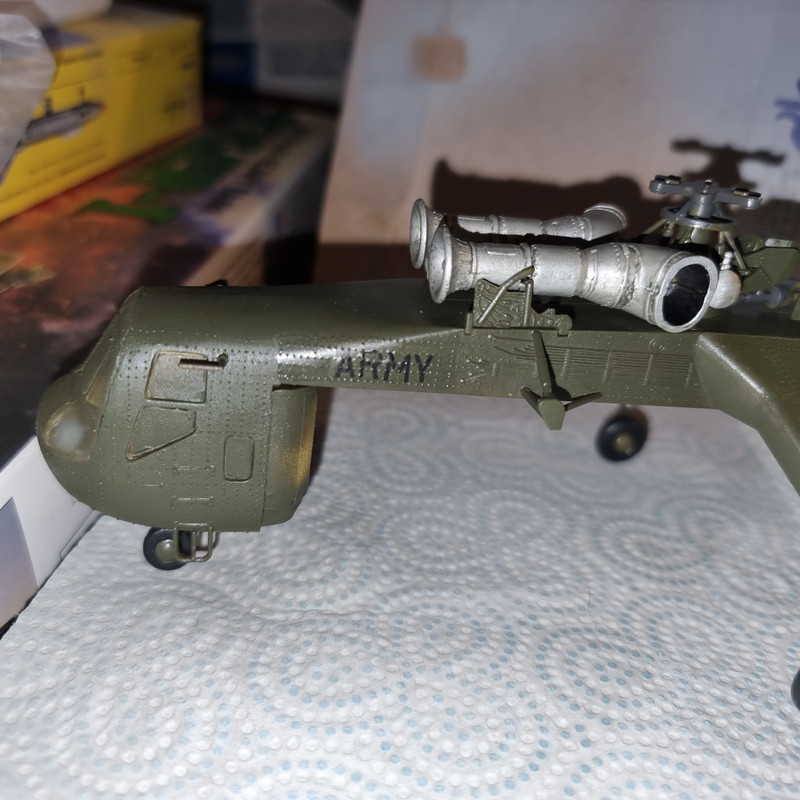
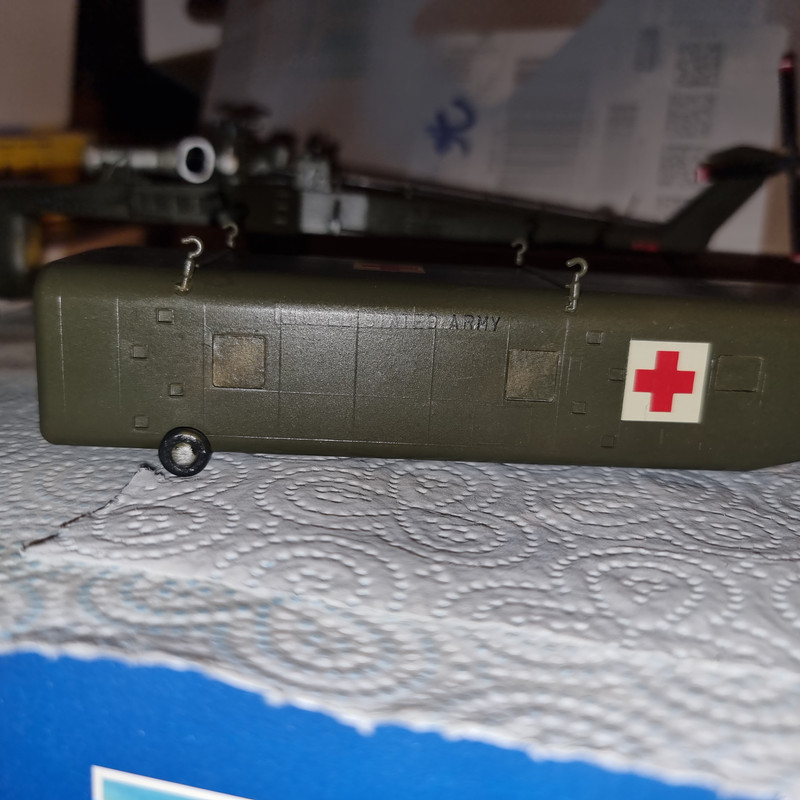
The build!!
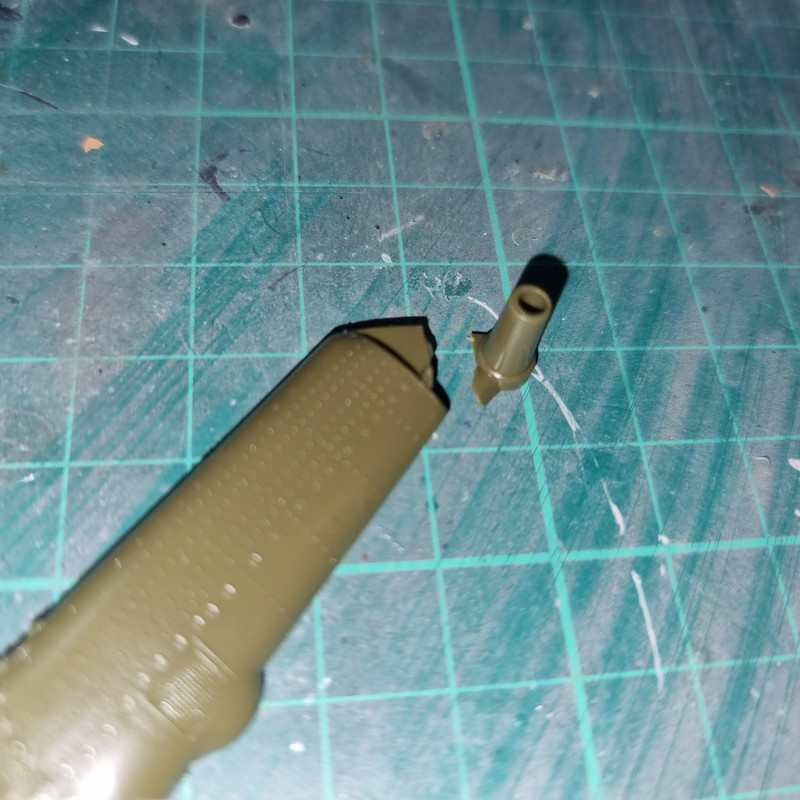
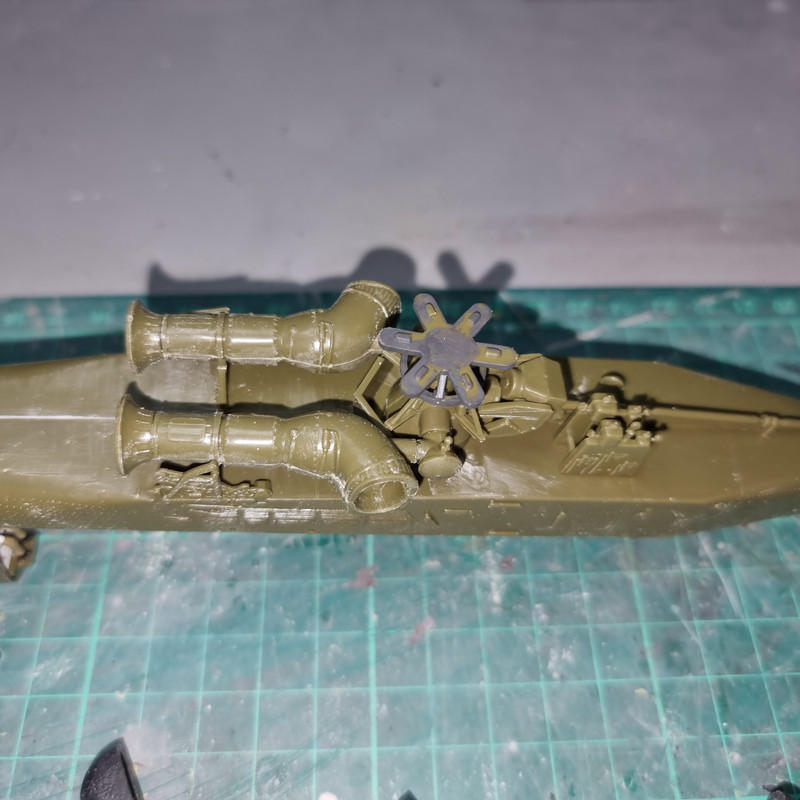
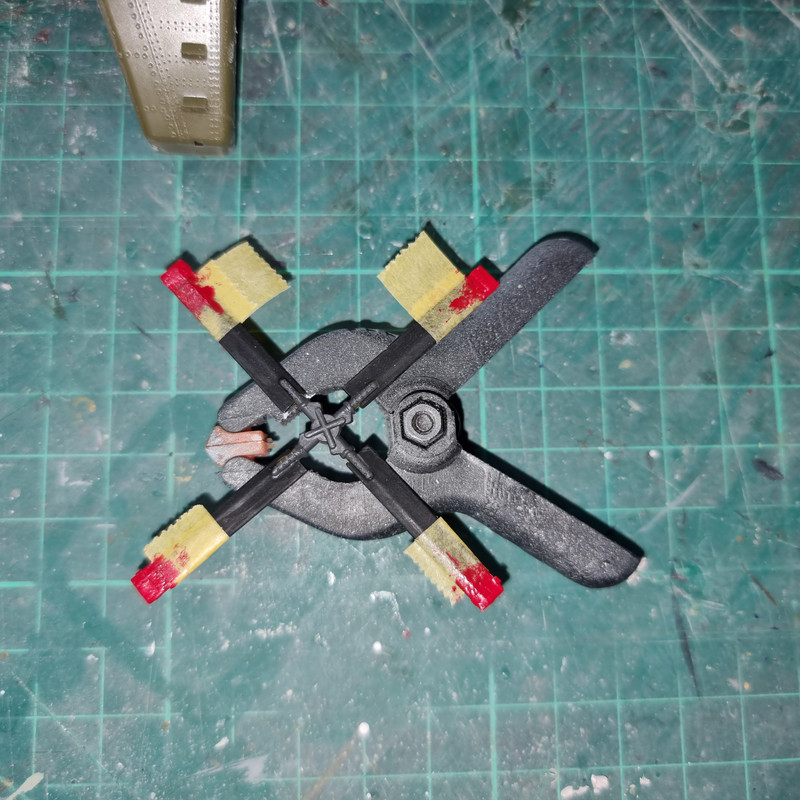
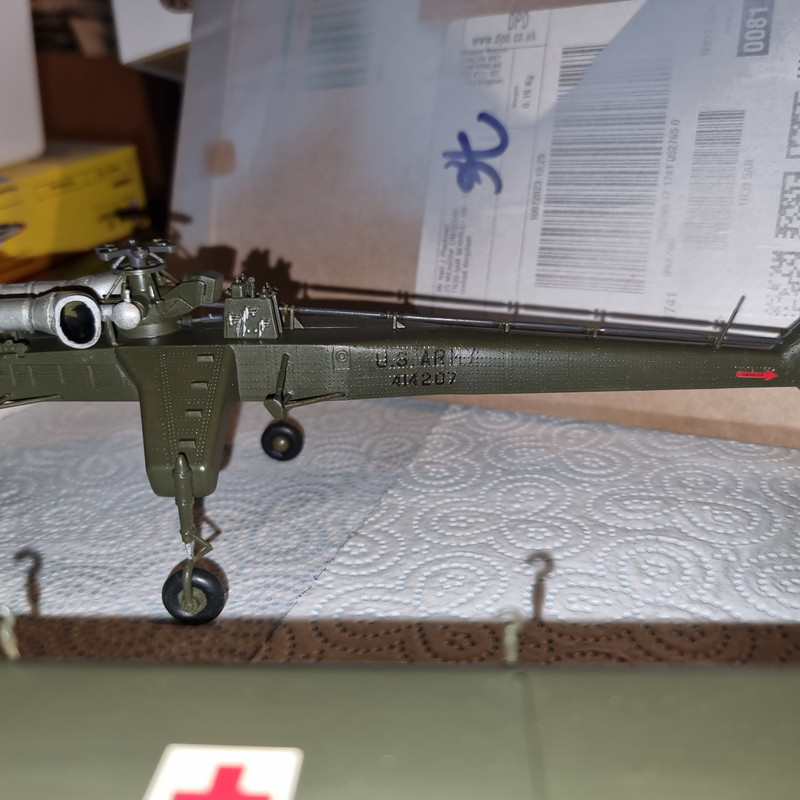
And we get off to a good start - the more eagle-eyed amongst you, looking at the sprue photos may have noticed an issue with the tail rotor in that it only has 3 blades, not 4. Blade #4 had broken off at some point and, luckily, was loose in the bag.
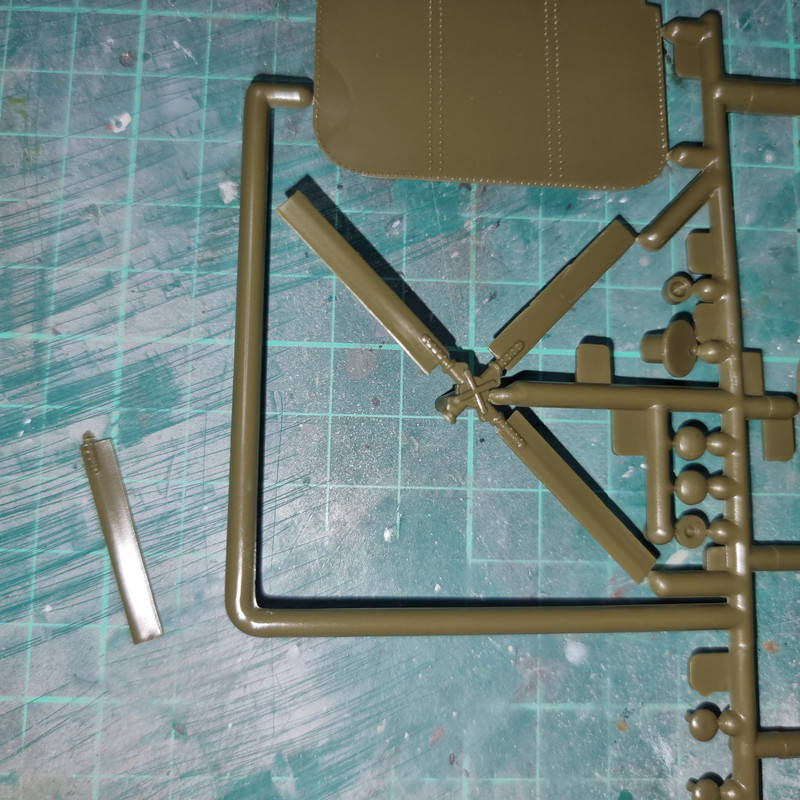
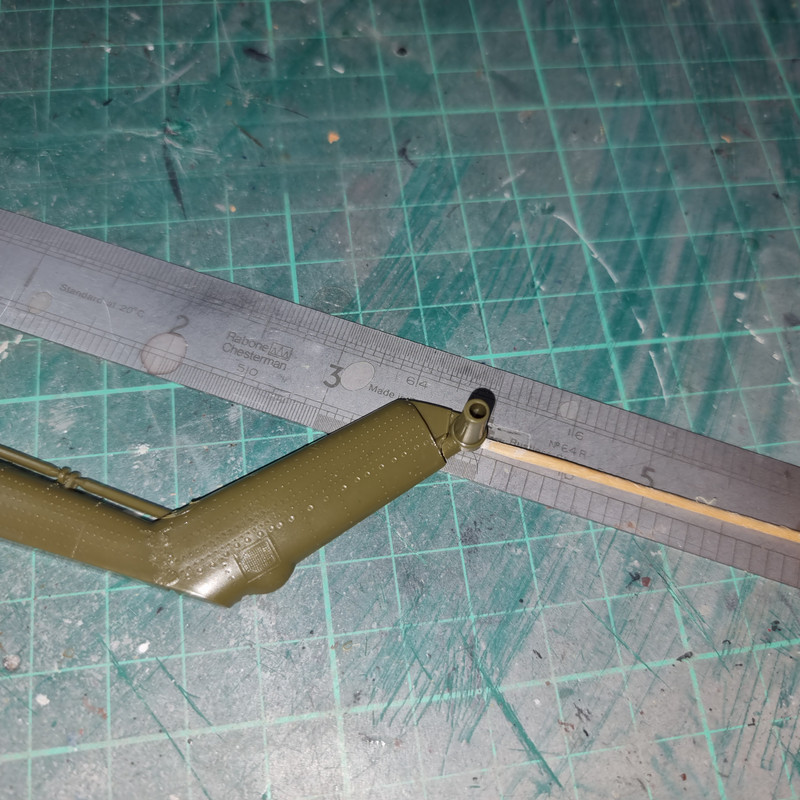
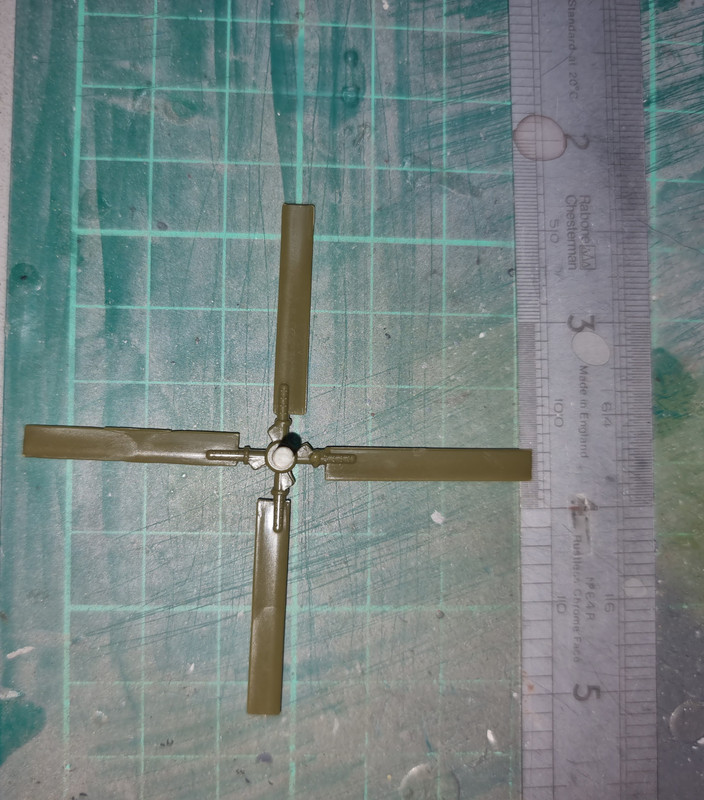
So the first step was to repair this. I opted for CA rather than poly cement for the join due to the very small contact area. Then propped the tip on a ruler to try and keep the same angle.
This has been left to set/cure for 24 hours. Next step was #1 in the instructions - the cockpit. Here the kit really does show its age - very basic and sparse - with, as noted, some odd colour call outs - red seats, grey floor. Grey floor I can live with, this being a 1960's era machine but I have never seen red crew seats that weren't ejection type! So they will be black. The kit does provide 3 basic crew figures, I cleaned the flash and moulding lines off and the call out was for tan flight suits. I think the tan I have is way too light so I'll revisit this with a light brown instead.

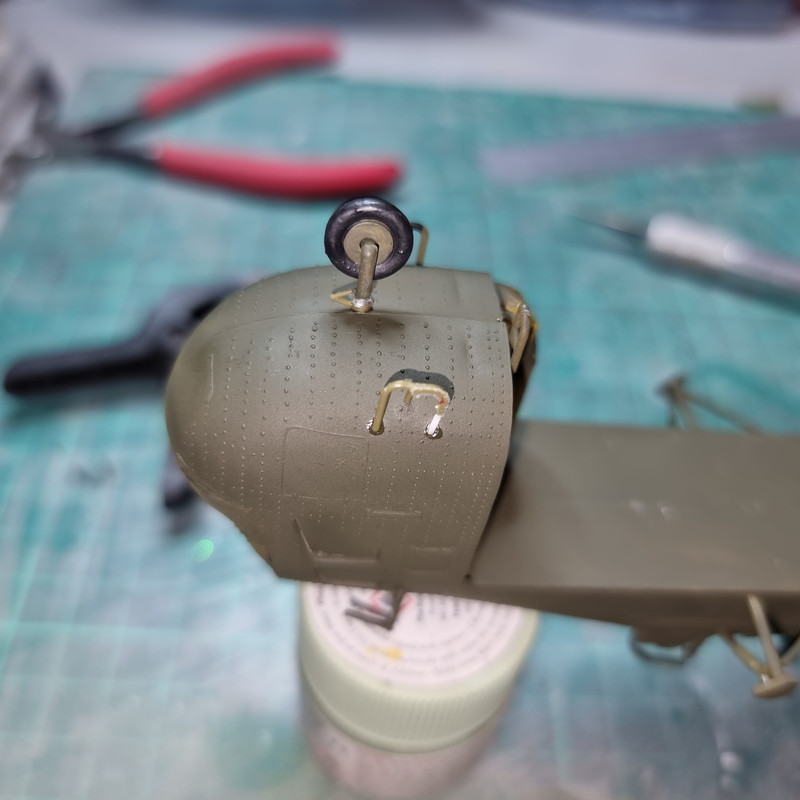
Contemplating right now heating some 0.5mm rod up and bending it into shape to at least provide control columns.