Let's see how far I get with this SU-33 ;O)

Post Reply
Stonkmer
Corporal
Corporal
Posts: 68
Joined: Sun Sep 29, 2013 9:28 pm

Let's see how far I get with this SU-33 ;O)

Post by Stonkmer »

Not Sure How far I'm going to get with this as I'm a busy chap....
But Here goes.

I've picked a Hasegawa SU-33 Flanker D to do for the Easter Egg Plane Build.
I've got the Nozzle and Cockpit upgrades from Retrokits to try out some resin work.
I might even scratch build a rearview mirror for the canopy (just to try out some UV glue I've bought and will report back on that one)...

Anyhow, to kick off, here's my box and bits on display:
Image

Well, we'll see how it goes and there might be some note updates (hopefully)!!!
Stay Tuned..

Stonkmer
;O)
User avatar
Paul
Site Admin
Site Admin
Posts: 12622
Joined: Thu May 23, 2013 4:47 pm
Location: Merseyside, England, UK
Contact:
England

Re: Let's see how far I get with this SU-33 ;O)

Post by Paul »

Damn you this is the one I wanted to do :eeek:

Good luck, can't wait to see it built :thumb2:
Stonkmer
Corporal
Corporal
Posts: 68
Joined: Sun Sep 29, 2013 9:28 pm

Re: Let's see how far I get with this SU-33 ;O)

Post by Stonkmer »

Right, here goes..
I've actually done something.... wow I've even shocked myself!

Sorry Paul... Thing is a) You'll probably complete yours and b) yours 'll look well better than mine!! ;O)

Anyhow:

I Started off by clipping out some of the major components and giving them a clean up with some sanding sticks (and where required carefully with a scalpel cutting and "back scraping")...

Image
Image

Next snag I came across (apart from having to sort out some decent Lighting.. looking at options, LED's the way to go me thinks..) was the cockpit upgrade from Retrofit...

For this (like most Resin mods on kits), parts have to be removed...
The cockpit detail itself (and the seat and console) is great!!
Image

So, the Cuttin' n Hackin' begins (TAKING ALL SAFETY PRECAUTIONS WITH RESIN!!!!!!! ALWAYS CLEAN UP THE DUST ASAP AND WEAR A MASK):

Image

Remembered I had a little razor saw set (from Voyger models) that you put into a Xacto or Swann Morton blade holder...
Note though that Swann Morton have more than one size of blade holder... I made the mistake and got the larger one...

Image

Image
Really do need some proper lighting! Hehe ;O)

With a mixture of back-scrapping wight the blade and the razor saw... start to get there...
Image
Image
and finally get it out... Just needs a clean up:
Image

Trial/dry fitting throughout!
Image

And that's it so far.....
Cleaned up and ready to start looking at painting and building up the cockpit.....
Not a heck of a lot can be seen when looking into it (which is a shame as it is a nice cast!), anyhow might not spend an eternity doing it, just enough to brush up and knock of the dusty paining skills...
Image

Will try to get some more done soon and will hopefully be back....

;O)
Stonkmer
Corporal
Corporal
Posts: 68
Joined: Sun Sep 29, 2013 9:28 pm

Re: Let's see how far I get with this SU-33 ;O)

Post by Stonkmer »

Ok, So I've managed to do a little bit more (nothing Major, but hey)...

I was looking down the air intakes and they looked a bit bland... So I decided, now that I'm using Retrokit's Nozzles I'd use the redundant nozzles (waste not, want not) and put them in there for something to see...
ImageImageImage

Getting there (Very Slowly... They were the first two pieces that I have actually glued..
Hopefully there will be more to come!!!

;O)
Stonkmer
Corporal
Corporal
Posts: 68
Joined: Sun Sep 29, 2013 9:28 pm

Re: Let's see how far I get with this SU-33 ;O)

Post by Stonkmer »

Actually managed to get something done again today!!!
Wow I am shocking myself!!

Anyhow, today:

Primed and painted the cockpit and seat in the base colour (not going to go to town too much on the cockpit as not a lot is visible, but hey, it's good practice)...

Image

Also stuck down the air intakes, the nozzles placed on the inside do actually give something to look at now...
Image

Well, that's it really!!
On to the next time... Whenever that'll be (work again tomorrow!!)...

;O)
CrackedCubes
Staff Sergeant
Staff Sergeant
Posts: 201
Joined: Sun Sep 29, 2013 6:53 am
Location: Frisco, Texas, USA
Contact:

Re: Let's see how far I get with this SU-33 ;O)

Post by CrackedCubes »

Sweet resin add-ons there! Looking forward to all that detail in the eggpit!
User avatar
DBMiller
Chief Warrant Officer 3
Posts: 2263
Joined: Mon Jan 06, 2014 8:10 pm
Location: Guilford, Vermont, USA
United States of America

Re: Let's see how far I get with this SU-33 ;O)

Post by DBMiller »

Aftermarket parts for an eggplane!? Just like when I was in school. There was always someone who just had to go for the extra credit and throw off the curve! :twisted:
ON THE BENCH: Do I have to say? :(
Stonkmer
Corporal
Corporal
Posts: 68
Joined: Sun Sep 29, 2013 9:28 pm

Re: Let's see how far I get with this SU-33 ;O)

Post by Stonkmer »

So a lot of work done and not many posts...
Time to catch up on that...
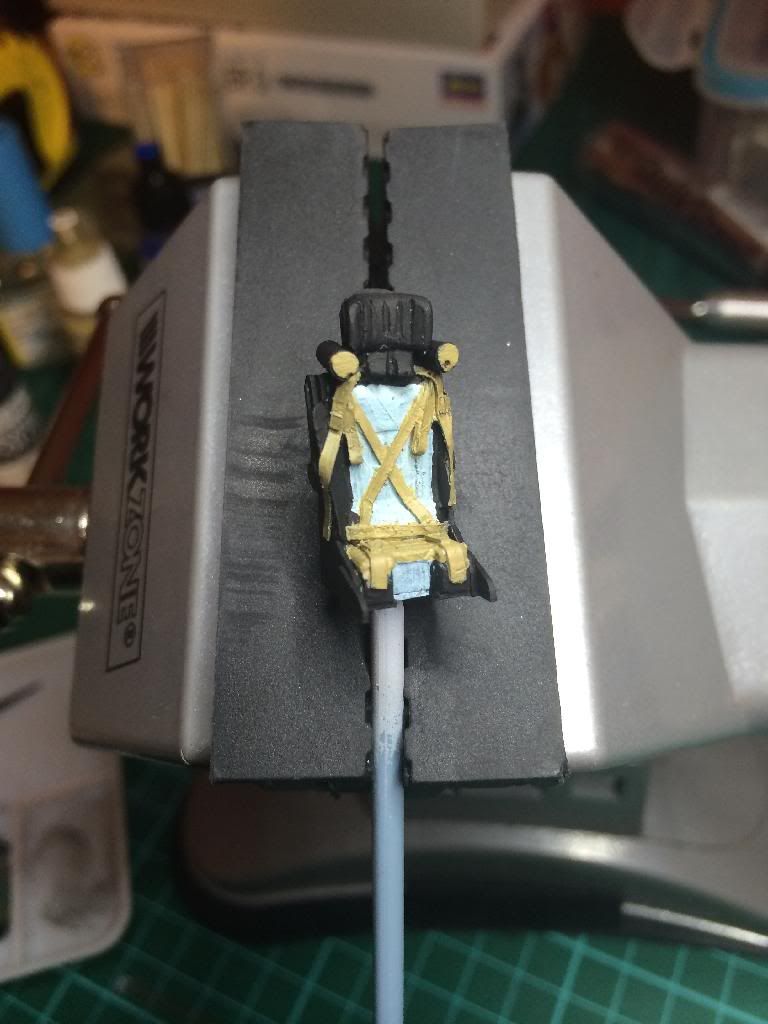
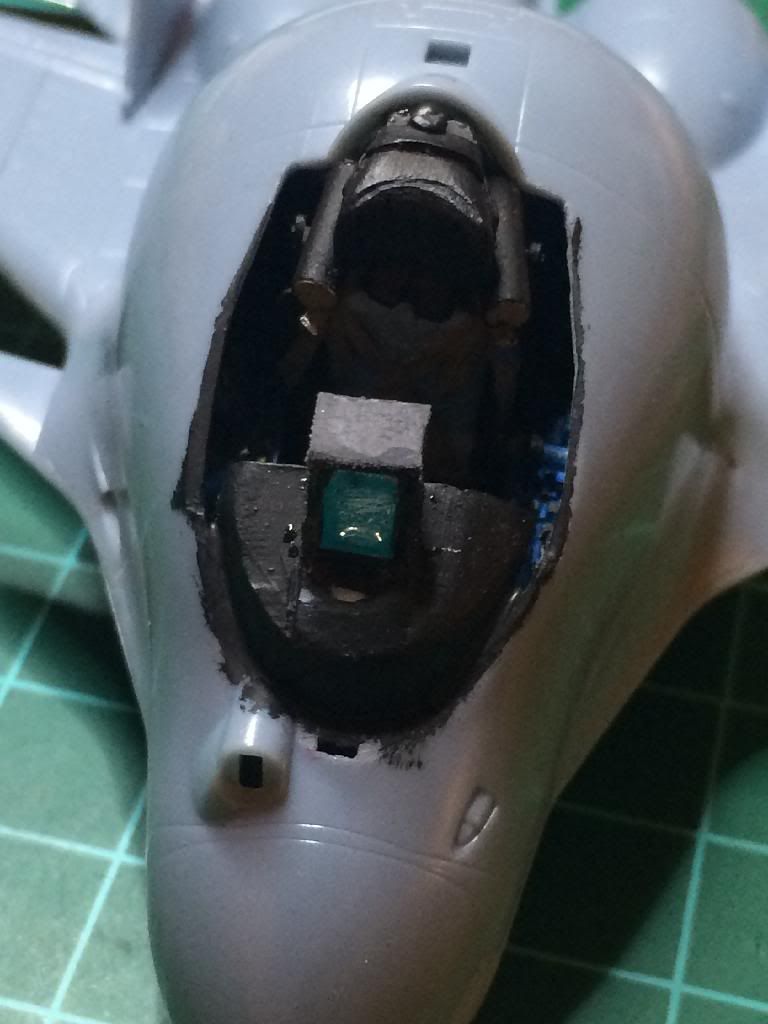
So after the exhaust ports, the focus turned to the cockpit and aftermarket parts and getting it all painted up....
Image
Image

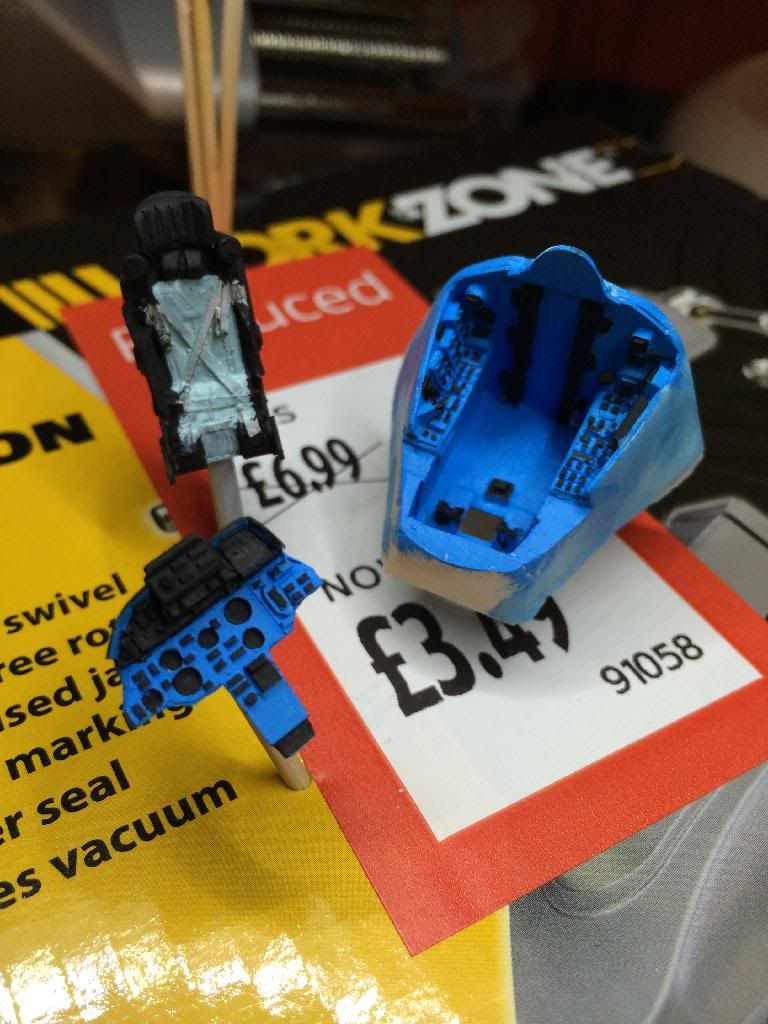
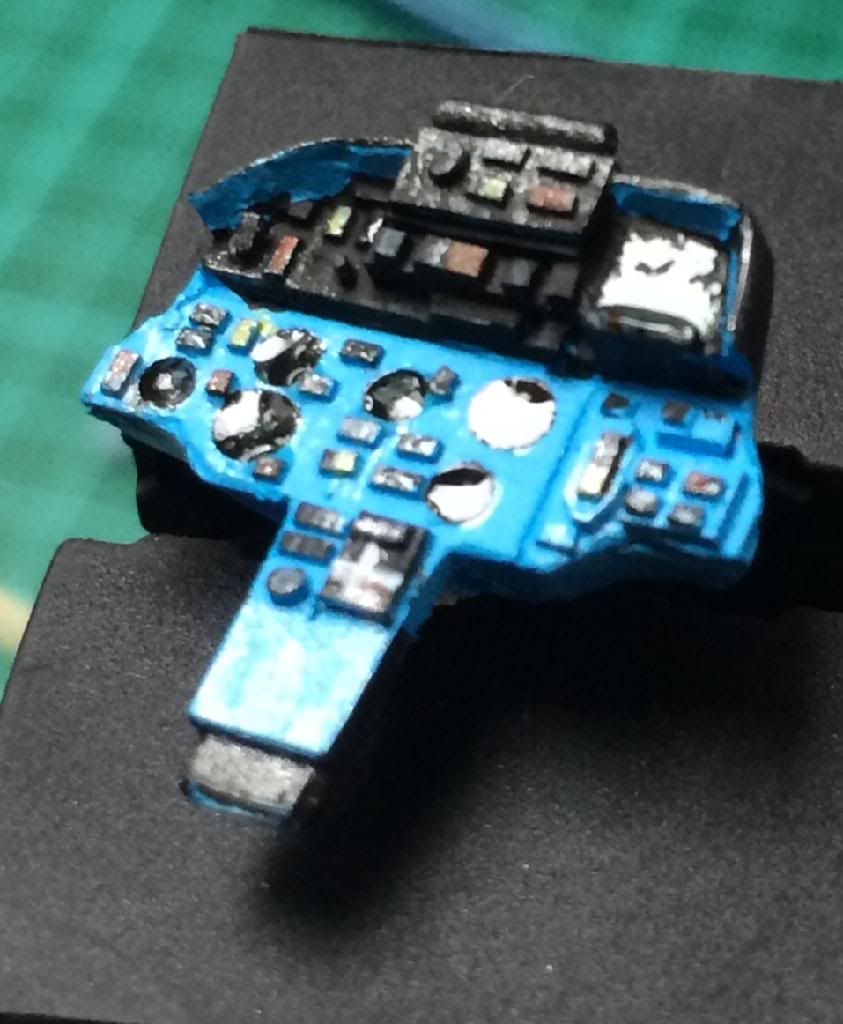
Some basic coats and touching up... I wanted to try out this UV Glue (resin) that's been banded around for a bit...Image
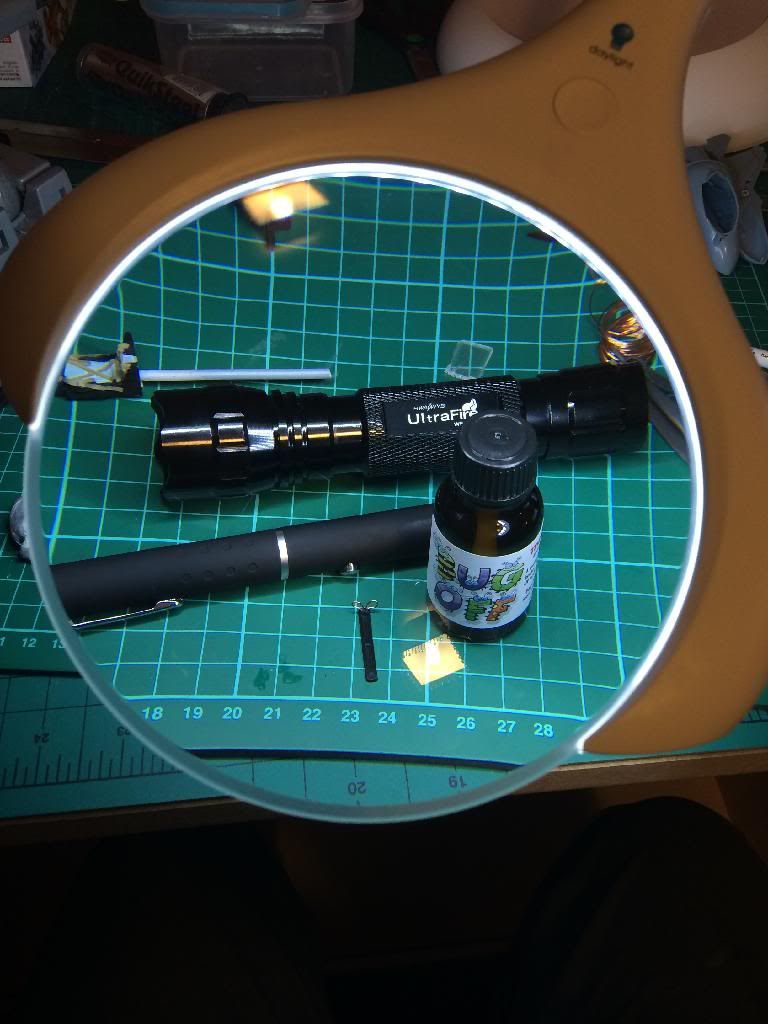
The stuff I got is some Fly fishing stuff, there's a thickish (in texture) and thin one.. I got a cheapish UV torch and a UV laser to try it all out with (all came to about 20 quid)

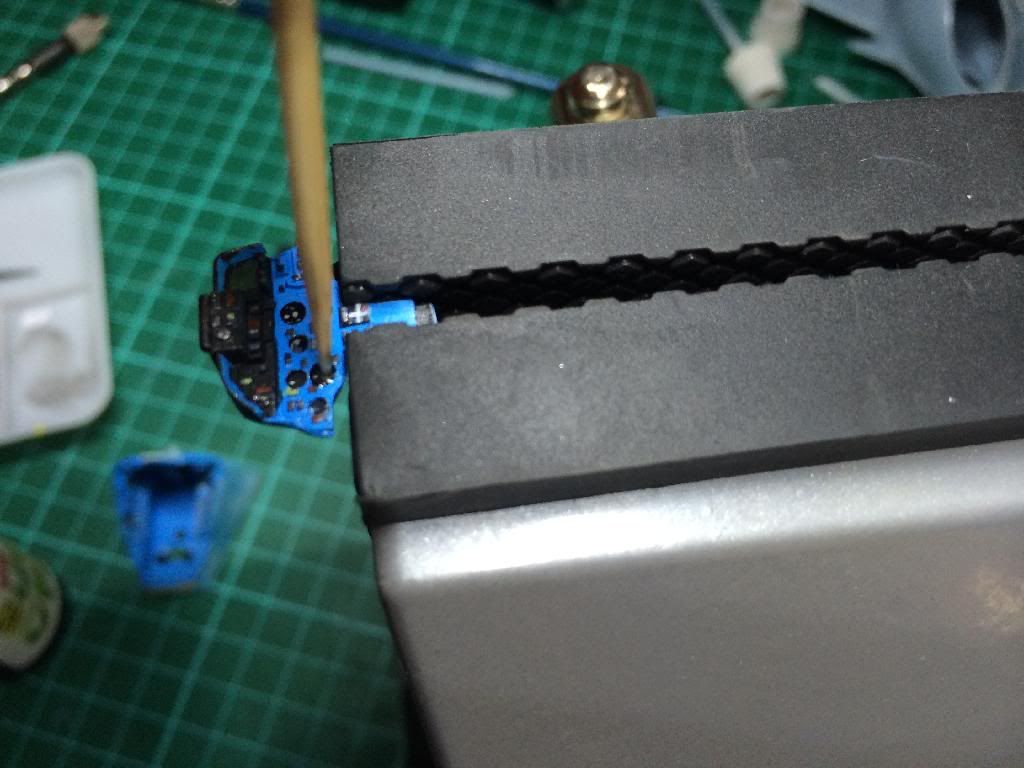
Had an idea and it seems to Work well for dials.. This is something I'll refine on and possibly add some "printed" dials behind it
ImageImage

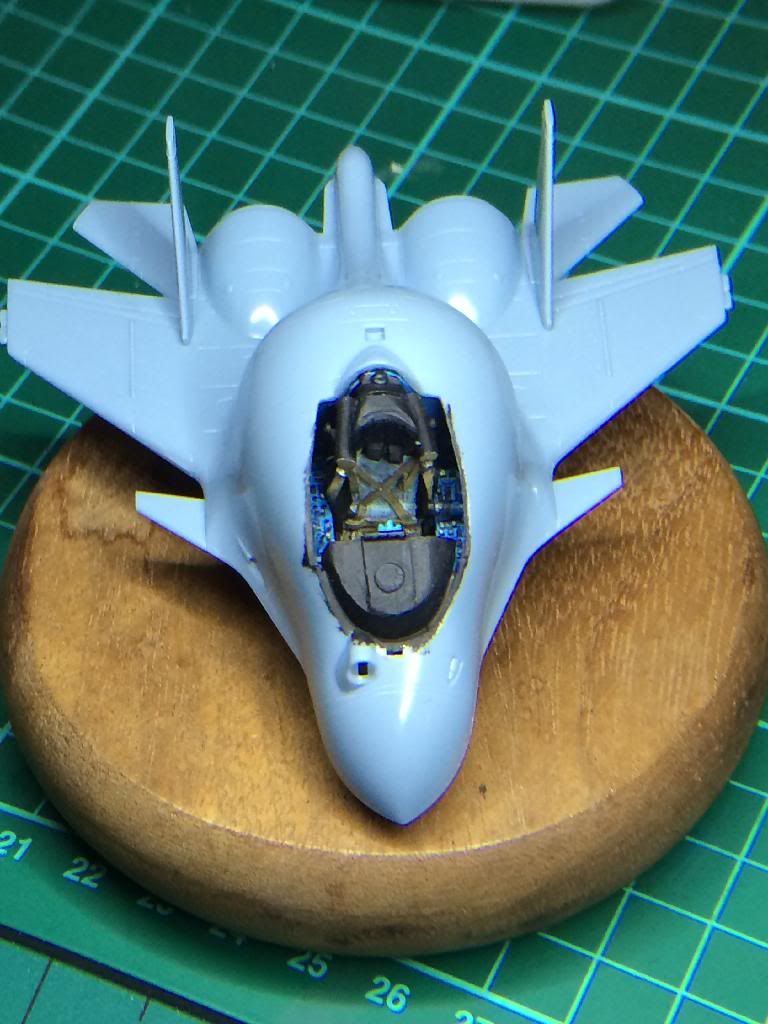
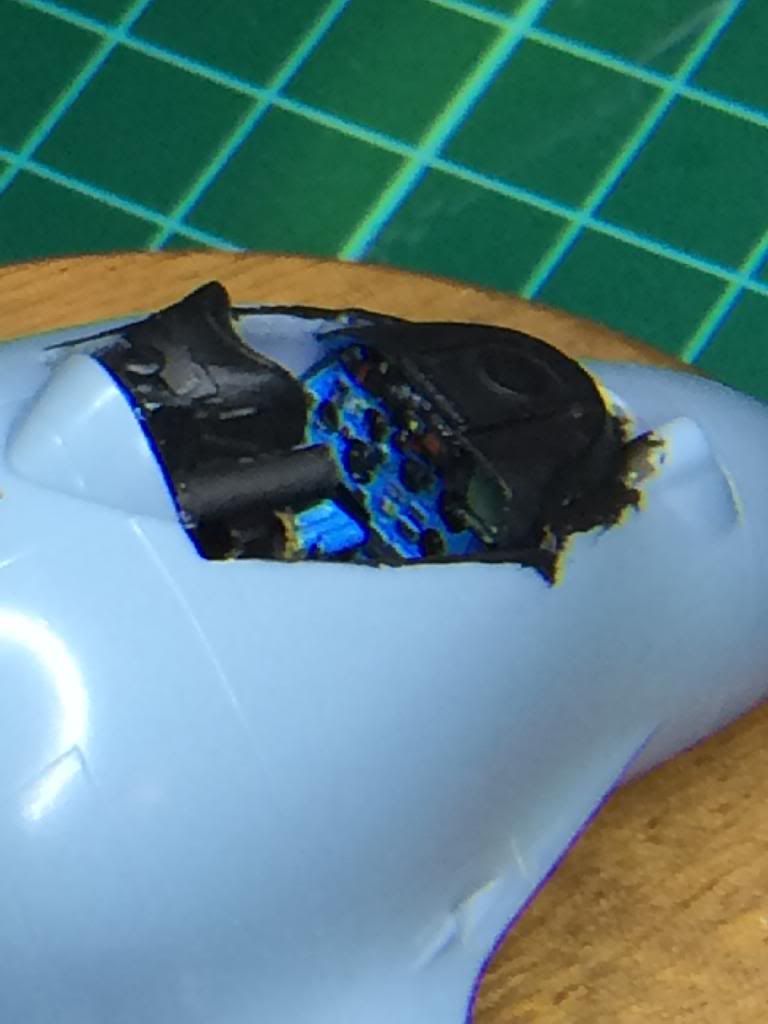
It was then time to fit the cockpit in after it had been aloe "glued" (using this UV Resin) together... "UV Glued it in as well.. I am impressed with this stuff!!ImageImage

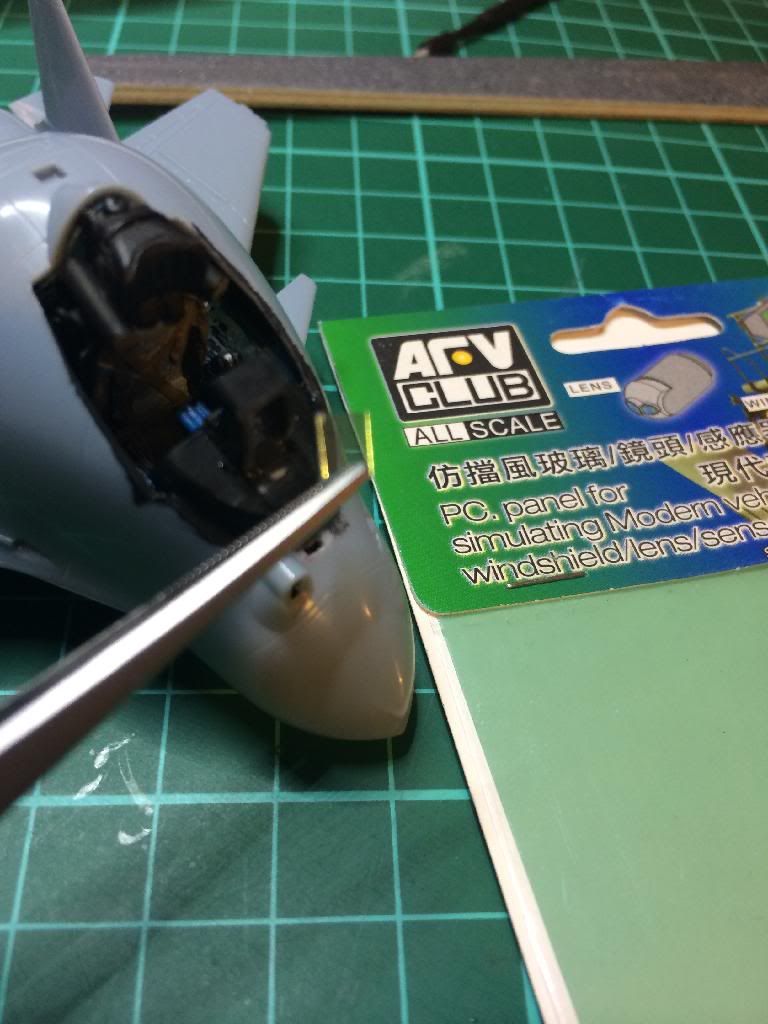
I decided that something was missing..... A HUD!
So Scratch built one from some plasticard lying around and had got some of the AVF Club HUD and Optics Simulator (AFV Part No. AC35201).. It's real great stuff!! Saw this on a review on yotube by Norm Lajoie ( I think he's on here...) Anyhow Thanks, It is good stuff!!!ImageImageImage
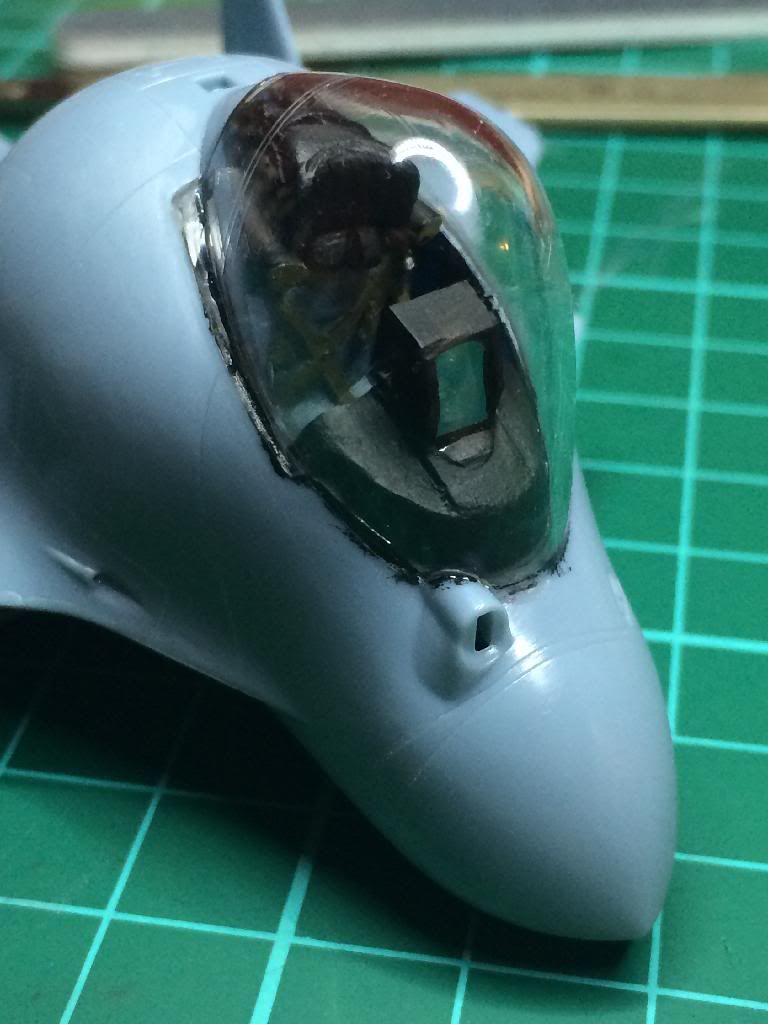
The Canopy was UV Resined on as well....

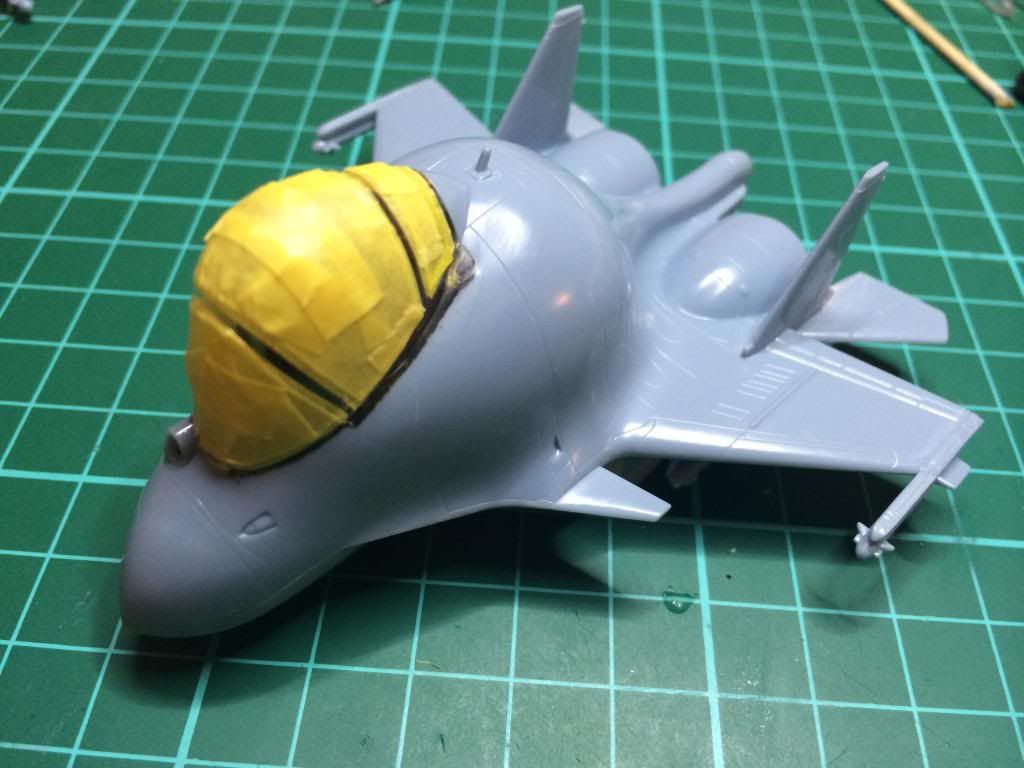
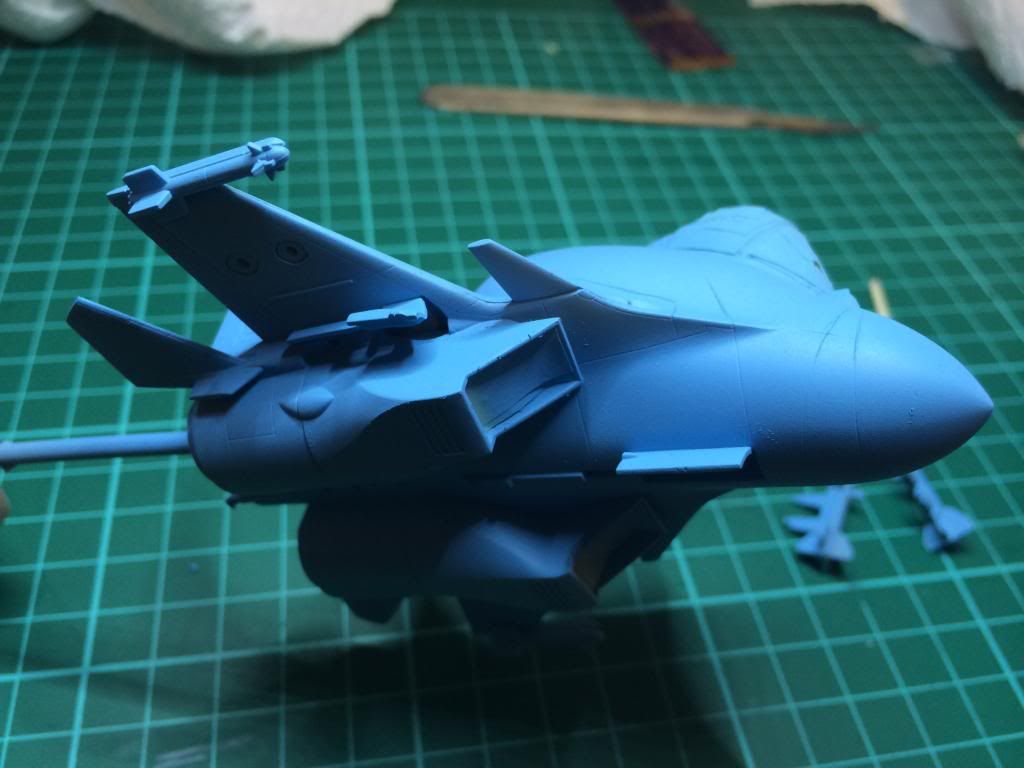
Time to mask up for paint....
Image

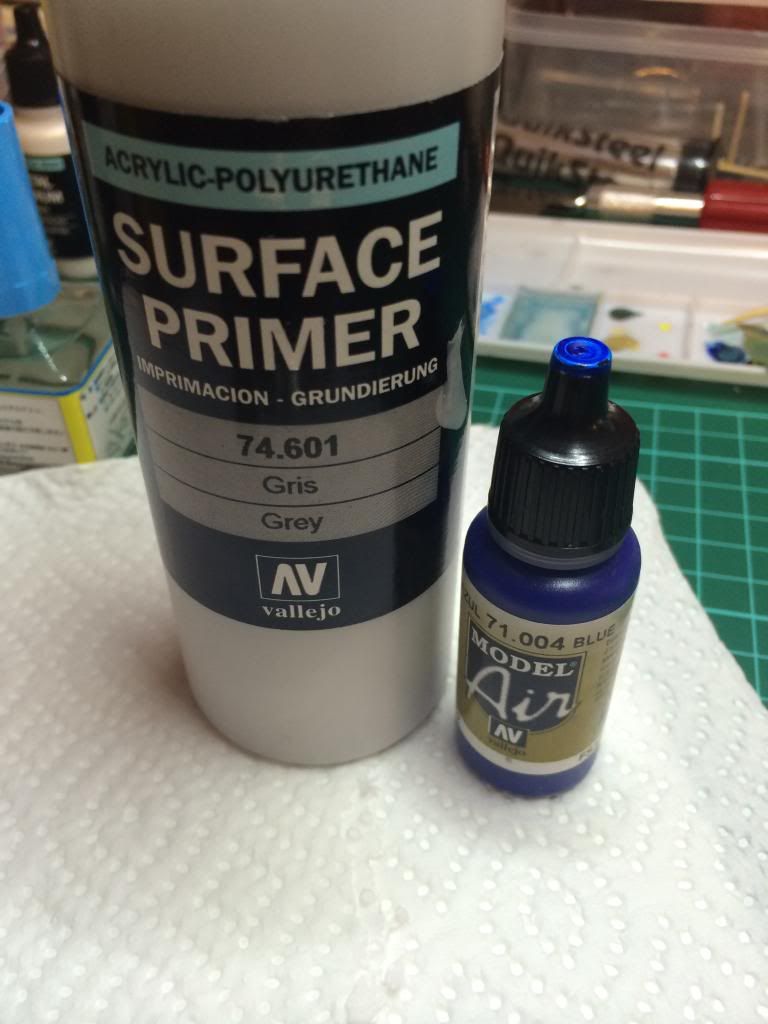
I cheated a little and added a bit of Blue to the primer.. I ended up using this as the primary colour on the under side...
Image

Really need a spray booth:
Image
At least I have some ventilation
Image

Primer came out alright
Image

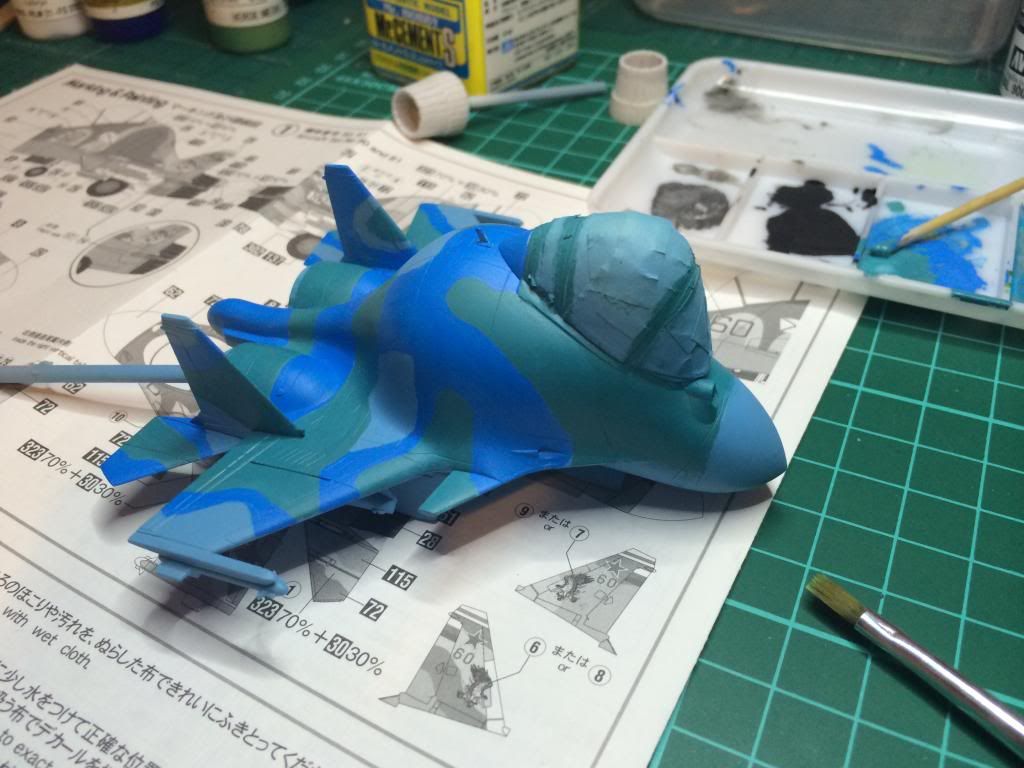
I was running out of time this evening, so hand painted from here on in....
Image

Time for Decals
Image
Image

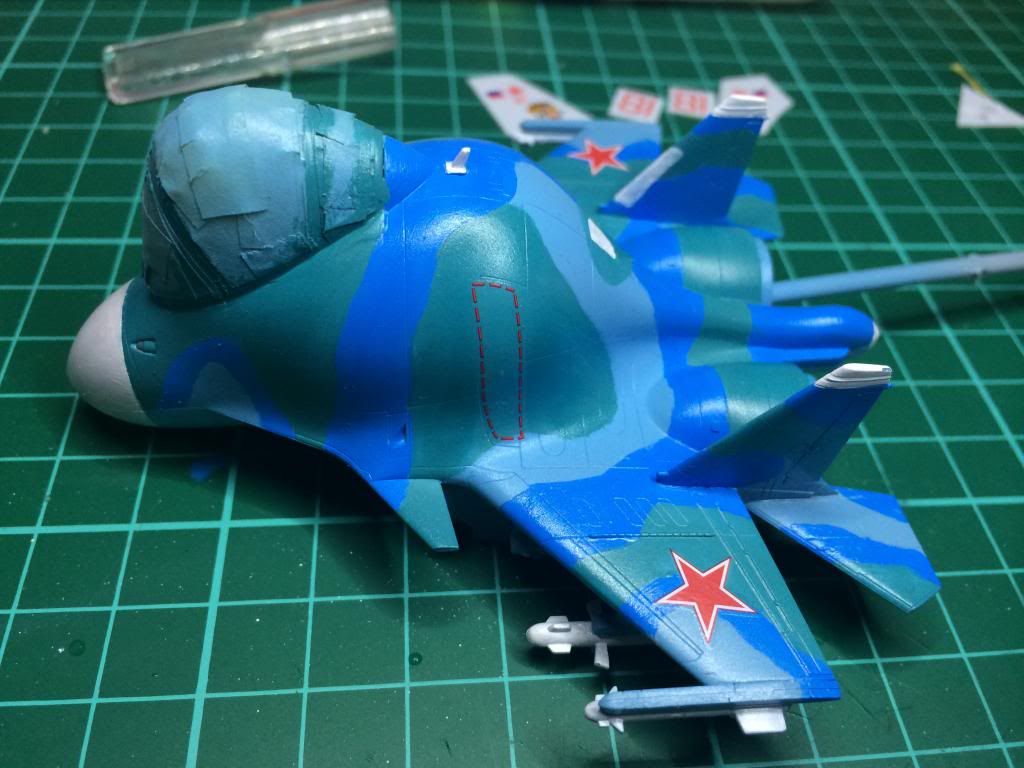
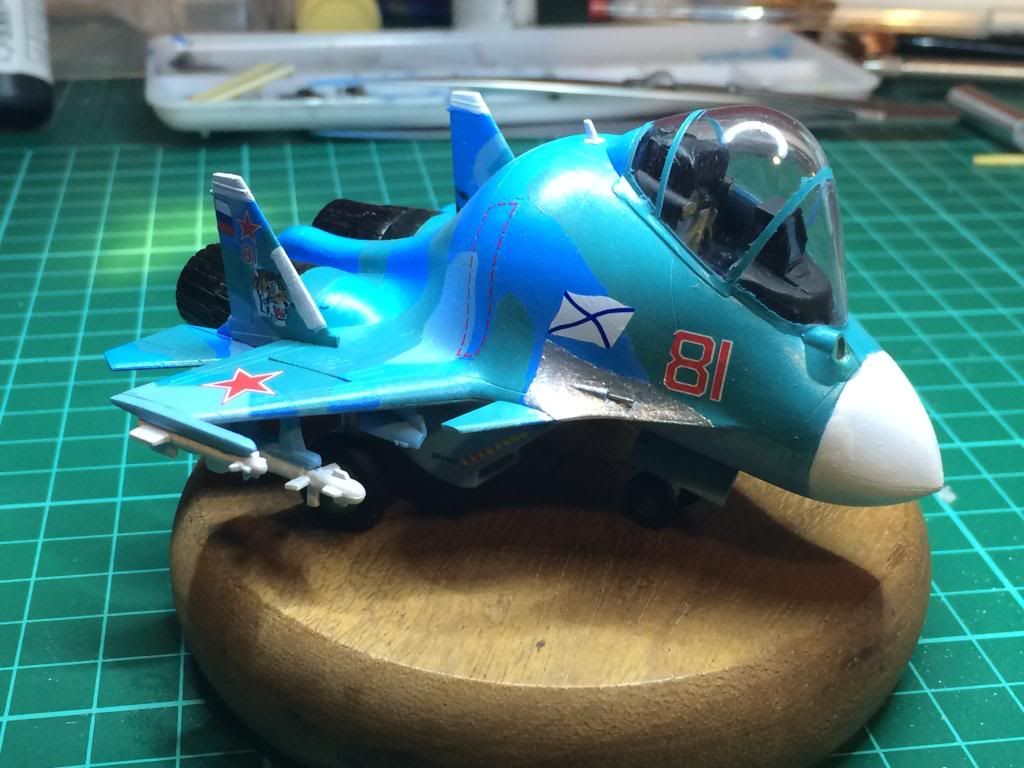
Than the final revisal after adding the undercarriage, etc..
Although the carpet monster got the clear part at the front... So I used some UV resin and built it up to replace it..

Doesn't look amazing but I've had an ace time building it and learned a lot!!!
Image

Stonkmer
;O)
User avatar
Paul
Site Admin
Site Admin
Posts: 12622
Joined: Thu May 23, 2013 4:47 pm
Location: Merseyside, England, UK
Contact:
England

Re: Let's see how far I get with this SU-33 ;O)

Post by Paul »

Great work mate it's looks spot on :thumb2: . Do you have a link for where you got the glue ?
Stonkmer
Corporal
Corporal
Posts: 68
Joined: Sun Sep 29, 2013 9:28 pm

Re: Let's see how far I get with this SU-33 ;O)

Post by Stonkmer »

Hi Paul,

Doesn't look too bad, still plenty of self criticism on it, but had fun building it!!!
As for the Glue, I got this stuff off Ebay, if you search for "Bug off" you can get the bottles individual for about £6 and the twin pack for about £14.
The applicator brush it comes with is far too big, so a modellers multitool (cocktail stick/toothpick) is the way to go on application, although might try using an old brush next time to try and brush it onto the surfaces.... Experimentation still required me thinks...

;O)
Post Reply

Return to “Builds”