hi guys
so update time
it took some time since the last update because i have been working on the figures for this and 2 other builds
and with a total of about 30 figures the pace is not that fast
but the figures for this build have taken up most of the time due to the camouflage outfits
this is something i don't do that much and german camo scheme's can be pretty intence
so i will show the paints , the way i painted the skin and ofcourse the different camo's that i have used for the figures in this build
i think it is best if i break it up in sections so that each step gets explained
so lets start with the skin tones and i will go from there
all the paints are vallejo modelair except the mr metal chrome silver that was used for the belt buckles
skin paints :
white
sunny skin tone
salmon rose
english uniform
flat brown
vermilion
black
dark prussian blue
german camo beige
all the figures where primed using vallejo black primer (don't need masking so no worries)
step 1
i dry brushed the face and if needed the hands and arms with white
the eyeballs where painted white aswell
step 2
i used the dark prussian blue to fill in the eyes and a small dot of black to get the pupil
then i mixed salmon rose and the sunny skin tone in a 1:1 ratio as a skintone
this will be the basecolor as this is mixed in some of the other colors that will be used aswell
step 3
i then applied a wash made from english uniform , flat brown , vermilion and the basecolor
this was mixed in a 2:2:1:5 ratio and after that was mixed i added about 40-50 % glaze medium
this acts as a retarder and thinner to make it into a kind of wash
this was then applied over the entire face giving it a kind of brown tone
step 4
i then made the highlight color
this is made by mixing the basecolor and white in a 3:1 ratio
this was then applied on all the higher spots of the face like the ridge of the nose and the cheeks
i did overdo it a bit though
step 5
so a bit of the wash from step 3 was used again to get the darker area's back
step 6
the vermilion and black where mixed to get a shadow color
this was done in a 3:7 ratio and it was applied between the lips
step 7
then the lip color was made by mixing flat brown , vermilion and the base color in a 3:1:6 ratio
this also corrects the shadow from the previous step
step 8
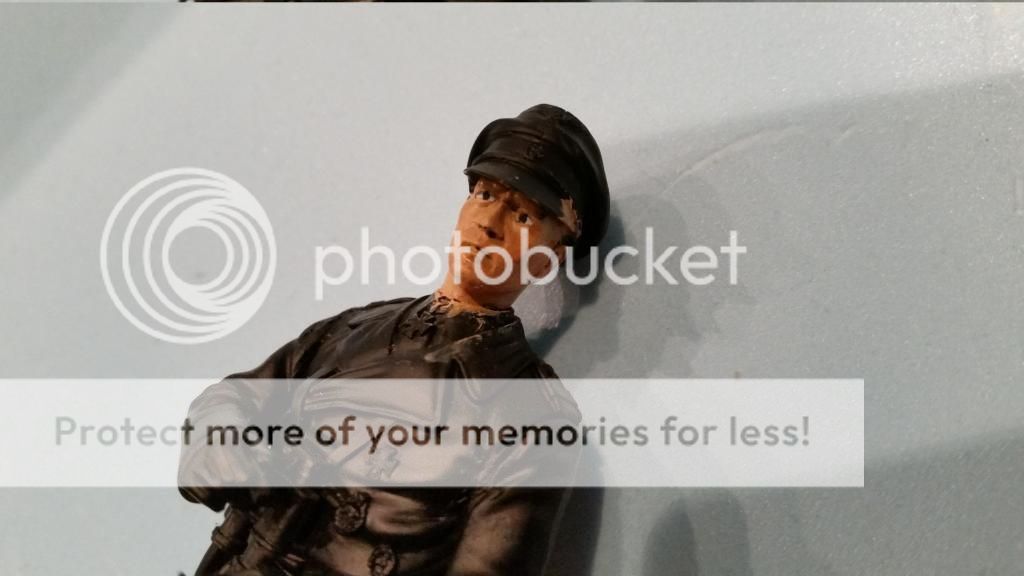
some final touch ups where made and then the skin was done
step 9
i then used english uniform to make a basecolor for the hair
step 10
then the hair was drybrushed in various thicknesses to get color variation between the figures
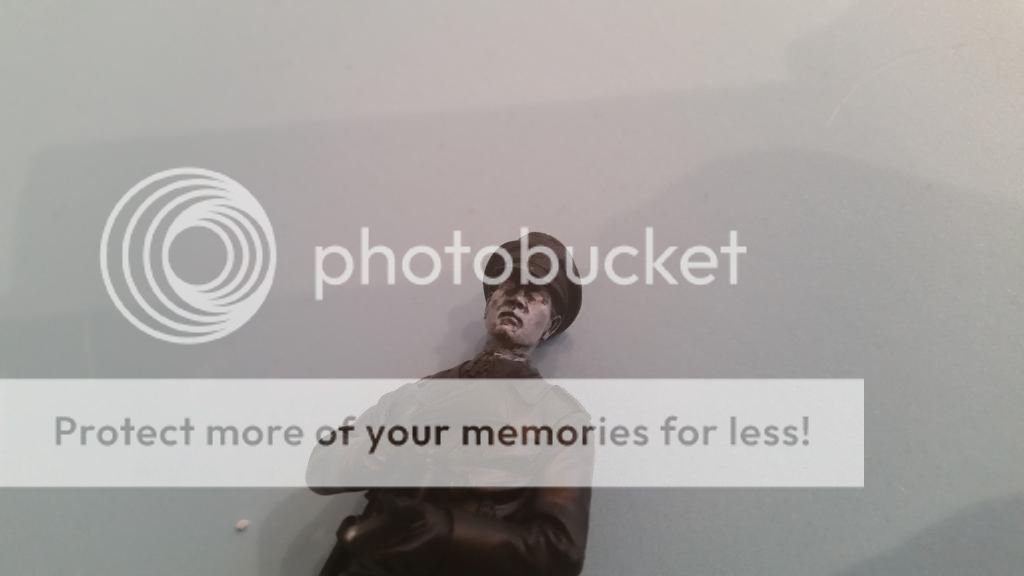
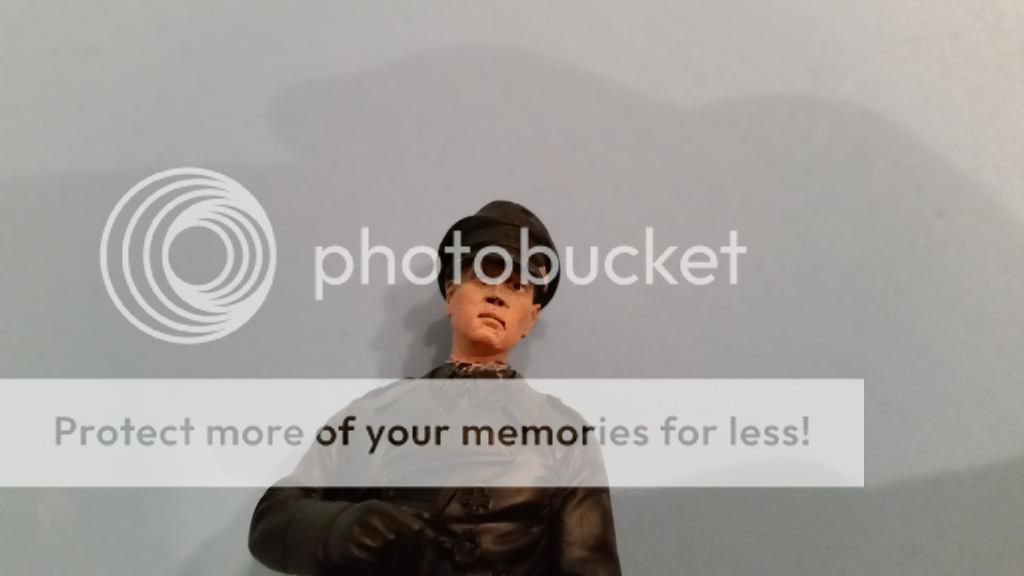
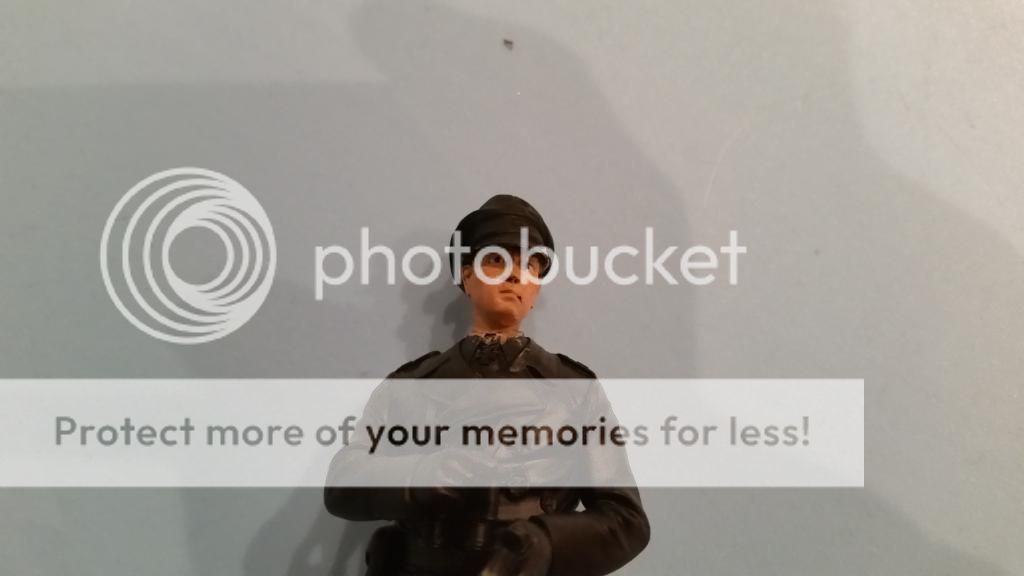
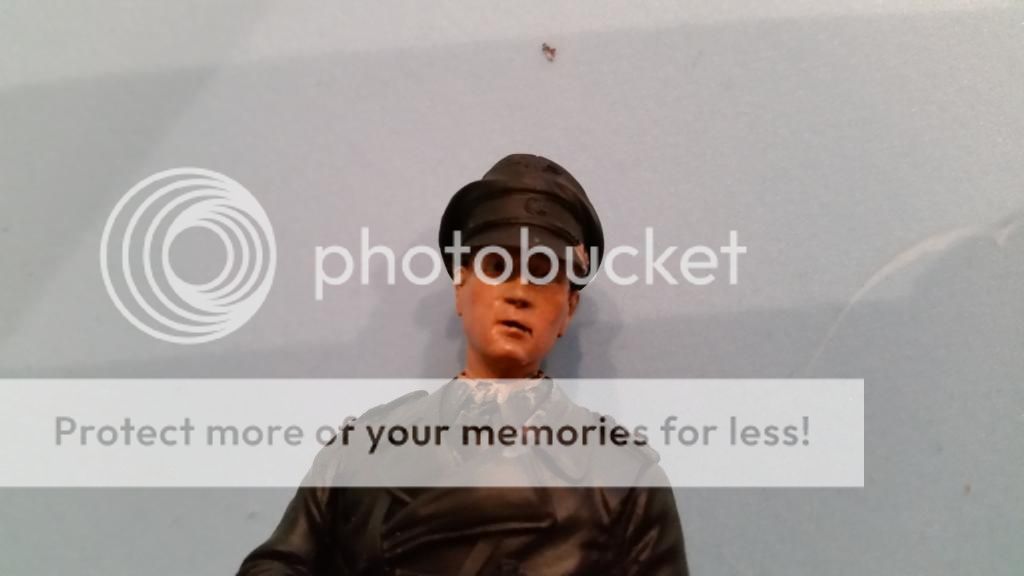
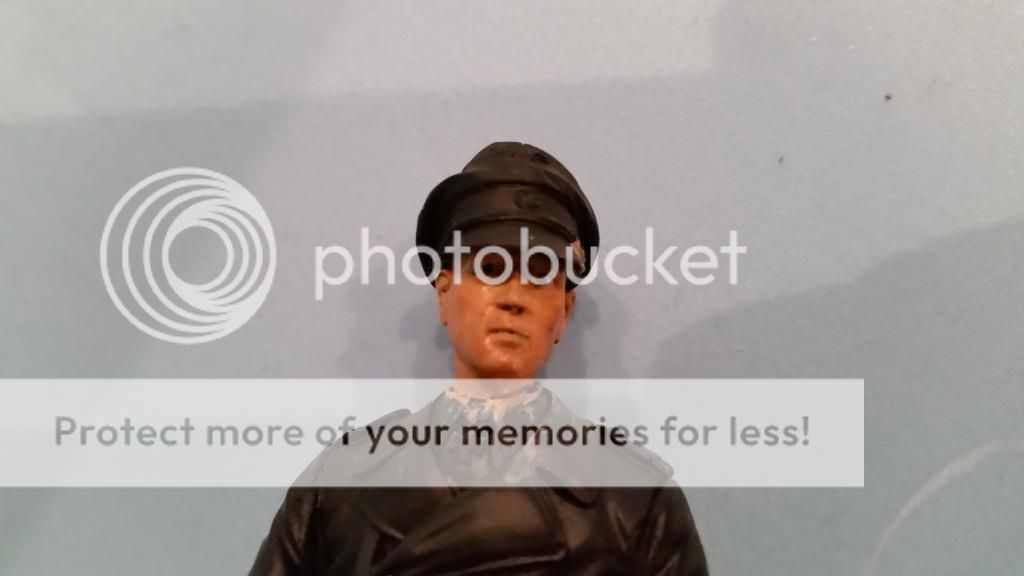
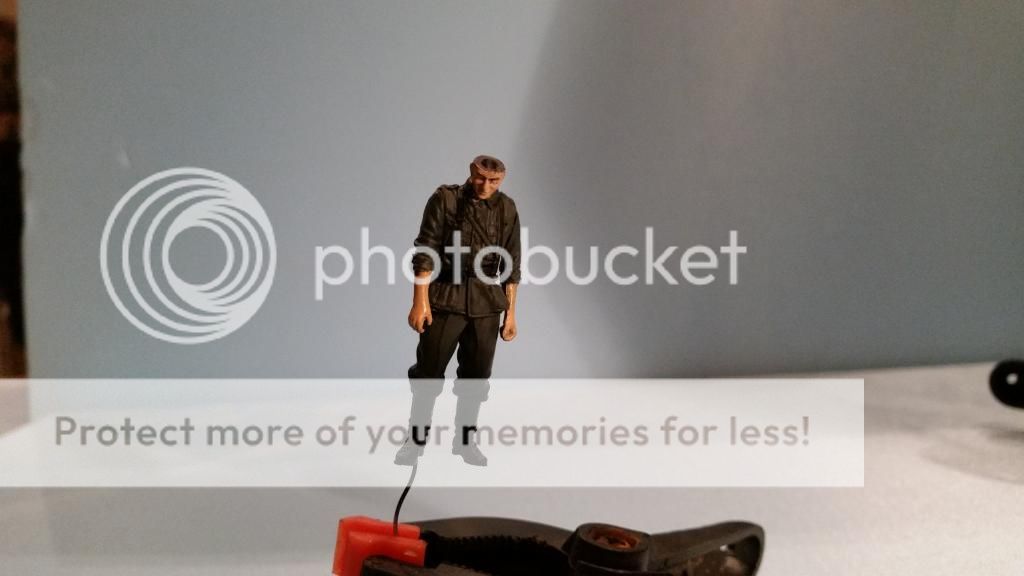
and now the heads are finished
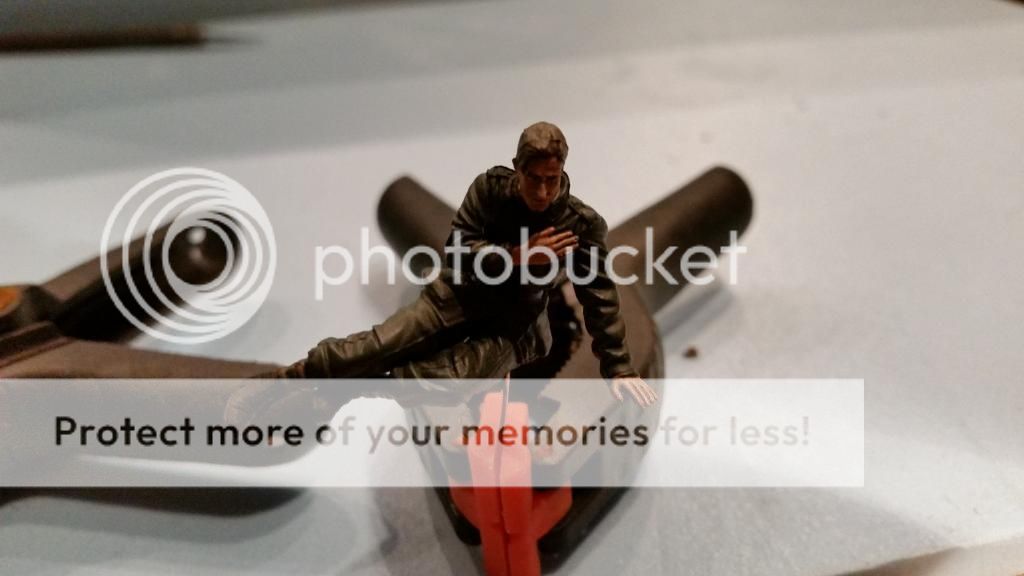
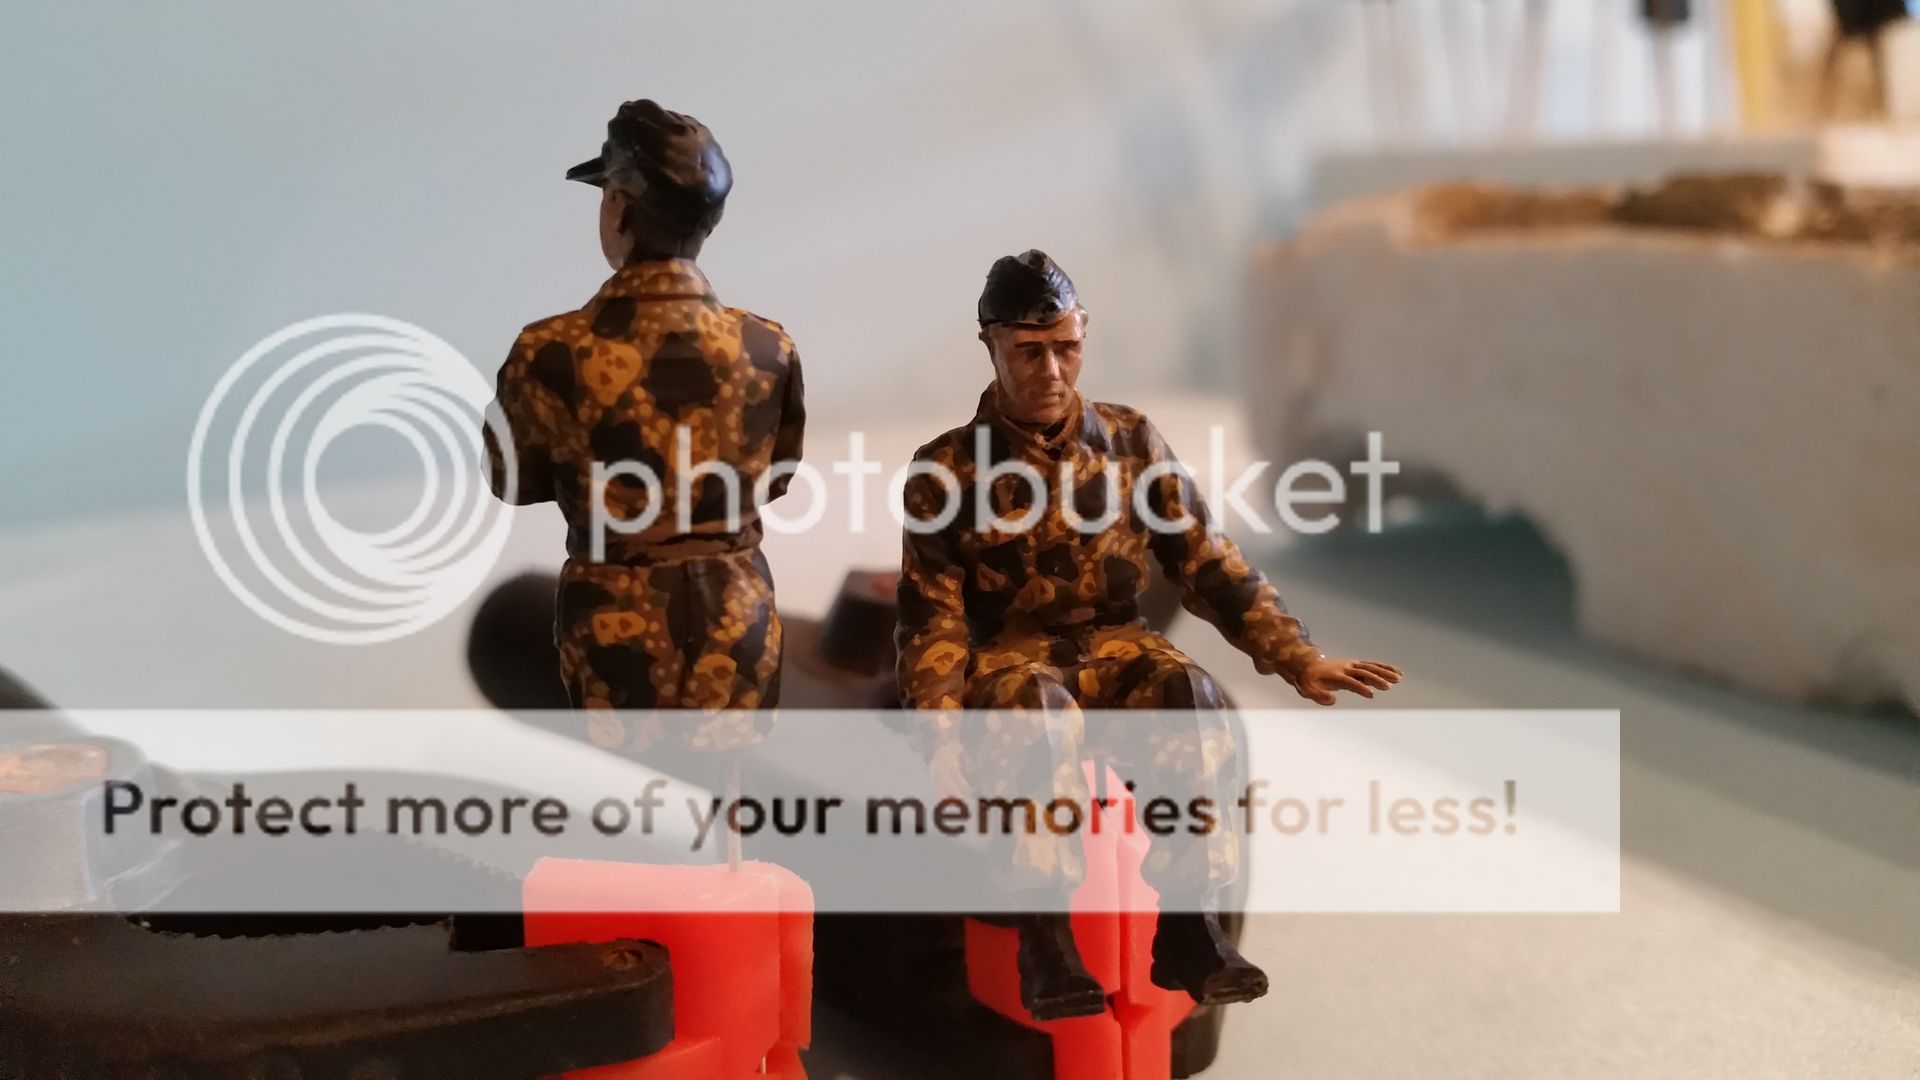
i do want to point out that the figure here is a 1:16 verlinden tank commander wich i will use in my big tiger build
but because my camera (phone) looses focus when zooming i have chosen to use these pictures as they are of better quality
altough the 1:35 scale figures had the same treatment as the bigger ones did ,so no difference there
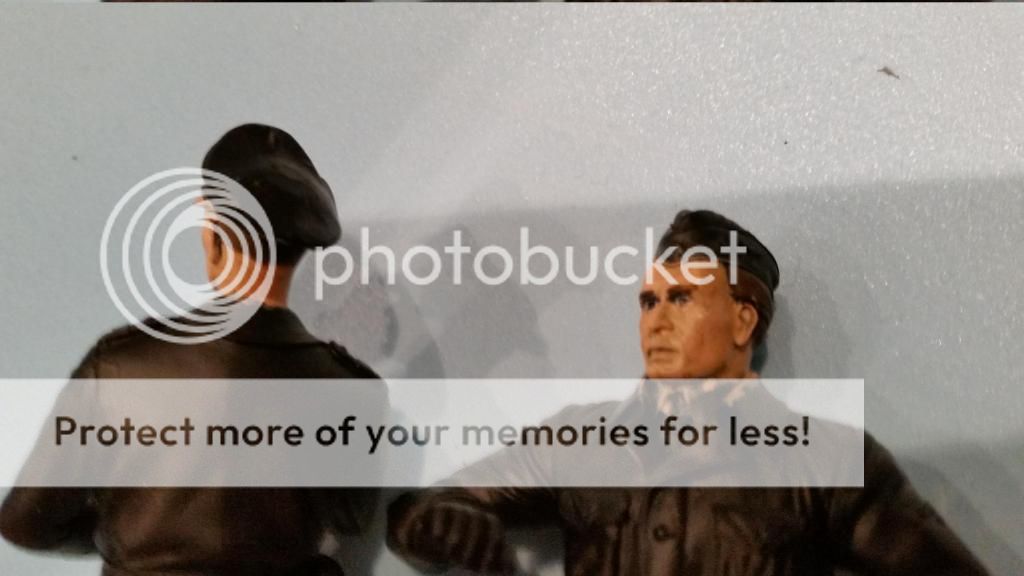
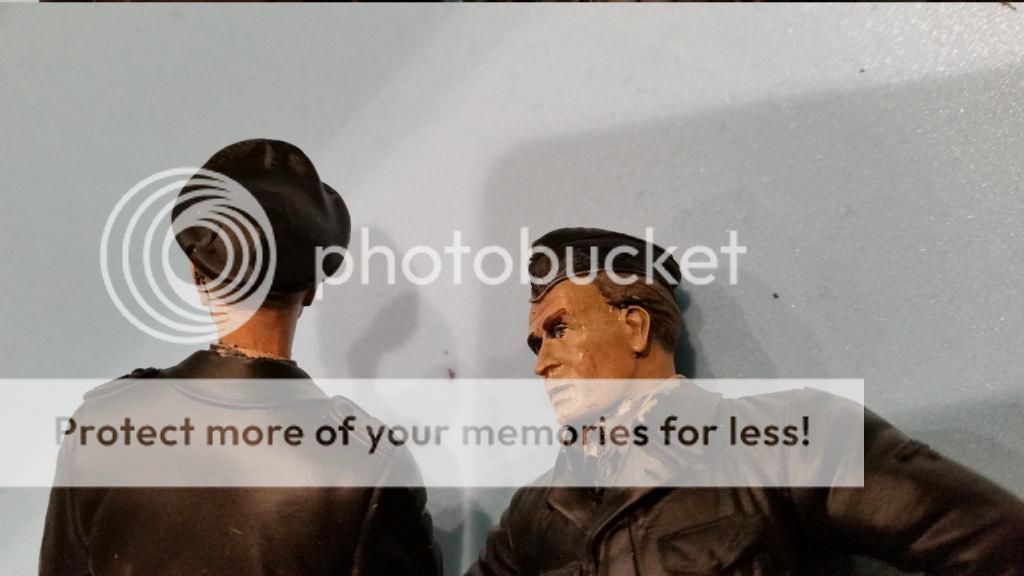
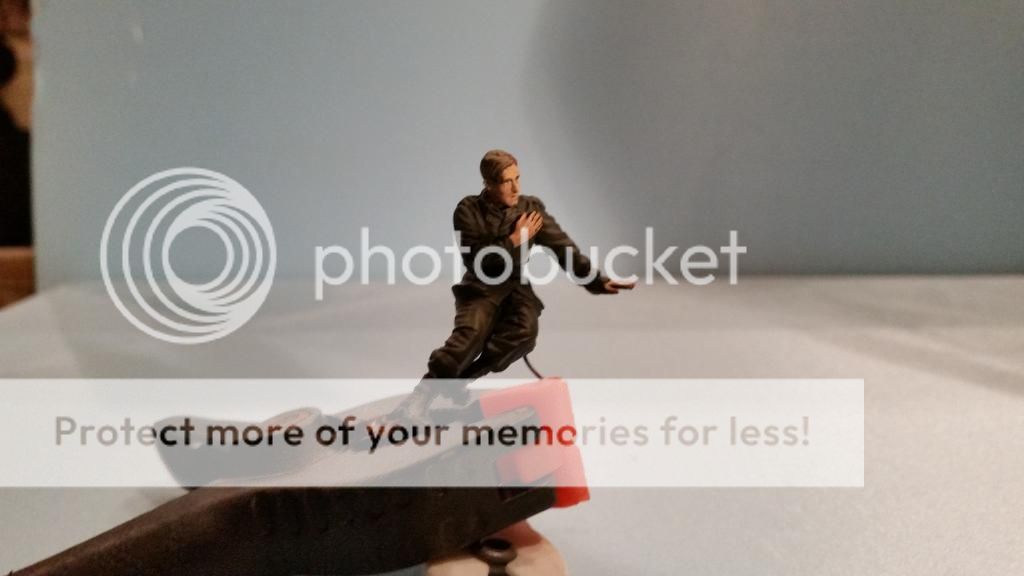
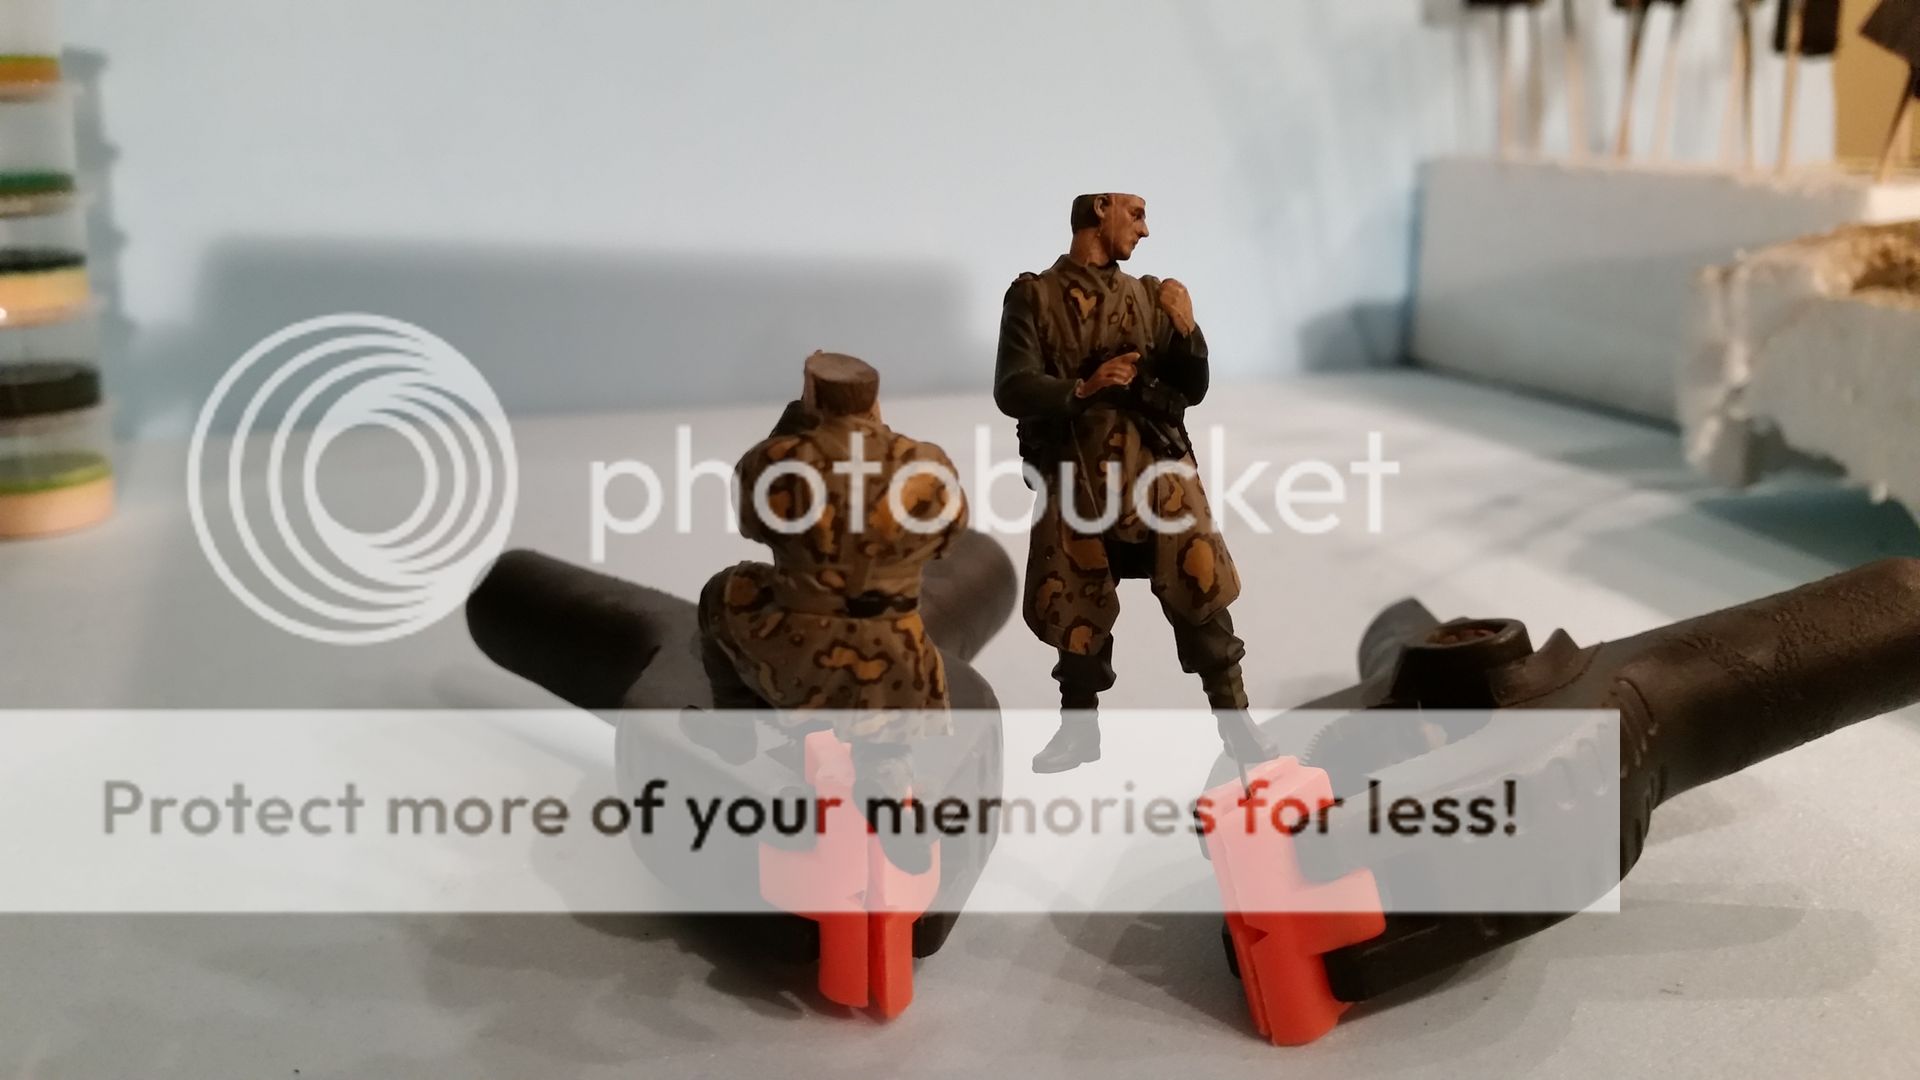
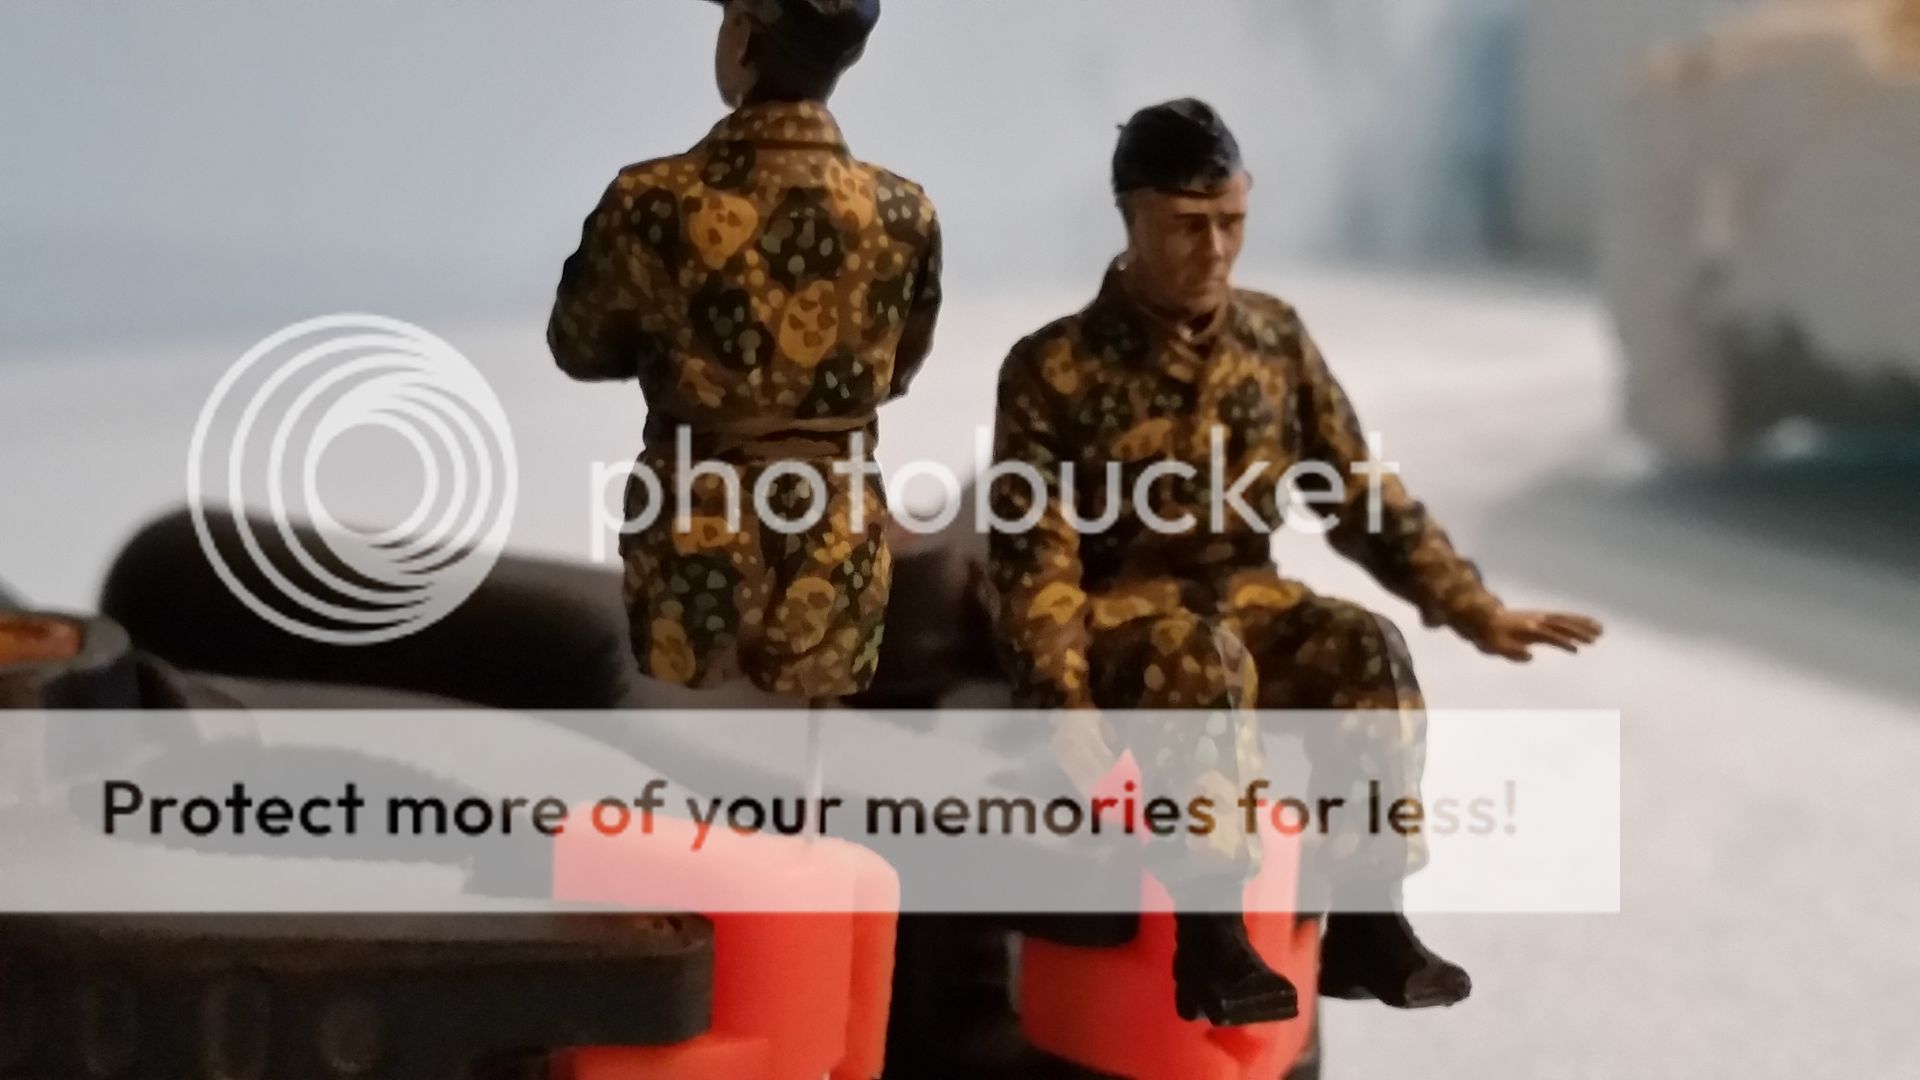
and now for the uniforms
i will start with the regular green wehrmacht uniform as this color was also used on the ss figures
paints
extra dark green
field grey
german uniform
black
leather brown
mr metal chrome silver
step 1
the dark green and field grey where mixed in a 2:1 ratio to make up the base color
i use this mix as i find the german uniform color from vallejo too bright
step 2
the german uniform color was used though
i use it as the highlight color for the uniforms and i dry brush it on the figures
it is hard to see but the sleaves show the results the best
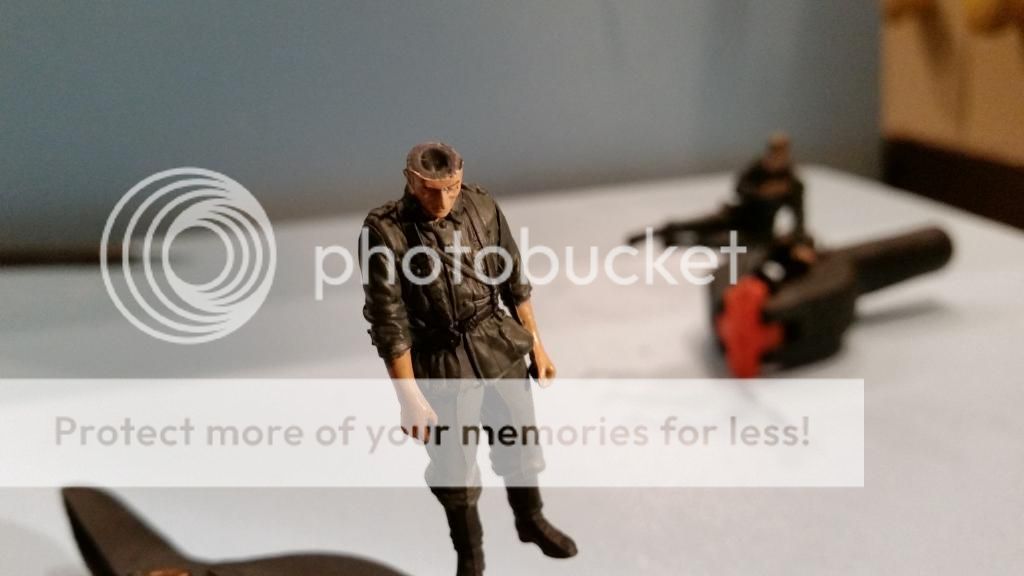
step 3
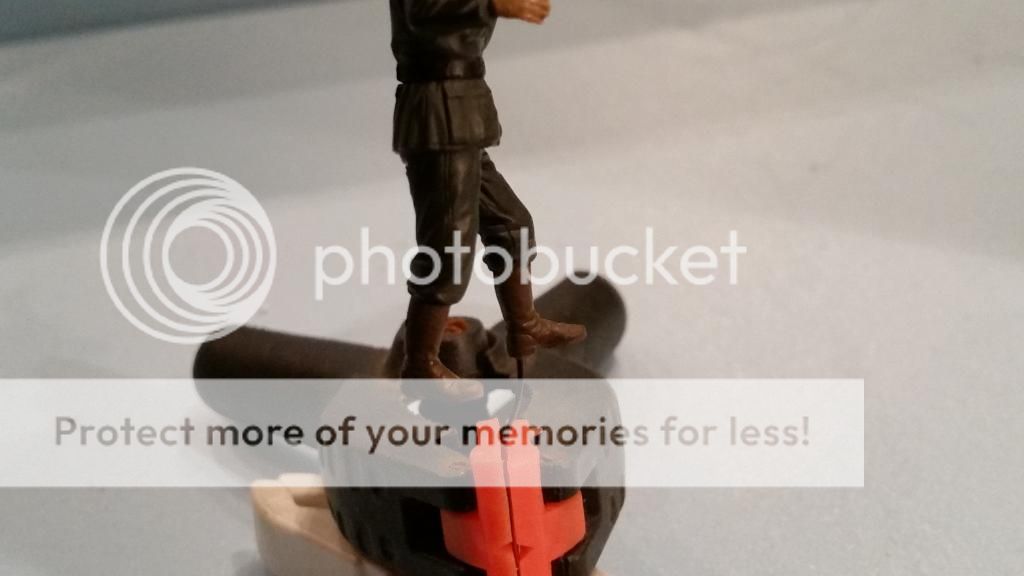
all the boots where painted with leather brown as the base color
step 4
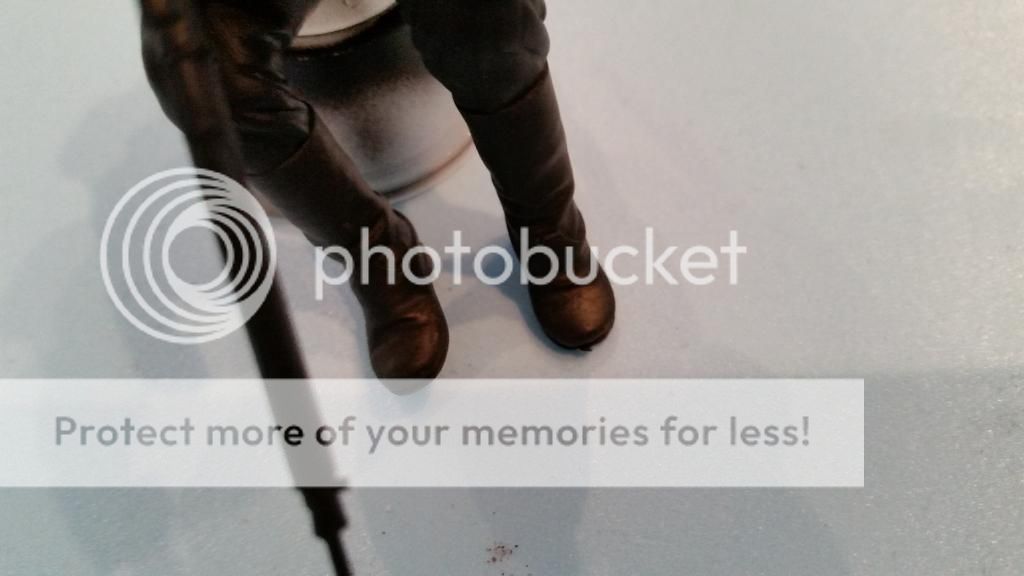
i then applied the black paint wich is whiped down right after it is on the surface
this way only a small amount will stick on there ,showing the brown underneath
this gives a worn look to the shoes and boots
the downside is that you can only do 1 boot at a time or the paint will have too much time to adhere and won't be able to rub down
and it ofcourse takes up a lot of time

a comparison of a brown boot and the whiped black
step 5
then the boot covers where painted
i used field grey for the cover itself
the straps where painted with leather brown
step 6
then the belt and gear belts (don't know the correct name) where painted black
and altough not in this picture the belt buckles where painted with the mr metal chrome silver
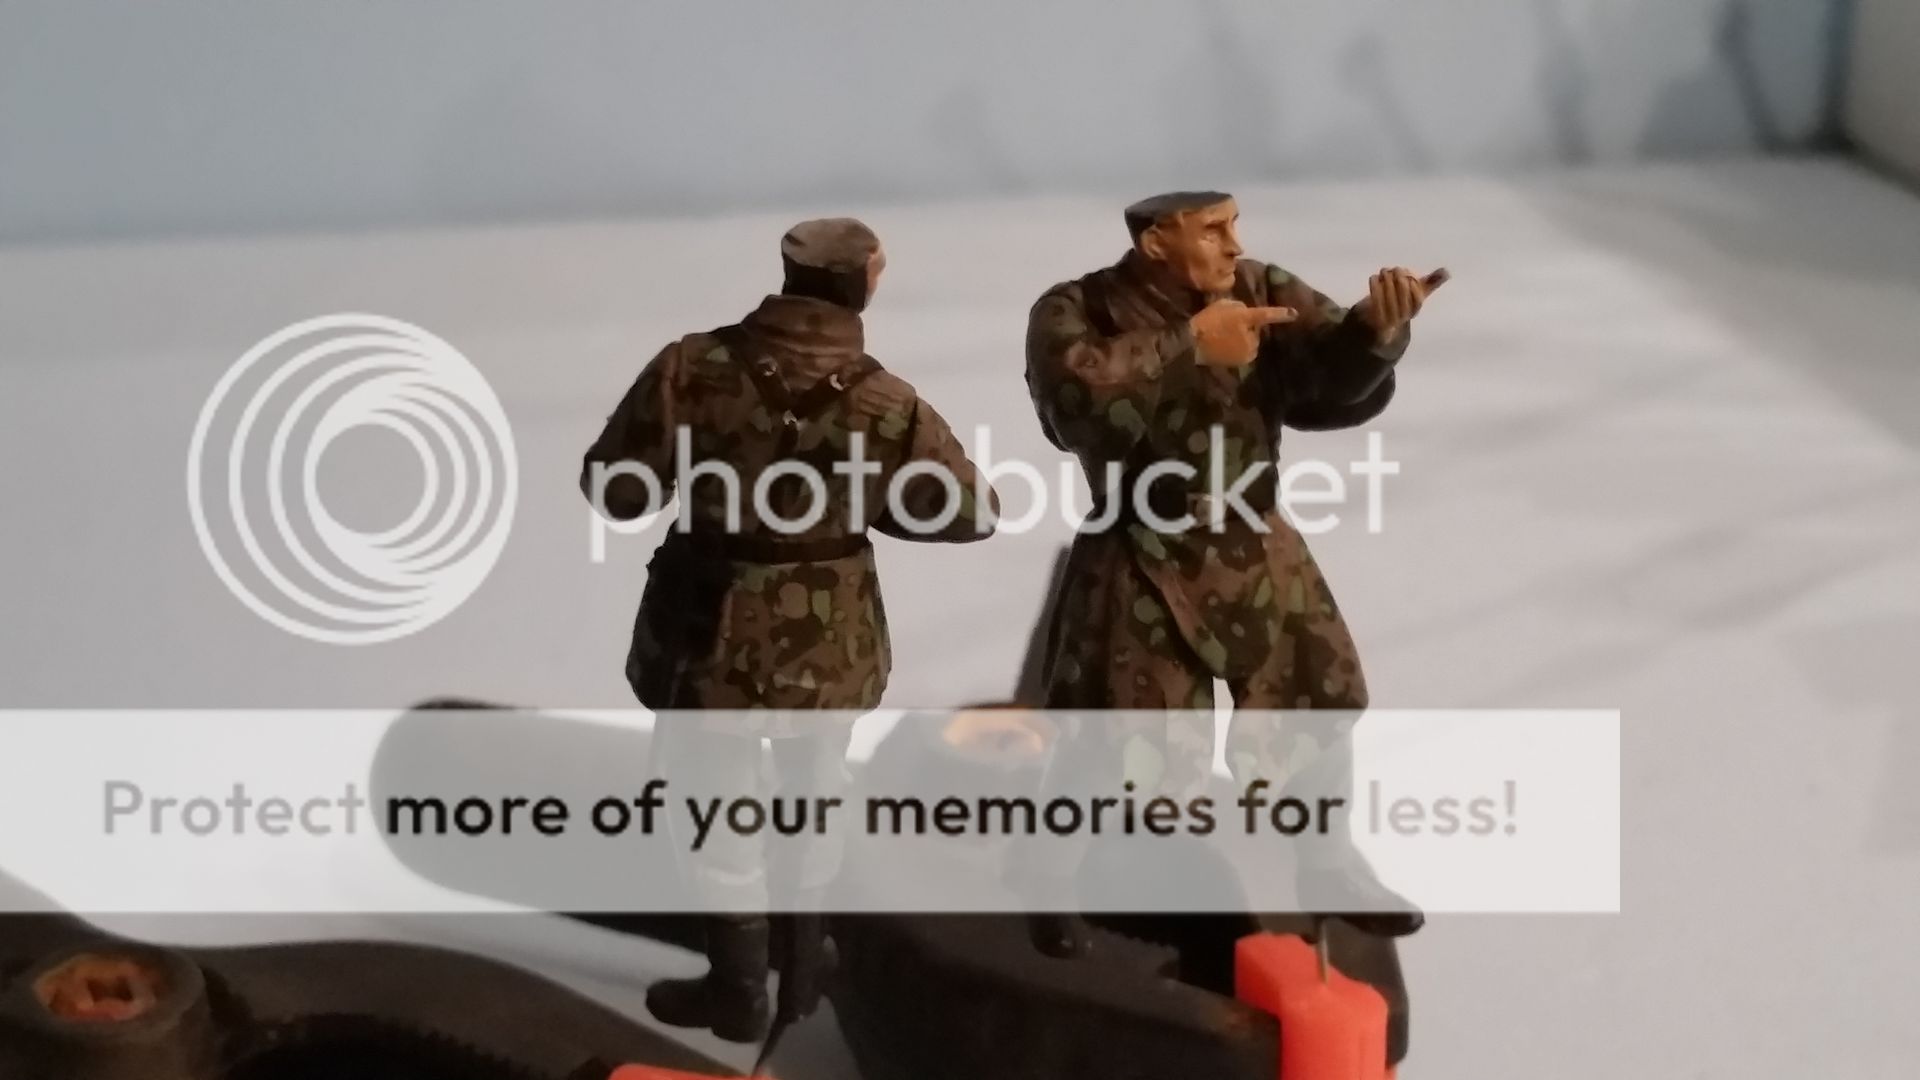
and that completes the uniform of the wehrmacht figures
this was also done on the ss figures where needed
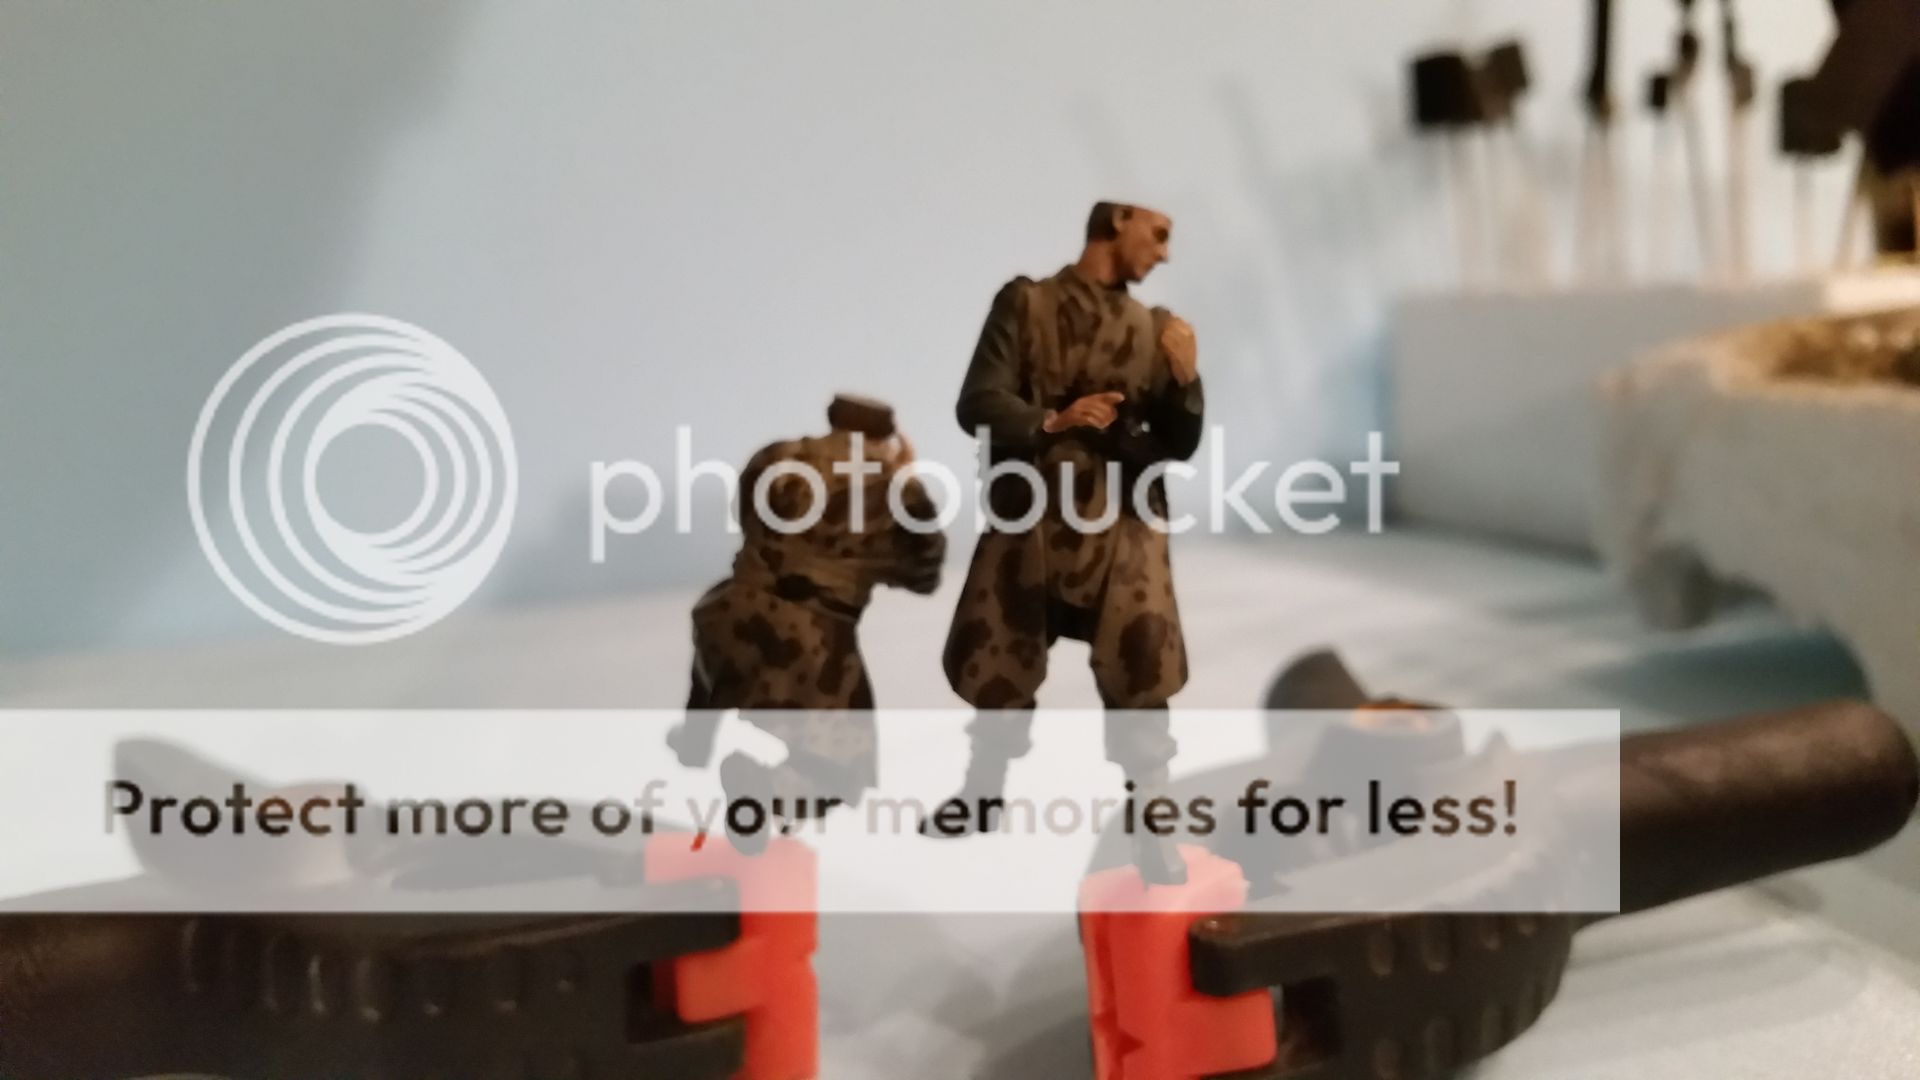
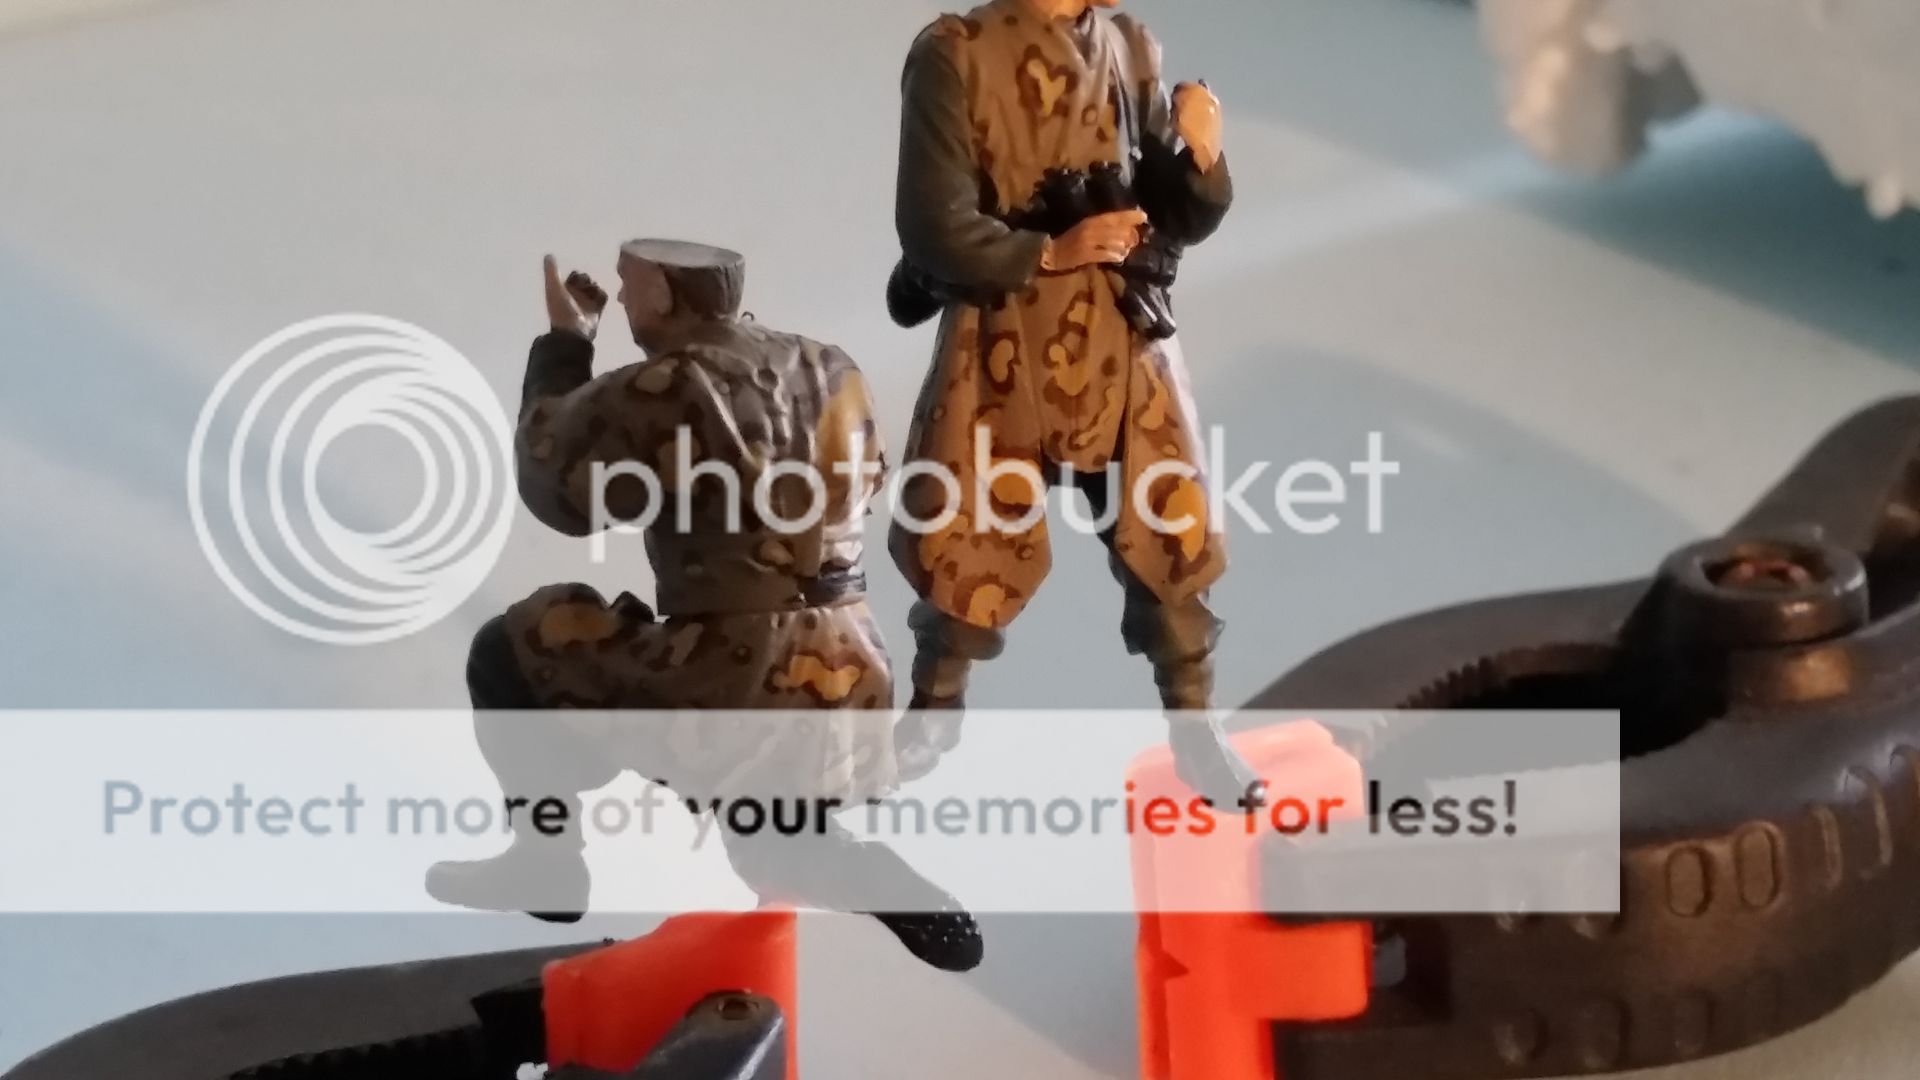
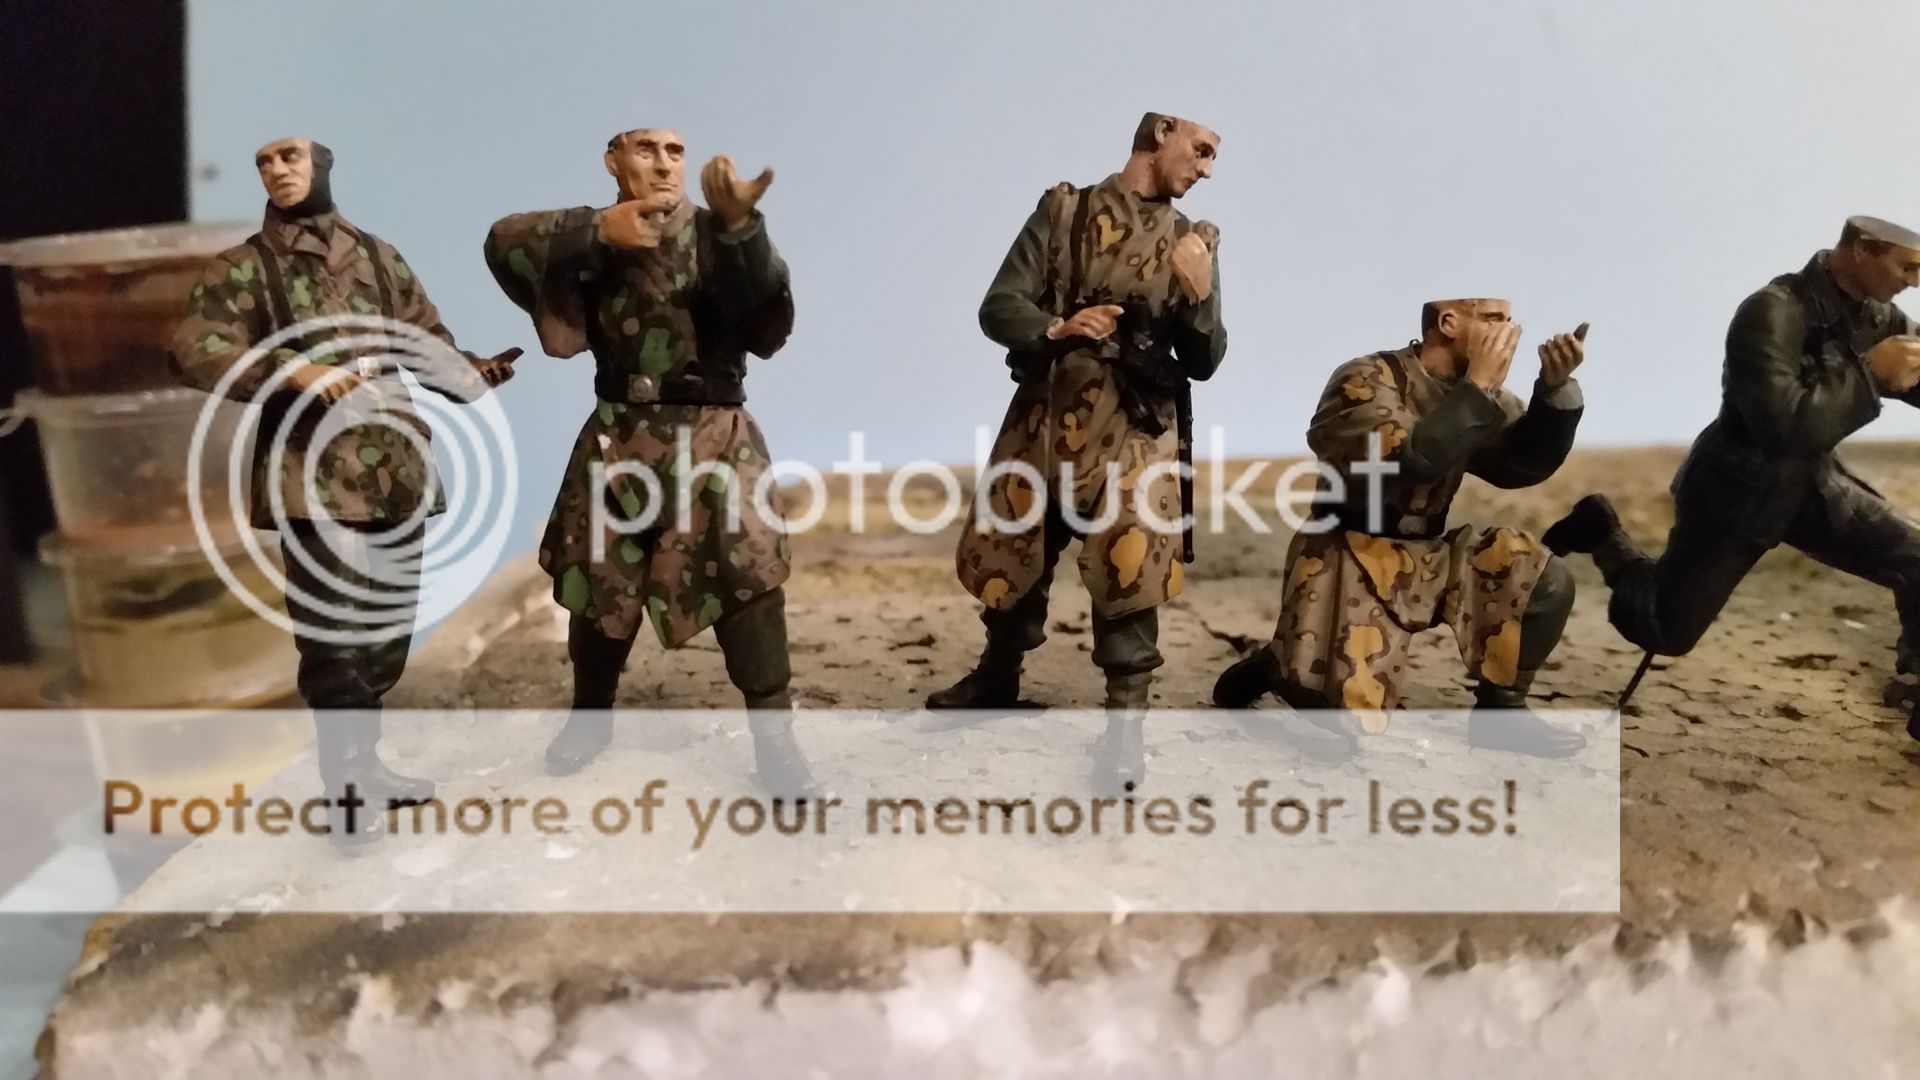
plane tree pattern no. 5
paints
german camouflage pale brown
flat brown
military green
sunny skin tone
ss camouflage bright green
black
color mixes
base: german camo pale brown and flat brown in a 9:1 ratio
medium green : military green
light green : sunny skin tone , ss camo bright green and military green in a 2:3:1 ratio
dark green : military green and black in a 2:1 ratio
side note :
if you look at most of the WWII german camo scheme's they look fairly busy but you van break them down into steps
during the build up of these scheme's it can look like a ocean with the base color as the water and the camo colors as islands and land masses
this is also the way it is explained in the book : modelling Waffen SS figures by Calvin Tan (Osprey)
this is the book i use for reference and in my opinion is a good book with a lot of pictures of the way he builds up his figures
but unlike me and most of the modellers out there ,he is a master builder who has won prizes ,been published and makes master figures for modelling manufacturers
but i will use some of the terms he used in the book to make it all a bit easier to understand (like i know what i'm doing

)
step 1

the base color was applied on the camo smock
step 2

patches of the medium green where applied
these are the islands (smaller dots) and the land masses (big patches)
step 3
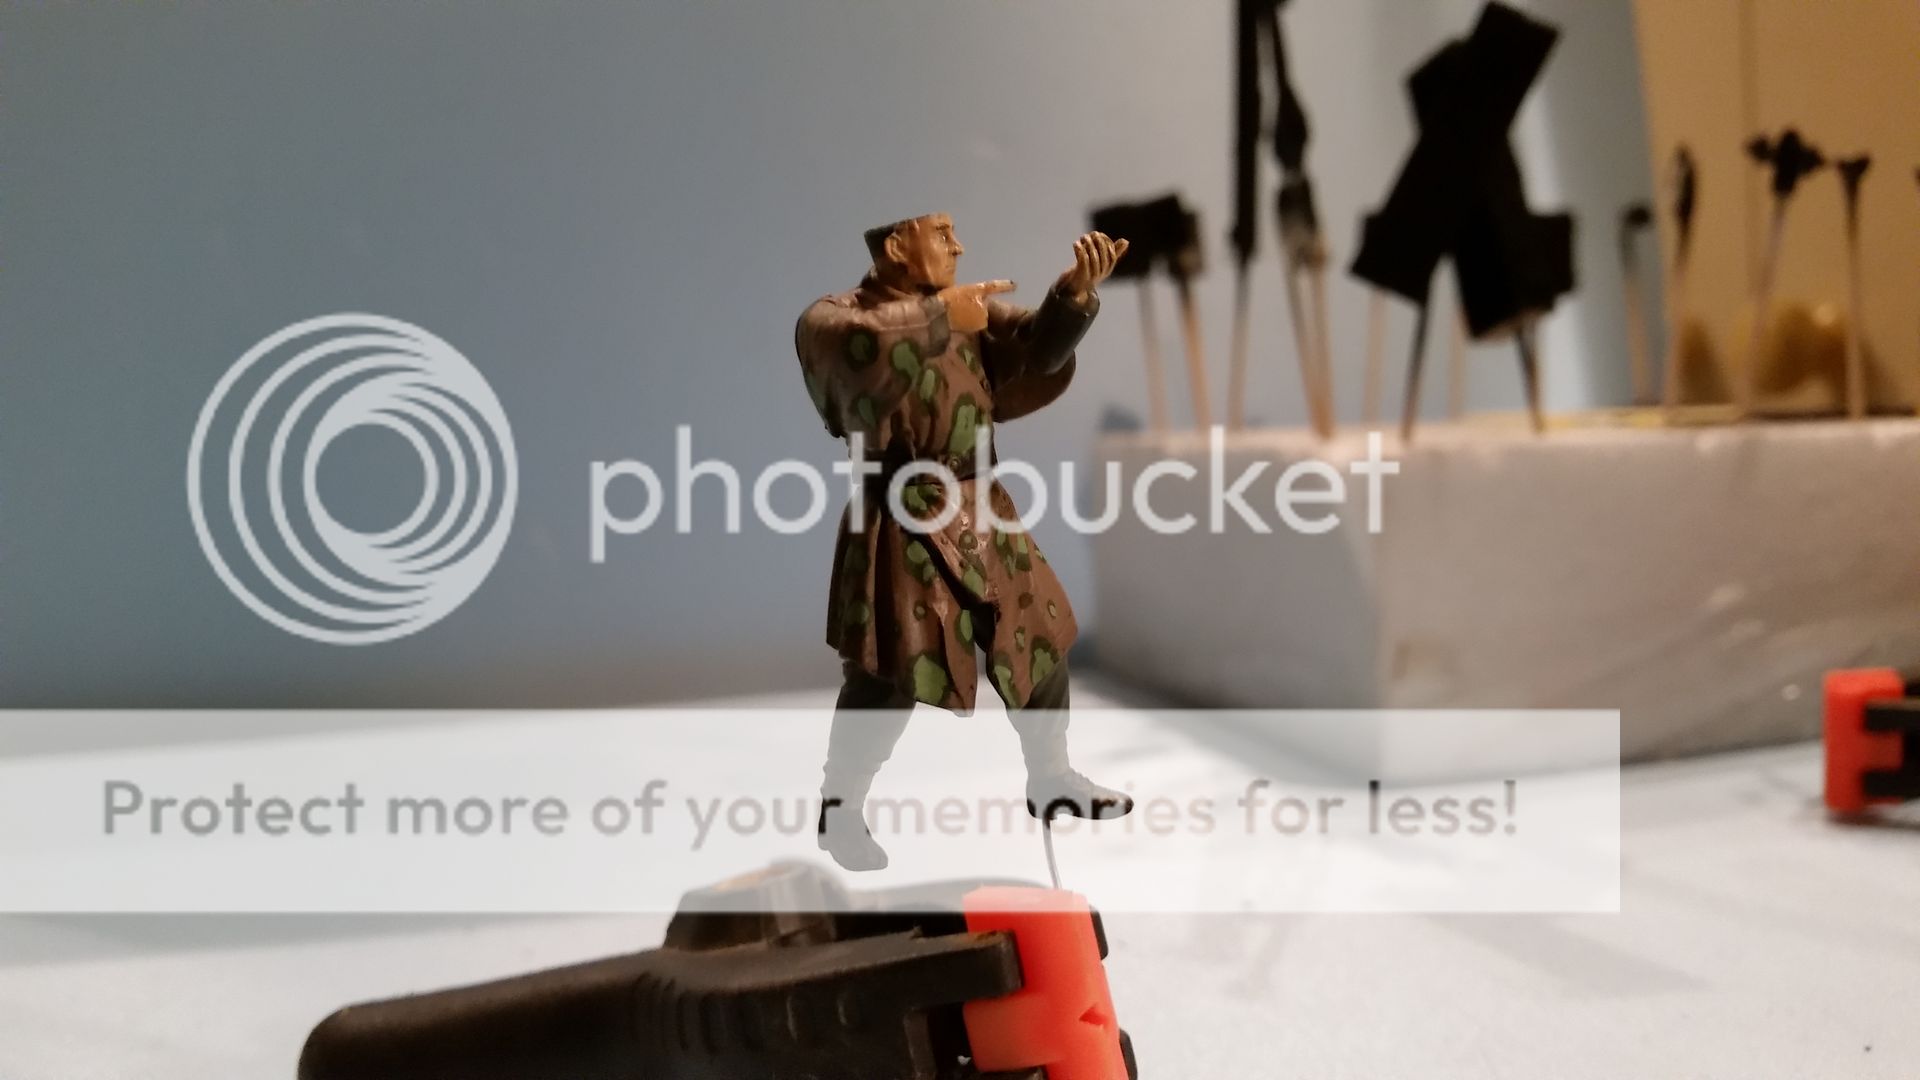
most of the islands where filled in with the light green mix but not all some must remain medium green
the land masses however are all filled with the light green
step 4
pathes of dark green are added
these should have a very random shape without any straight lines but the best way is to make them look like a string of dots
this color needs no small dots scattered around
i did add a number of small dots of medium green filled with the light green as i thought i didn't have enough of those and there was too much of the brown base visible
but after this step it is done for the time being
this is also one of the most common camo scheme's used by the SS
and is pretty similar to the oak leaf (spring) pattern but this is more elaborate
Oak leaf pattern Autumn
paints needed :
german camouflage beige
english uniform
german camouflage black brown
flat brown
orange brown
german camouflage pale brown
german camouflage orange ocre
paints mixes
base : german camo beige , english uniform and german camo black brown in a 6:1:1 ratio
medium brown a : german camo black brown , flat brown and orange brown in a 1:3:2 ratio
medium brown b : german camo pale brown and german camo black brown in a 3:1 ratio
dark brown : german camo black brown
ocre yellow : german camo orange ocre and orange brown in a 6:1 ratio
step 1
the base color was applied
and the first of the camo colors was applied aswell
the color is the dark brown
this will serve as the base for the ocre patches of the next step
step 2
the dark brown patches where filled in with the ocre
this is done to the smaller brown dots aswell
step 3
barely visible but there where dots of the 2 medium browns added to the borders of the dark brown
there are some dots of these colors aswell and these where filled in with the base color but in the same way as the ocre was applied to the dark brown
and that completes this scheme , it is not very hard to do and looks a whole lot different from all the other schemes of the time
it was used during the autumn season but at the end of the war soldiers used any kind of camo they could get so it happened that the allied forces came across solier wearing this camo in winter and spring
because it was used on thicker clothing that was used in the colder months it was a very uncommon sight in the summer
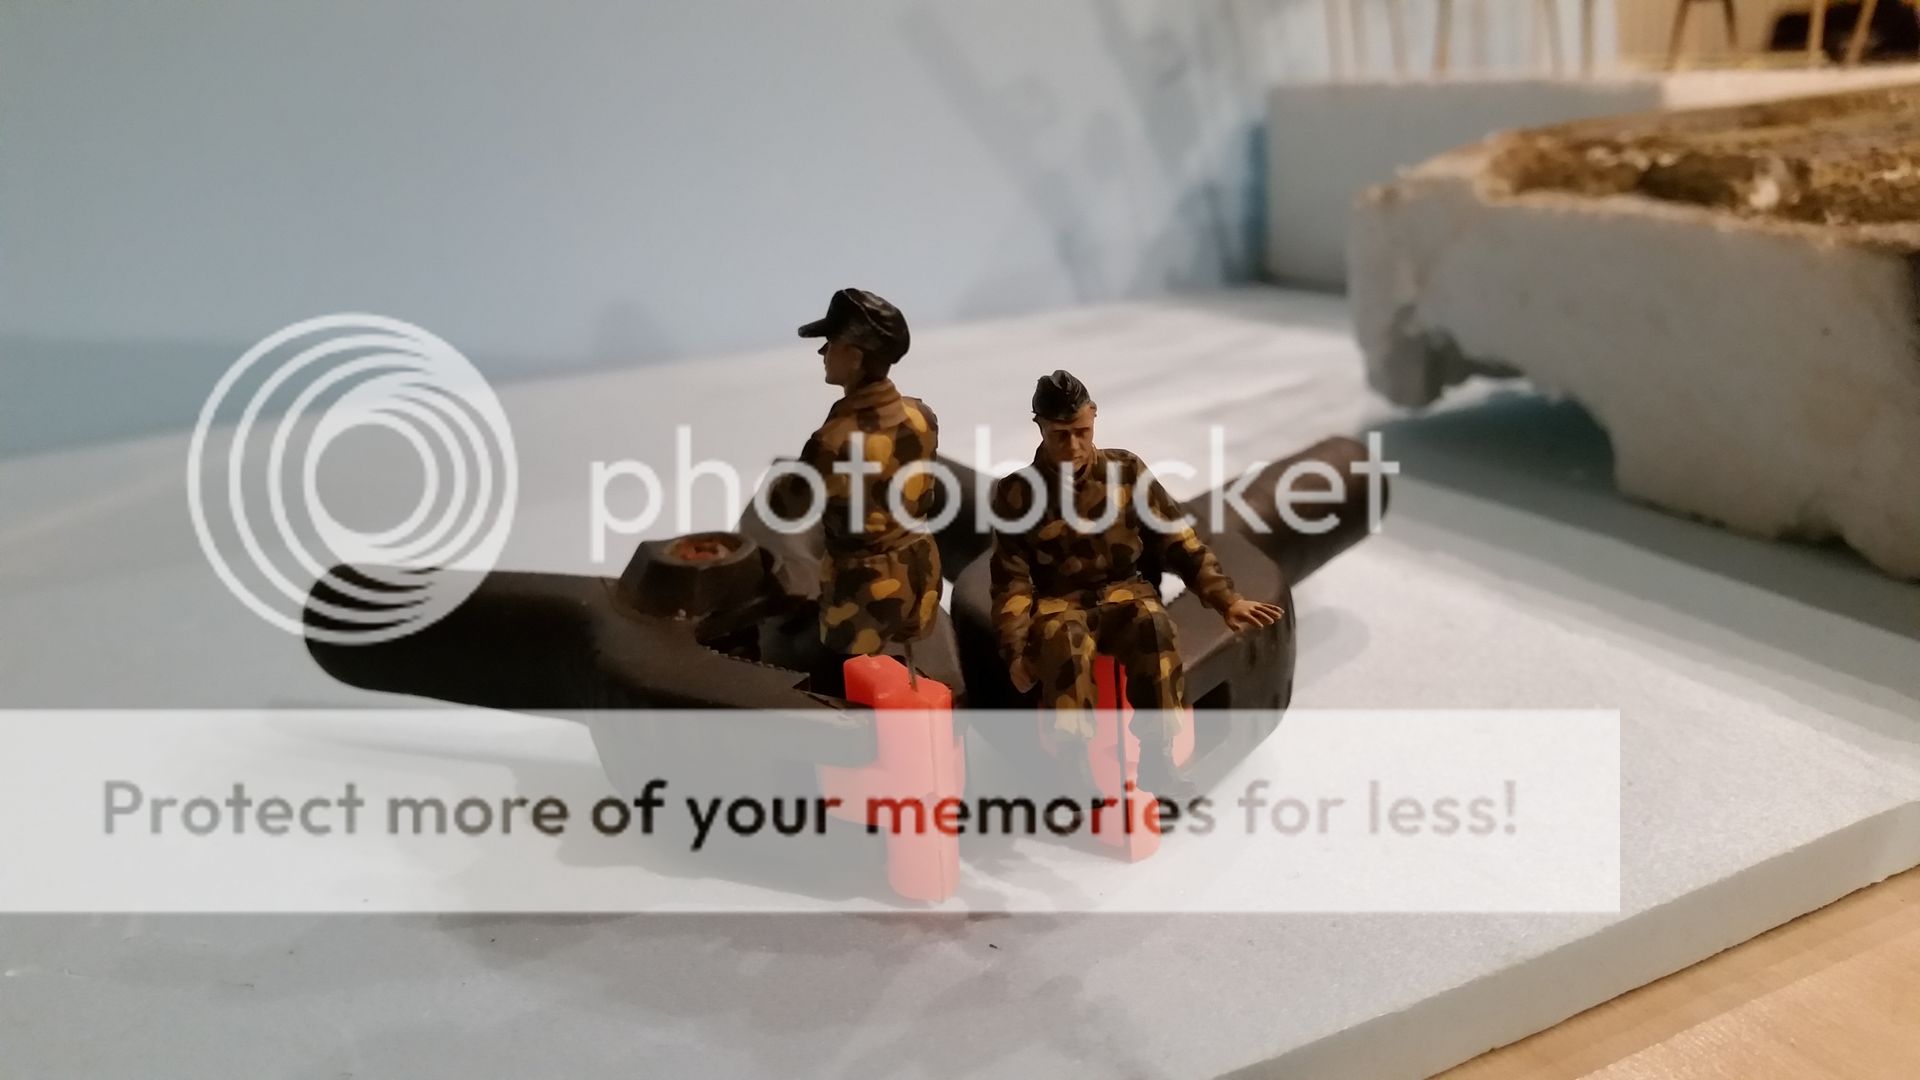
pea/dot pattern
paints
us field drab
english uniform
german camo black brown
reflective green
sunny skin tone
ss camouflage bright green
military green
black
yellow ocre
according to the book you would also need to make the mix for the ocre/sand
this is made up from sunny skin tone , salmon rose and english uniform these are mixed in a 3:4:1 ratio
but after mixing it i found that it looks nowhere near the color in the book
so i picked yellow ocre to replace this mix
wich looks a lot better in my opinion
paint mixes
base color : us field drab , english uniform and german camo black brown in a 5:1:1 ratio
medium green : reflective green
light green : sunny skin tone , ss camo bright green and military green in a 3:5:1 ratio
dark green : military green and black in a 2:1 ratio
sand: in this case yellow ocre
step 1

the base color is applied
step 2

the dark green patches are applied
there are only larger patches and no dots in this color
step 3
the ocre/sand patches are applied
they are mostly placed between 2 or 3 dark green patches
step 4

the ocre dots are applied
the are only placed on the areas with the base color

a bit closer up to show the placement of the dots
not all the room on the basecolor should be filled with the dots but some space should be reserved for the green dots later on
step 5
the ocre patches where given dots in the basecolor
step 6
the dark green patches received dots of the base color and the light green
the medium green is used on the basecolor where there is space left inbetween the ocre dots
and that concludes this scheme
this is used by SS tank crews for the most part
there are other units that received it though
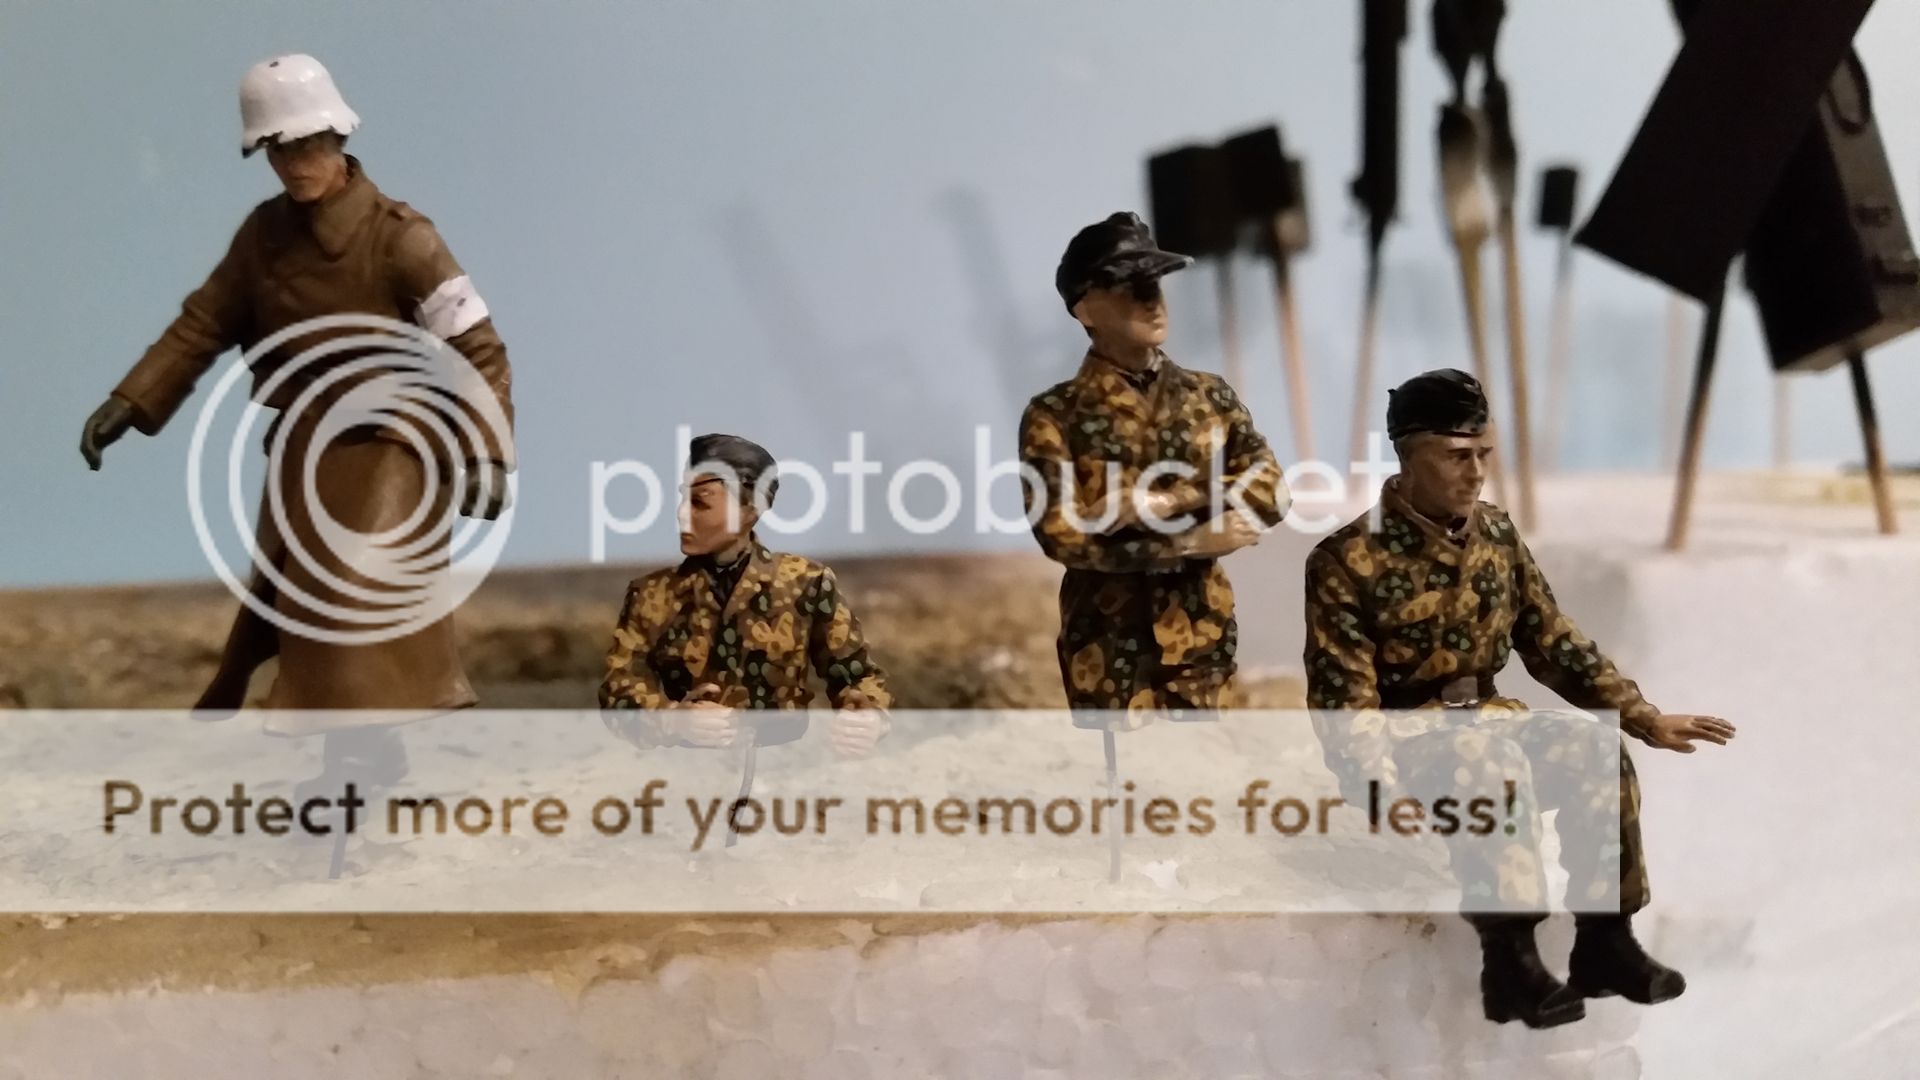
as you can see this is by far the most elaborate and intence scheme that was used during the war
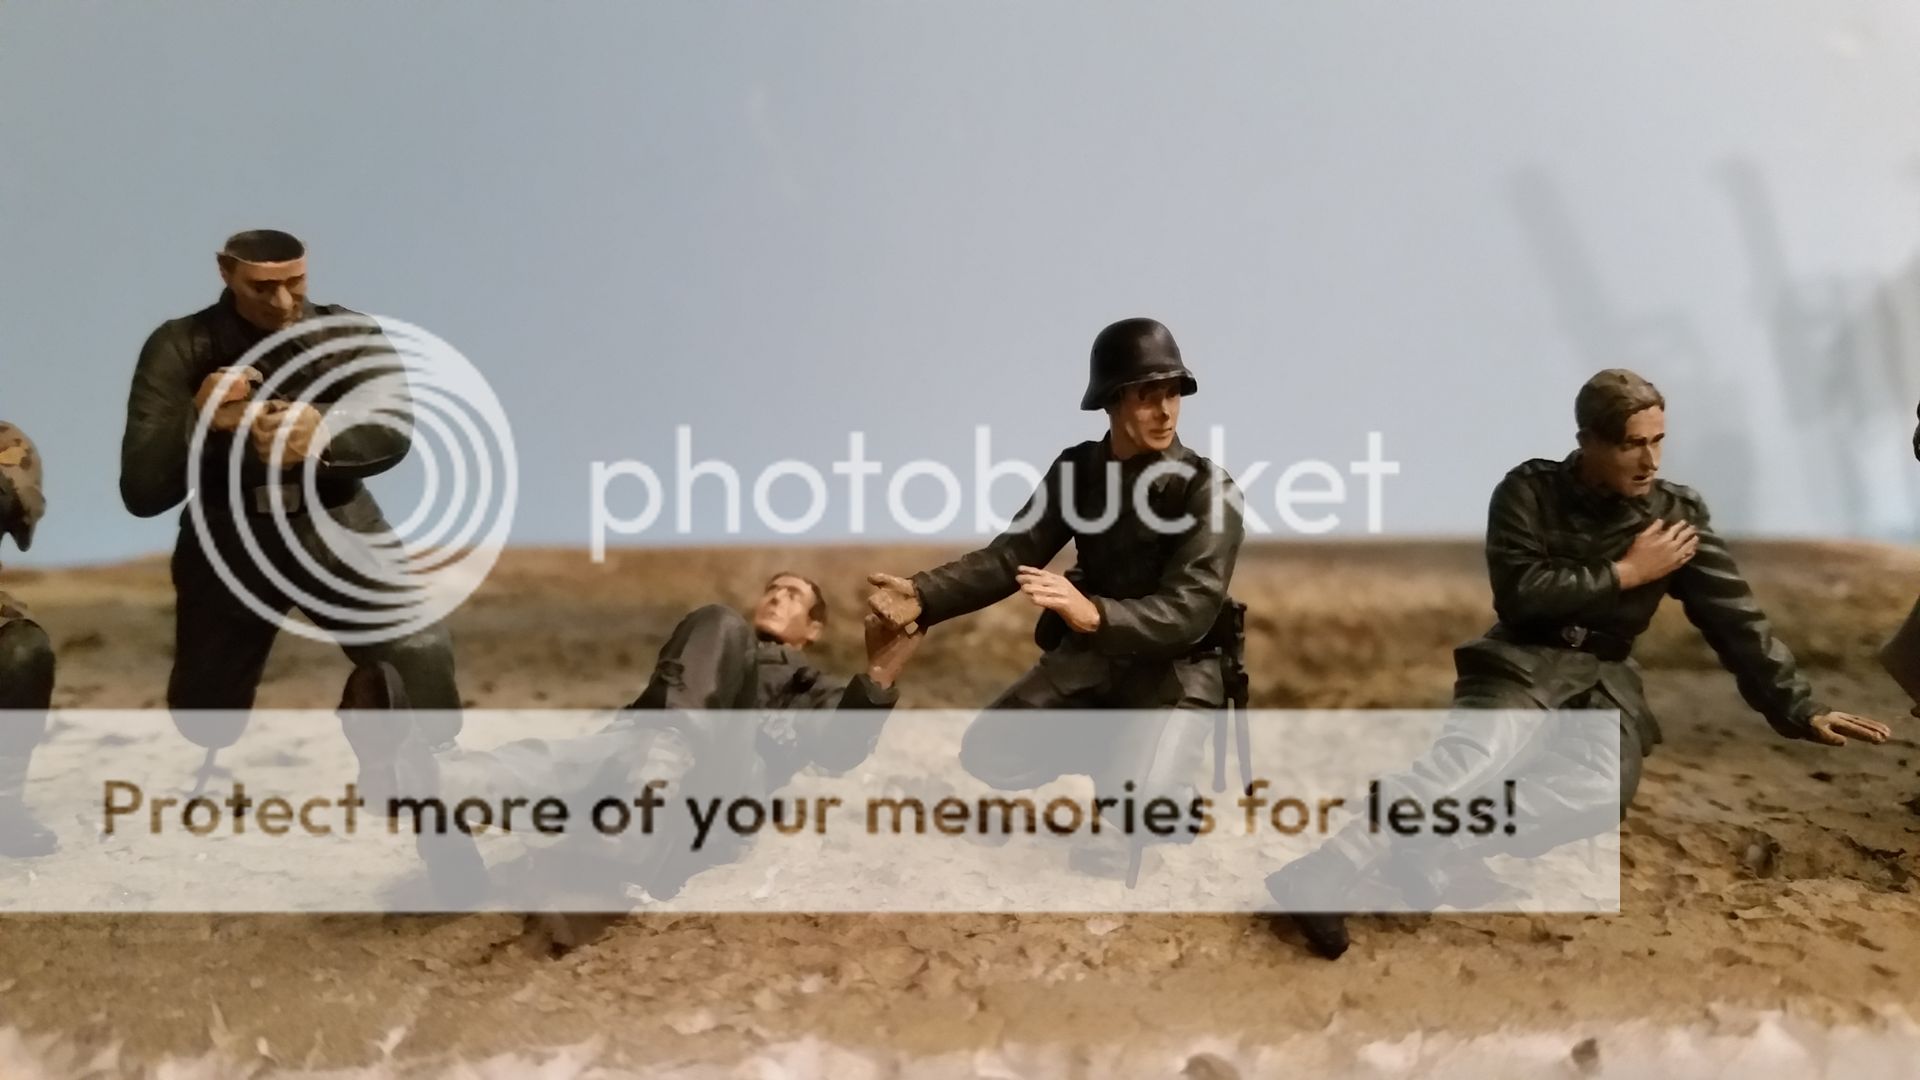
it has taken a lot of time to get it done but all in all i'm happy with how all the uniforms turned out
the medic

this is a more simple figure
his pants are p[ainted just like the wehrmacht figures
the great coat is painted with english uniform and later dry brushed with us olive drab
the helmet is painted in german grey
this was dotted with a bit of maskol and then painted white along with the armband
and then the maskol was rubbed off
i still have to paint all the gear and do some details but the hardest part is done
so here are the painted figures
i hope you find these painting how to thingies useful and thanks for dropping by
so let me know what you think and untill next time
cheers Mark


 i then applied the black paint wich is whiped down right after it is on the surface


Great camo on Panther and very good work with figures Mark
i see what you mean about being time consuming , but well worth it great job
That camo is freakin awesome


great attention to detail


. Thanks for sharing Mark.


