Thanks Thumboy, I'm really looking forward to it.
Before I show the little bit of progress that I have made, I should probably explain why my choice of techniques and tools may be a little different.
I am a returning modeller working to a tight budget so tend to use tools etc that I can find at cheapprices and save money where I can. I dint use AM products not that I wouldnt like to but because I cant really afford it.
This may well mean that my results are not up to the very impressive standard that I have seen on the site but I still very much enjoy the hobby

Anyway, enough waffle on with the build.
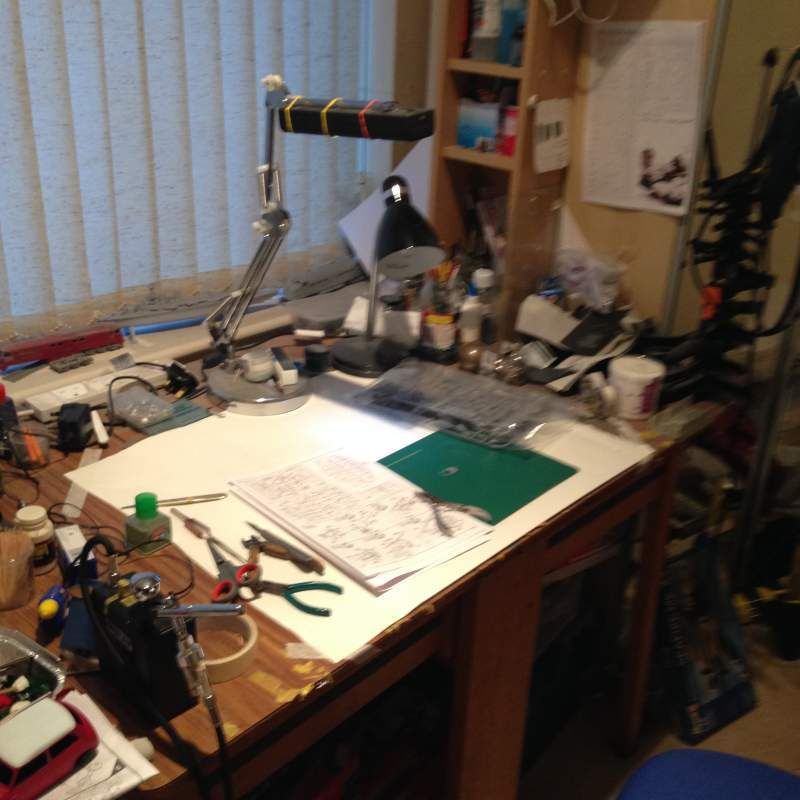
This is where I create my monstrosities.....erm I mean models.
and some of the tools that I will be using in this first part of the build,
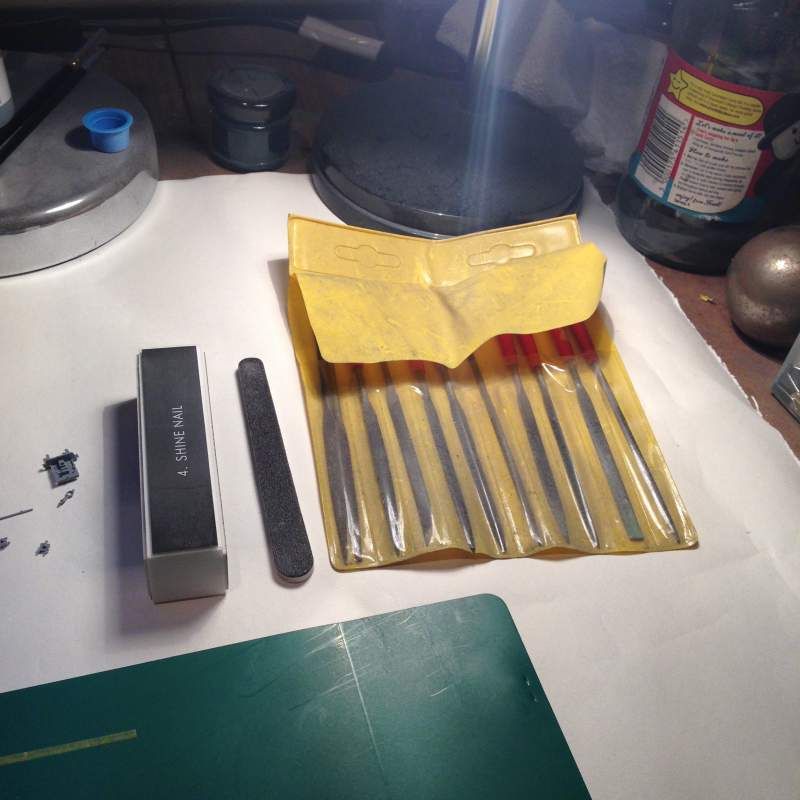
as I said just stuff that I have managed to pick up cheaply.

Cockpit parts

And some more lol

And the first problem, The instructions call for a part to be placed under the instrument panel, which when finding it on the sprue is quite clearly part of one of the wheels.
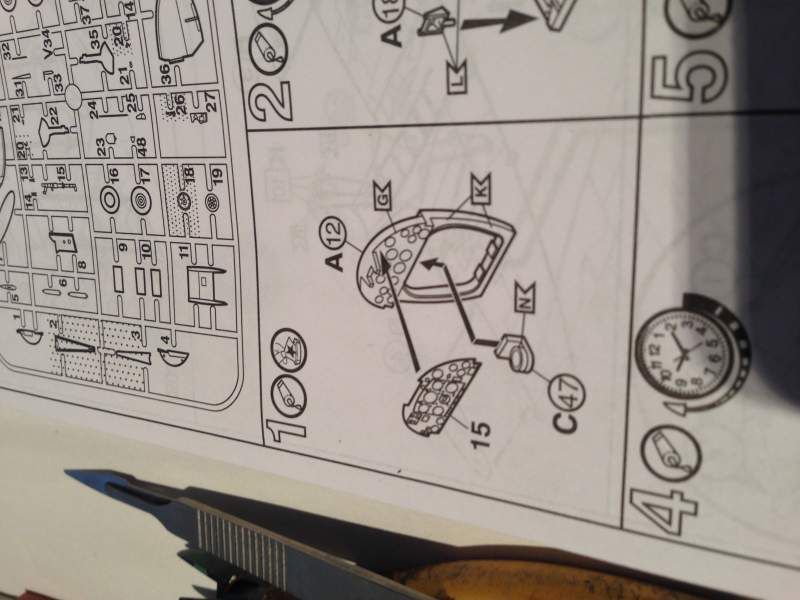
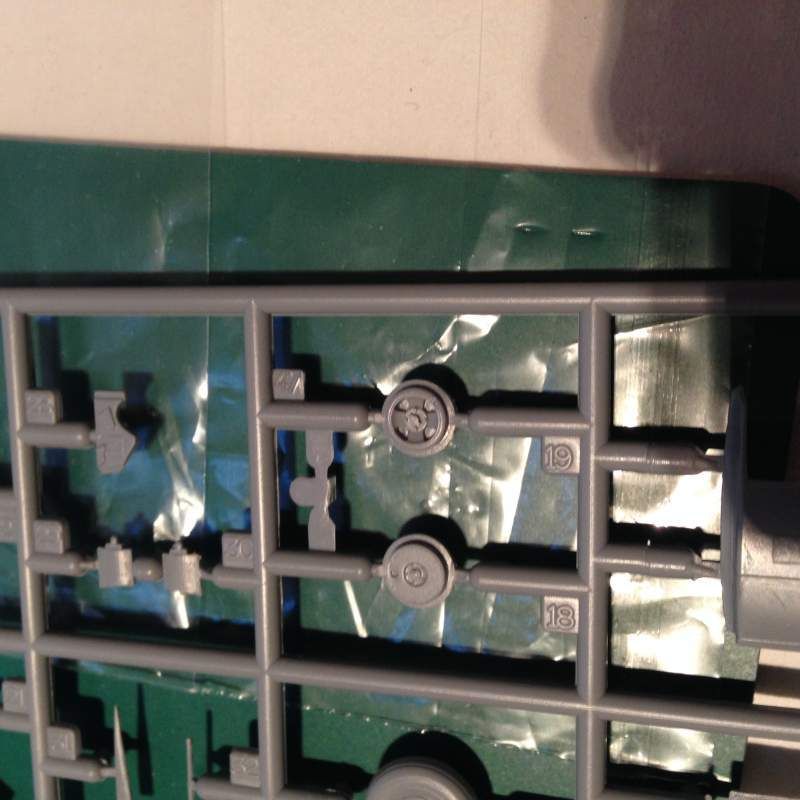
Never mind, The part doesnt seem to show on any of the other instruction steps so I will ignore it.
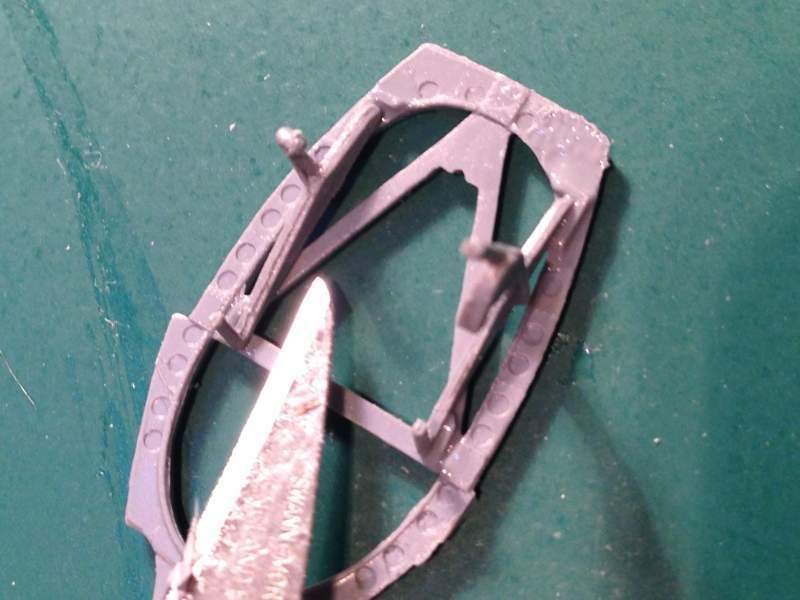
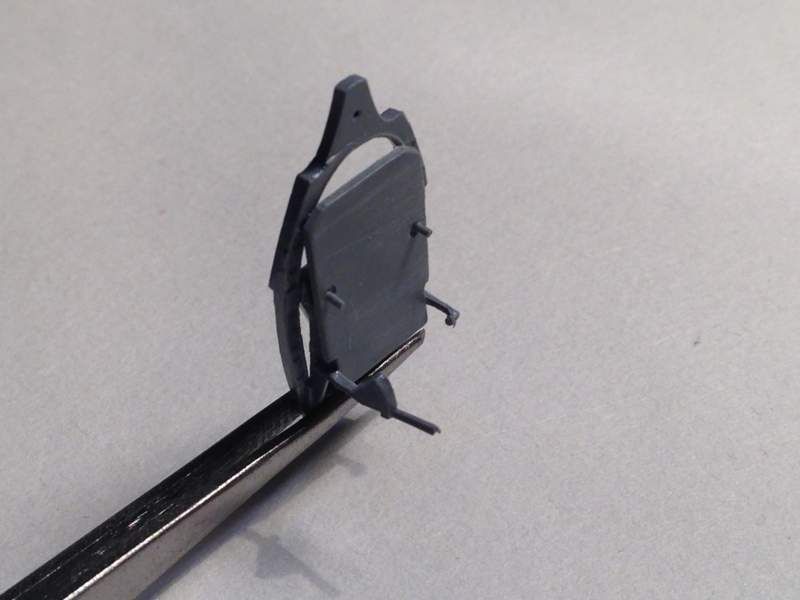
The next step calls for the side rails to be added to the rear of the cockpit and a plate with holes to be added, not sure how but it actually lined up!
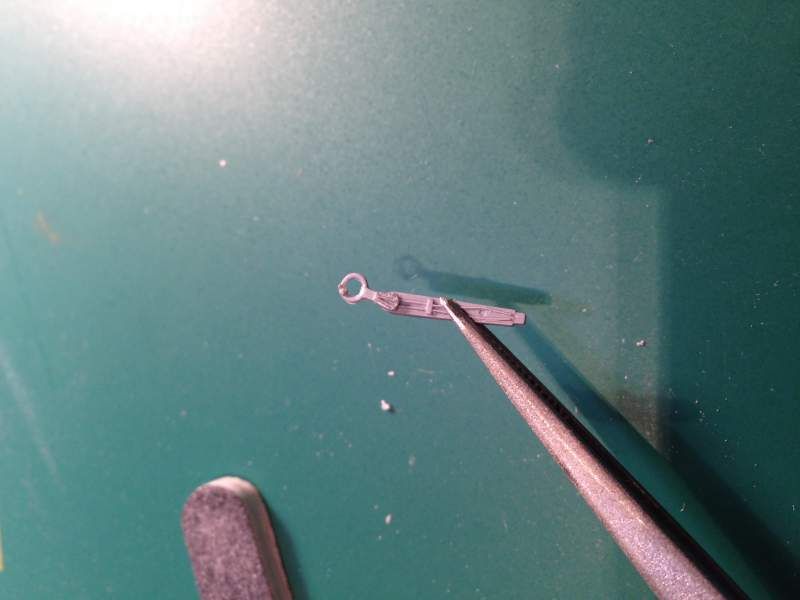
The Control stick is in 2 parts which I have never seen before in a kit, I do find though where parts are positionable, putting them at slight interest instead of perfectly straight adds to interest.
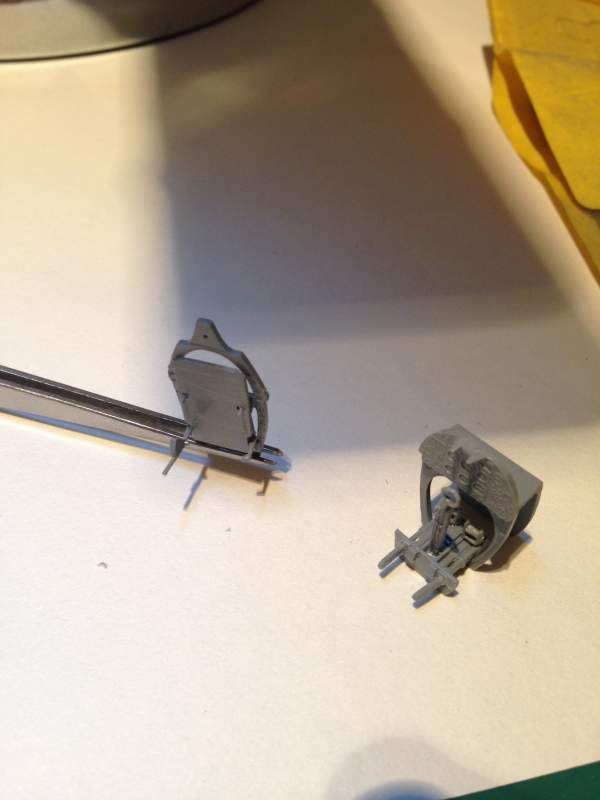
Next the side walls are added to the inside of the fuselage (another first for me) after cleaning the fuselage sides up of what little flash etc was on there.

And a final shot of the completed cockpit parts ready for the next steps.
Not a huge amount of progress so far but I will be trying to get more done over the weekend, as well as putting something together to describe a some of the history of the aircraft.