hi guys
so i have a new update for this build
although i did post some photo's of this build on the ISM facebook page last week i forgot to post the update
well i thought i did post it already untill some one from work told me i didn't so i guess he was following this as he is new to modelling and somehow thinks i am the right guy to get ideas from (his mistake but do tell him)
so this time i will do the weathering of the Leopard
i kept it simple because the Dutch leopards where well looked after and in mint condition most of the time
but here is what i have done for weathering

after last time i gloss coated the model with a coat of future floor wax
this is to make the surface smooth enough for the decals and to avoid the silvering of the decals
then after it had time to dry i started with aplying the decals
most modellers use both a setting and softening product but for some reason i get nice results with just the microscale micro sol wich softens the decals and helps it to conform to the surface
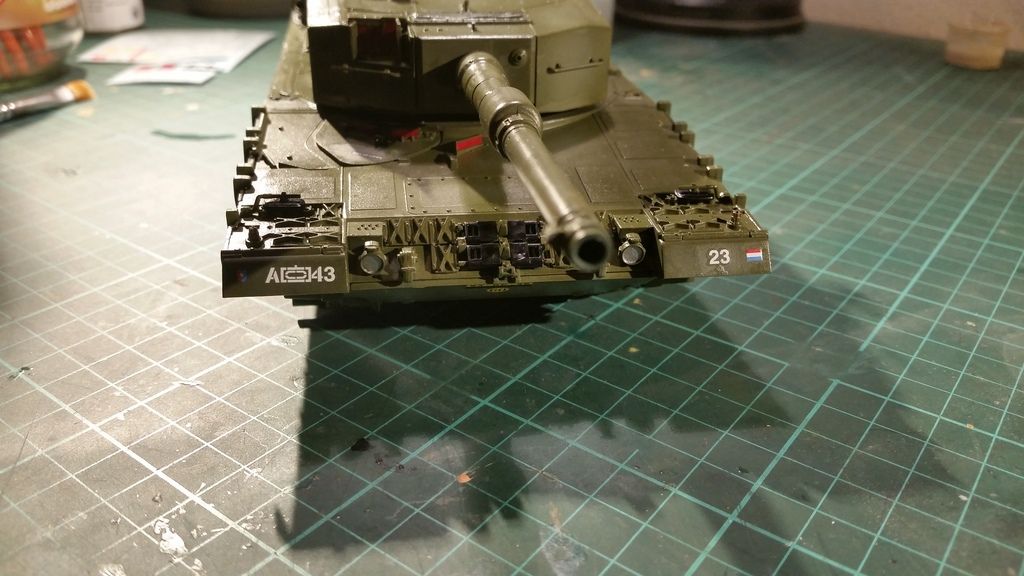
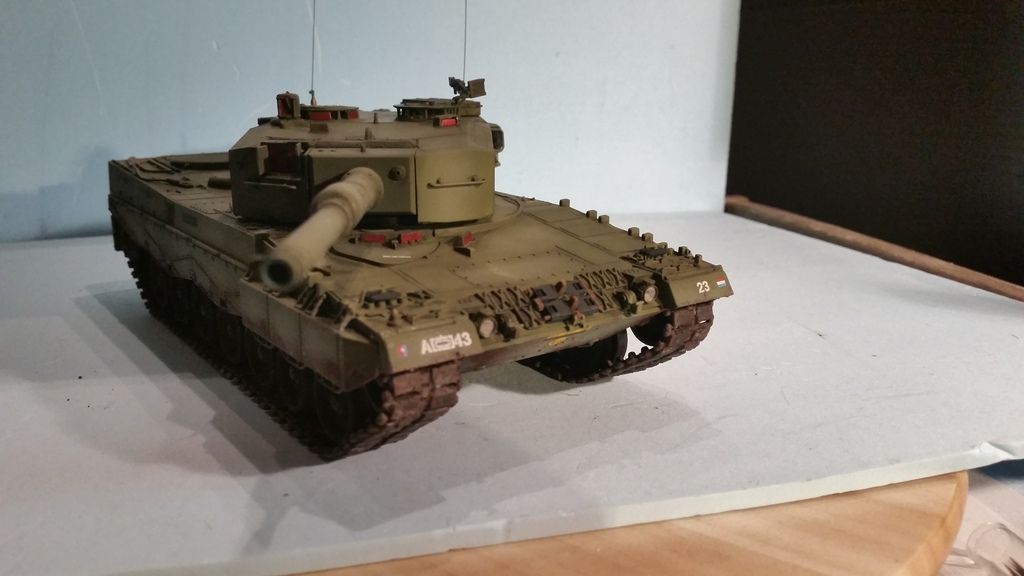
the front of the Leopard

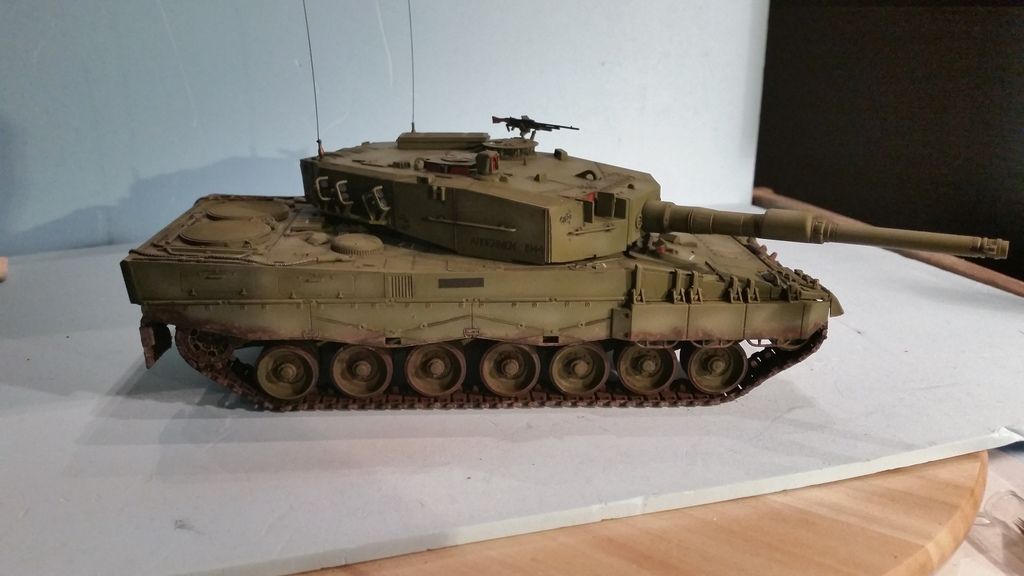
the right side
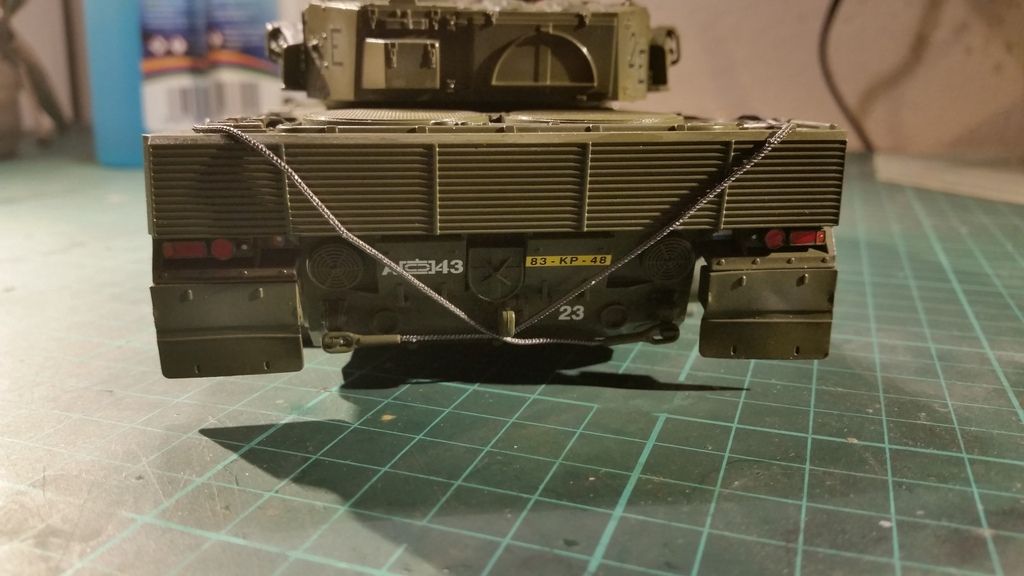
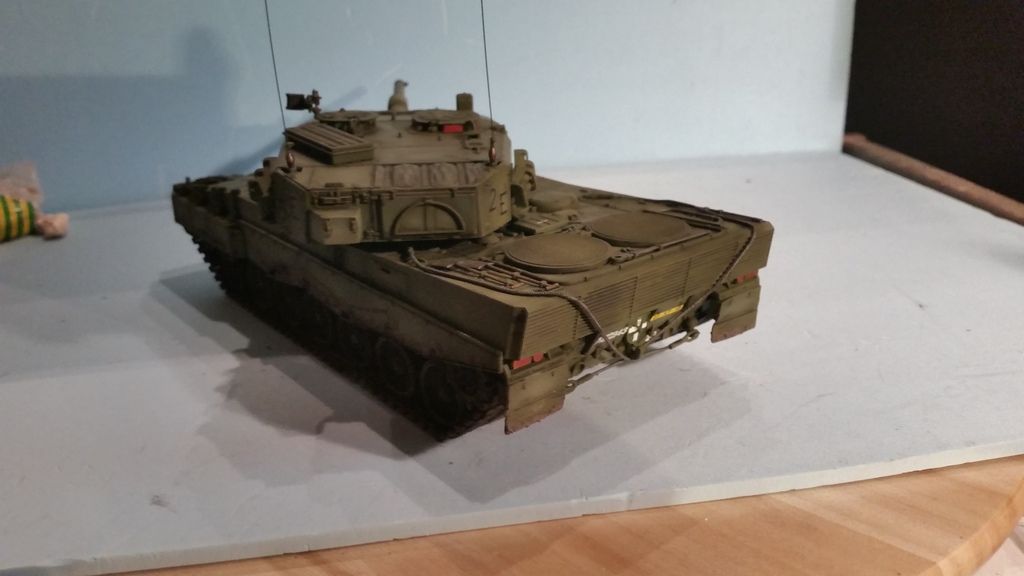
and the rear
these 4 photo's show the more visible decals there are some on the engine deck and drivers hatch but these are less visibe as the turret hangs over them
i then noticed a little problem
the future was somehow strong enough to disolve the ammo crystal red i used for the periscopes
the paint was dry for days so i highly doubt it has to do with drying time after 4 days of drying so i blamed the quality of the paint
the future doesn't have any solvents in it so i don't know why it happened but as i was angry

that this happened i tossed the paint in the bin and decided i will use other brands of paint that i have more confidence in when it comes to using them
it is a personal opinion ofcourse but i don't like ammo paints and except for the rust set i only had problems with them
so i will avoid them all together

but a little bit of the basecolor fixed it

after the decals had a few hours to dry i sprayed the model with a coat of satin varnish by Vallejo
this gives a medium smooth finish so the wash will have something to hold on to and give more color variation and it is easier to get flat/matte later on
i tried the mig prod. dark green wash as they advice this on green subjects but i thought the result was to subtile
so i used mig prod. dark wash around all the raised details

here the wash is removed for the most part
i use the AK thinner for this as i have got a few bottles as a gift but you can use any artist grade white spirit or thinner to do this

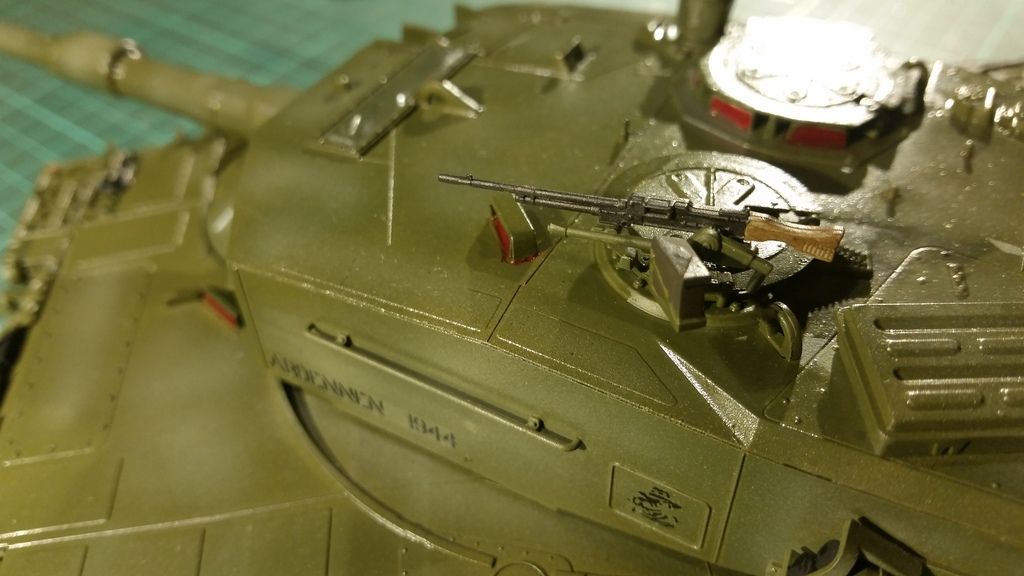
the topview show the effect of the wash a bit better

as the side skirts and hull are now washed and coated with a coat of AK ultra matte varnish i can start with the final assembly of the kit
the wheels where the first thing to add to the hull
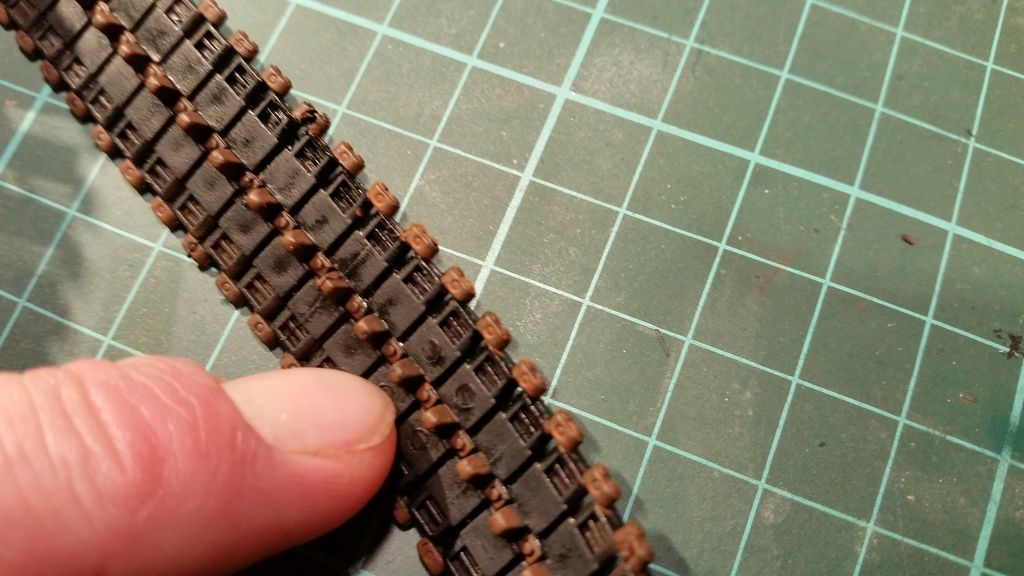
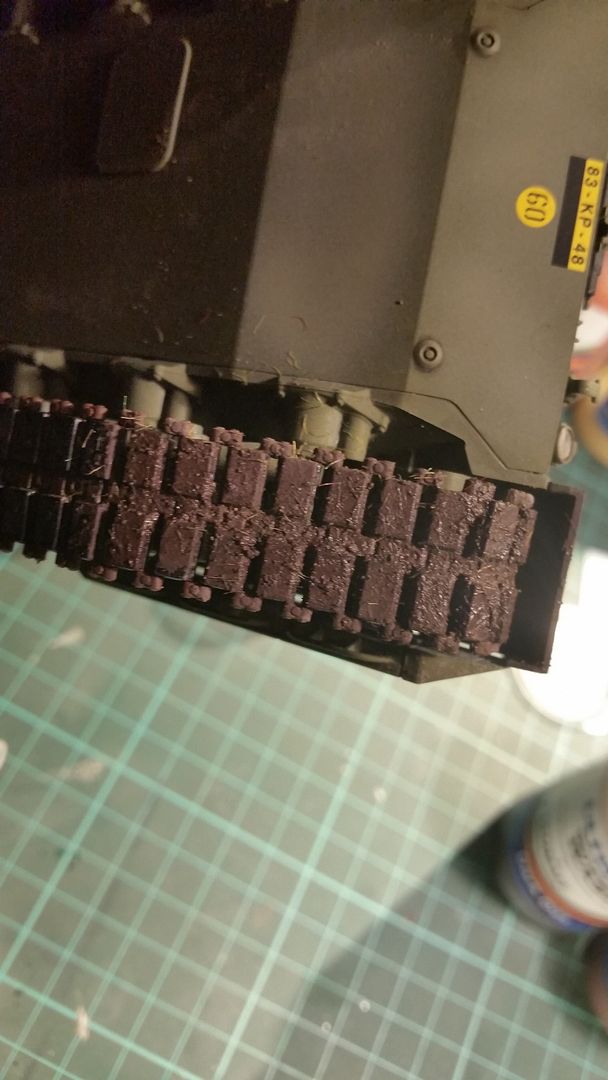
i added some Ultimate rust wash to the metal parts of the tracks but only on the inside as the outside will be covered with mud and dirt
i like the effect this wash gives and this was my first attempt at using them but i think i will use them more often
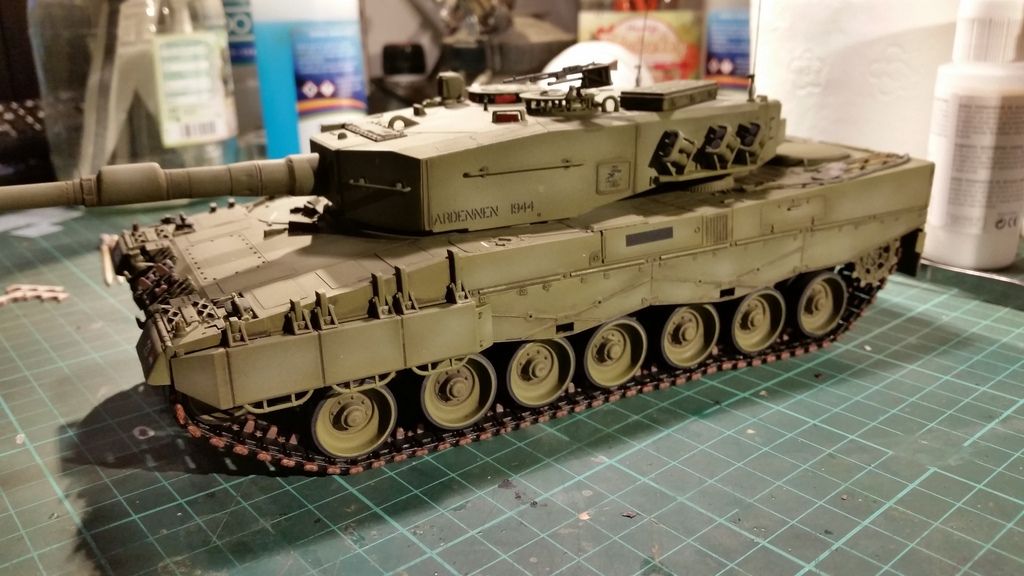
the side skirts where then fitted
this means the kit is now fully assembled and all the needed parts are on

as these tanks are clean most of the time i decided that some mud a just a minor amount of dust will
i started with the mud
although i usually start with dust effects and add mud after that but i thought that this shouldn't be a problem
the mud is made with a mix of plaster of paris , Ultimate dark dirt wash and a little bit of mig prod. dark mud pigments
this was stamped on with a old fanned out brush

to make the mud a bit more intresting i sprinkled on some static grass
the color doesn't matter as i will push it into the mud mix
here the grass is pushed or stamped into the mud mix and as you can see the green is barely visible once i did this

i then sprinkled on some real sand and pushed the brush on it
this gives a bit more texture to it
although i could have added the sand to the basic mix but i didn't think i would need more texture at first
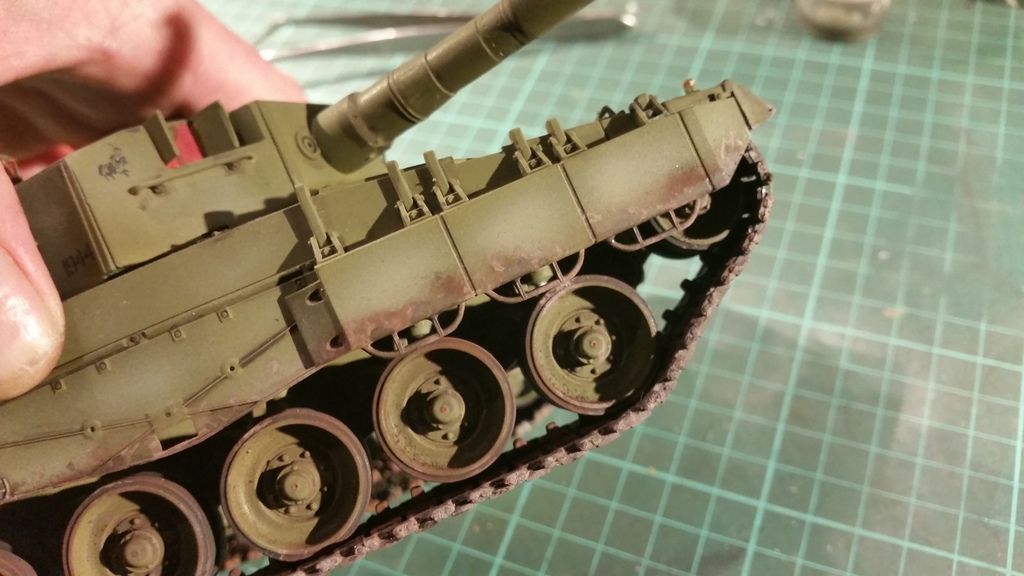
the same mud mix was used to make patches of mud stains or splatter on the side skirts and on other lower hull parts
like around the running gear , mud flaps and the front near the edges
as you can see it has 2 colors the lighter tone is mig prod. dry mud pigment

i added a little bit of satin varnish on the mud
this gives a little bit of shine to make it look like it is still wet
but the effect is very minimal and it still loks rather dry but i will correct this when i make the diorama base and blend the ground and model together later on

i did one last thing but i don't have a picture of it
because the entire model is coated with matte/flat varnish the periscopes and other vision instruments where matte aswell
i brushed on a small amount of future on them to make the shiny again to resemble the glass of these instruments
this was also done to the head and tail lights
so that is all for now
i still want to make a small diorama or vignette for this but i am still not 100 % sure how i want to make it look
i want to use some techniques i found in a modelling book so i need to think over the plan and see what i can use for the base
but once i know what i will do i will start building it and make a update and final reveal for this build
thanks for stopping by and stay safe
and happy modelling ofcourse
cheers, Mark