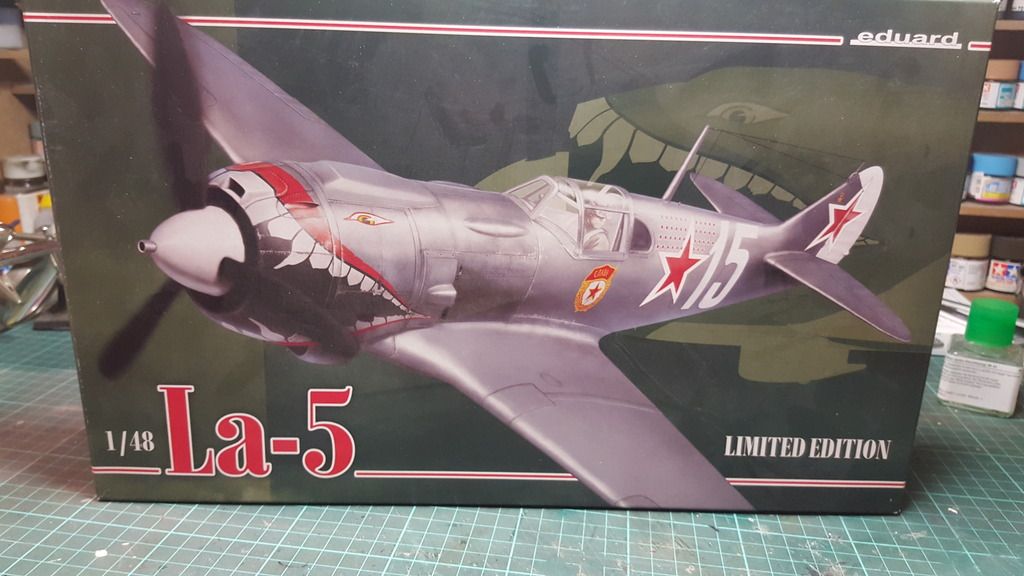
hi guys
so it is time for a update and a brief history lesson for this build
as some of you may have seen i finished building it already as i had some long days at the bench the past few days
but first a little bit of background information and then i will go to the build
The La-5's heritage began even before the outbreak of war, with the LaGG-1, a promising yet underpowered aircraft. The LaGG-3 was a modification of that design that attempted to correct this by both lightening the airframe and fitting a more powerful engine. Nevertheless, this was not enough, and the lack of power remained a significant problem.
In early 1942, two of the LaGG-1 and -3's designers, Semyon Lavochkin and Vladimir Gorbunov, attempted to correct this deficiency by experimentally fitting a LaGG-3 with the more powerful Shvetsov ASh-82 radial engine. Since the LaGG-3 was powered by an inline engine, they accomplished this by grafting on the nose section of a Sukhoi Su-2 (which used this engine). By now, the shortcomings of the LaGG-3 had caused Lavochkin to fall out of Joseph Stalin's favour, and factories previously assigned to LaGG-3 construction had been turned over to building the rival Yakovlev Yak-1 and Yak-7. The design work required to adapt the LaGG-3 to the new engine and still maintain the aircraft's balance was undertaken by Lavochkin in a small hut beside an airfield over the winter of 1941-1942, all completely unofficially.
When the prototype took flight in March, the result was surprisingly pleasing - the fighter finally had a powerplant that allowed it to perform as well in the air as it had been supposed to on paper. After flying, the LaG-5 (the change in name reflecting that one of the original LaGG designers was no longer with the programme), Air Force test pilots declared it superior to the Yak-7, and intensive flight tests began in April.
By July, Stalin ordered maximum-rate production of the aircraft and the conversion of any incomplete LaGG-3 airframes to the new configuration, now simply known as the La-5. The prototype was put in mass production almost immediately in factories located in Moscow and in the Yaroslav region. Design changes for main production La-5 models included fixed slats to improve all-round performance. While still inferior to the best German fighters, the La-5 proved to be every bit their match closer to the ground. With most of the air combat over the Eastern Front taking place at altitudes of under 5,000 m (16,404 ft), the La-5 was very much in its element.
Further refinement of the aircraft involved cutting down the rear fuselage to give the pilot better visibility, making this version the La-5F. Later, a fuel-injected engine, a different engine air intake and further lightening of the aircraft led to the designation La-5FN that would become the definitive version of the aircraft. A full circle turn took 18–19 seconds. Altogether, 9,920 La-5s of all variants were built, including a number of dedicated trainer versions, designated La-5UTI. Very late La-5FN production models had two 20mm Berezin B-20 cannon installed in the cowling in place of the heavier two 20mm ShVAK (both were capable of a salvo weight of 3.4 kg/s). Further improvements of the aircraft would lead to the Lavochkin La-7.
A number of La-5s continued in the service of Eastern Bloc nations after the end of the war, including Czechoslovakia.
General characteristics
Crew: one pilot
Length: 8.67 m (28 ft 5.33 in)
Wingspan: 9.80 m (32 ft 1.75 in)
Height: 2.54 m (8 ft 4 in)
Wing area: 17.5 m² (188 ft²)
Empty weight: 2,605 kg (5,743 lb)
Loaded weight: 3,265 kg (7,198 lb)
Max. takeoff weight: 3,402 kg (7,500 lb)
Powerplant: 1 × Shvetsov ASh-82FN radial engine, 1,385 kW (1,850 hp)
Performance
Maximum speed: 648 km/h (403 mph)
Range: 765 km (475 miles)
Service ceiling: 11,000 m (36,089 ft)
Rate of climb: 16.7 m/s (3,280 ft/min)
Wing loading: 187 kg/m² (38 lb/ft²)
Power/mass: 0.42 kW/kg (0.26 hp/lb)
Armament
2 × 20 mm ShVAK cannons, 200 rounds each
2 × bombs up to 100 kg (220 lb) each

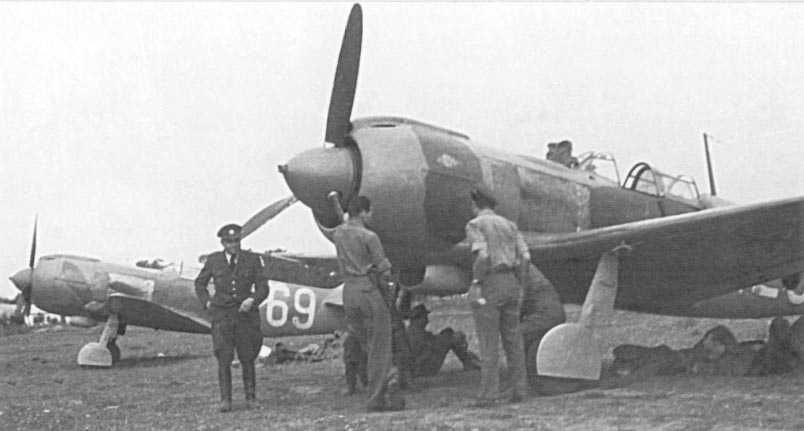

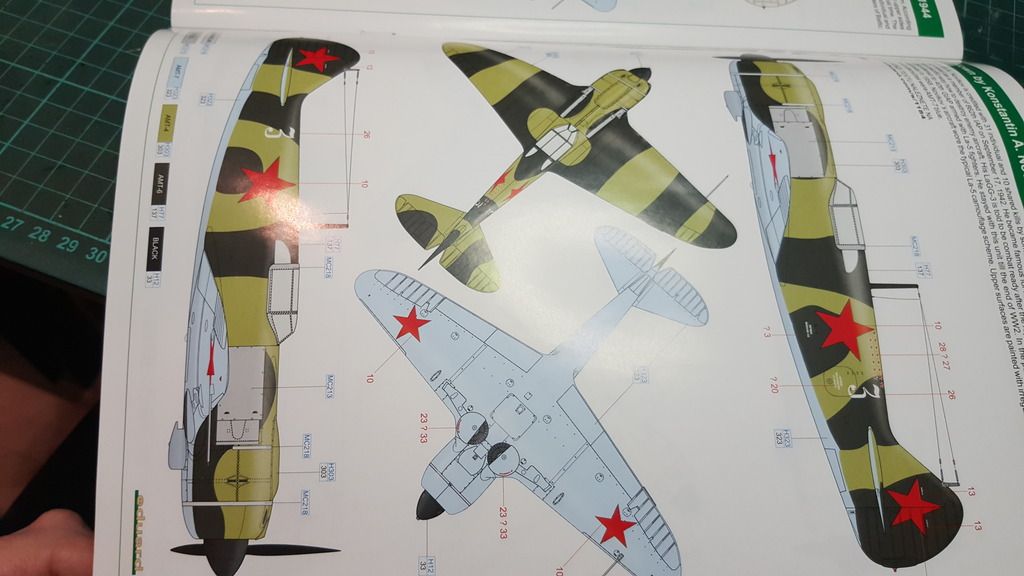
asyou can see using the men near the plane it is not very big
if you compare it to let's say a P-47 where many pilots managed to stand under the enginecowling
thanks to Wikipedia for that information
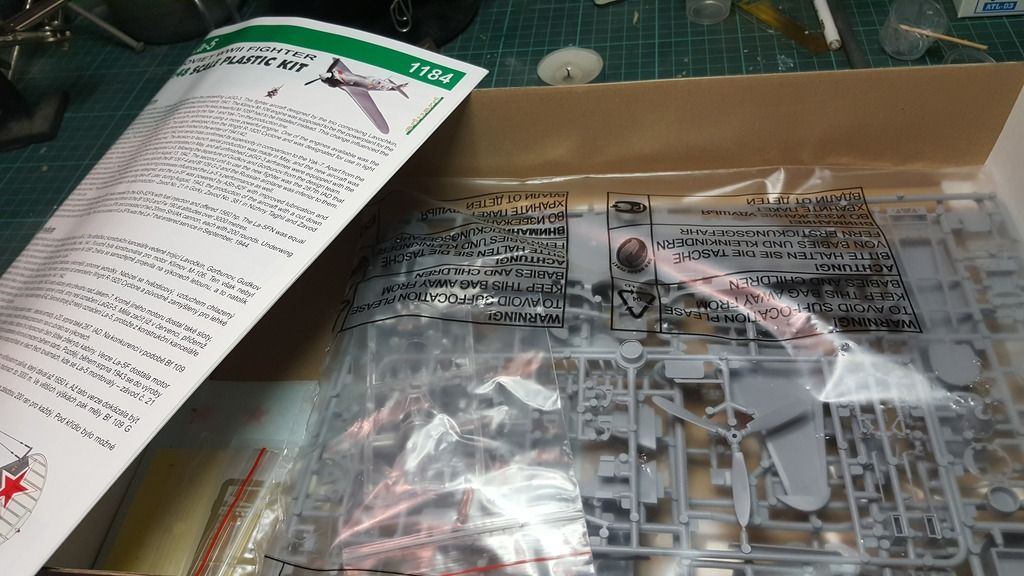
and now it is time for the build
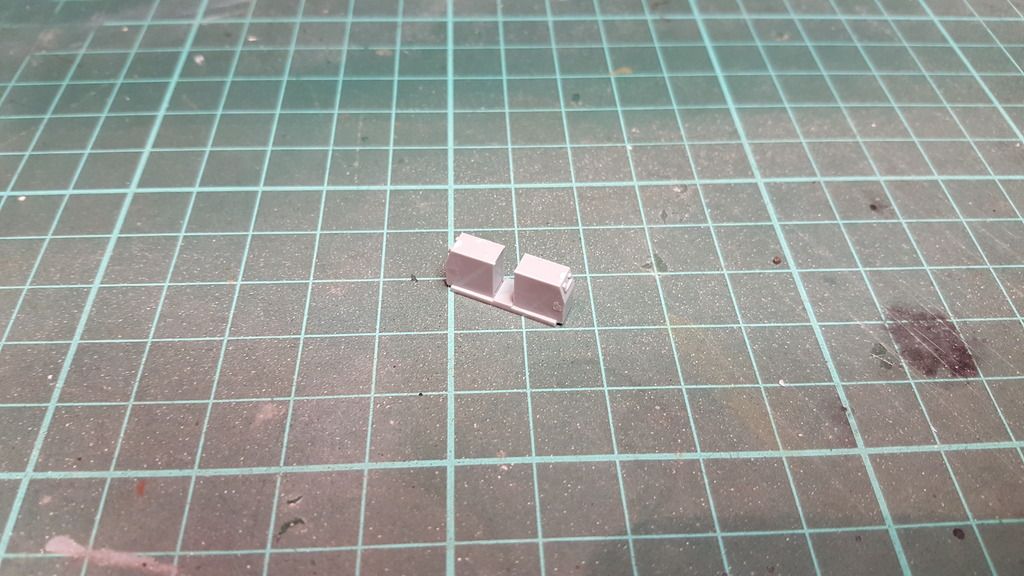
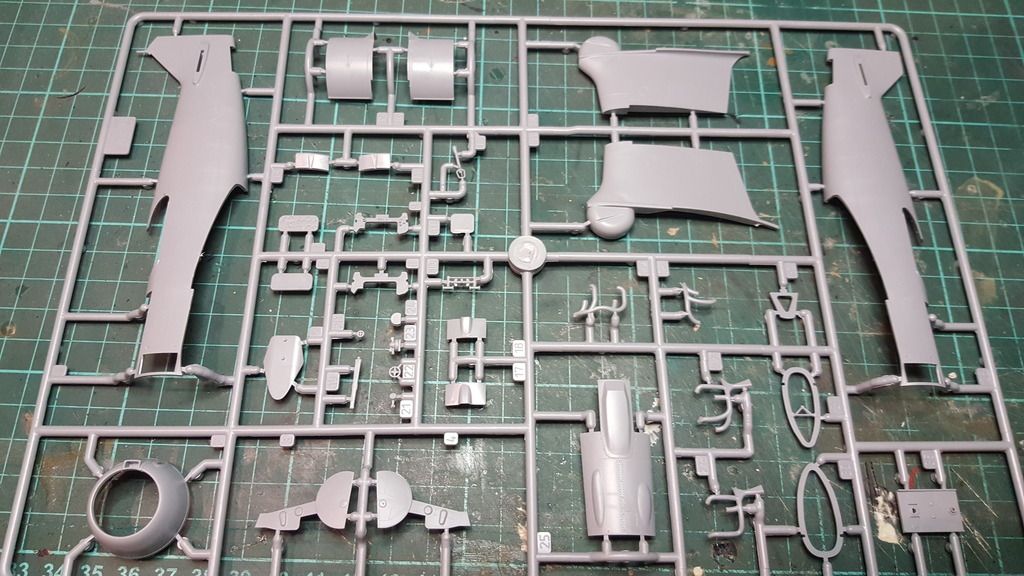
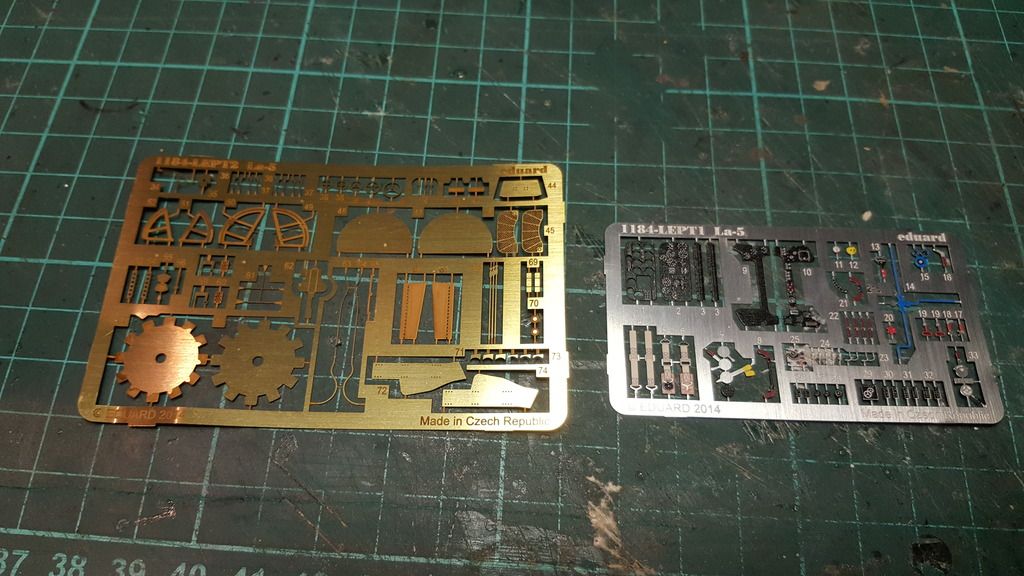
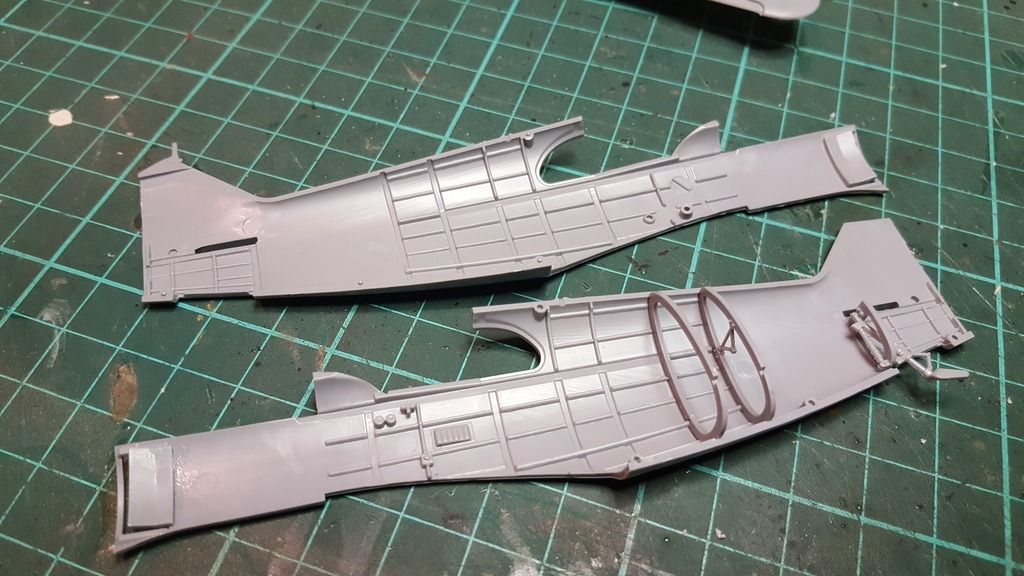
the building starts with this
i think they are magazines for the cannons
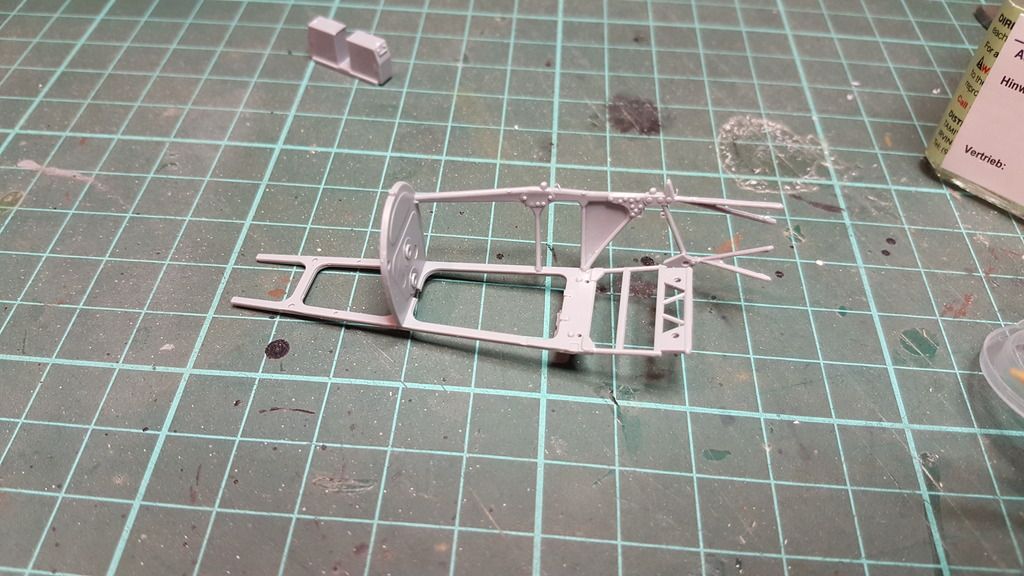
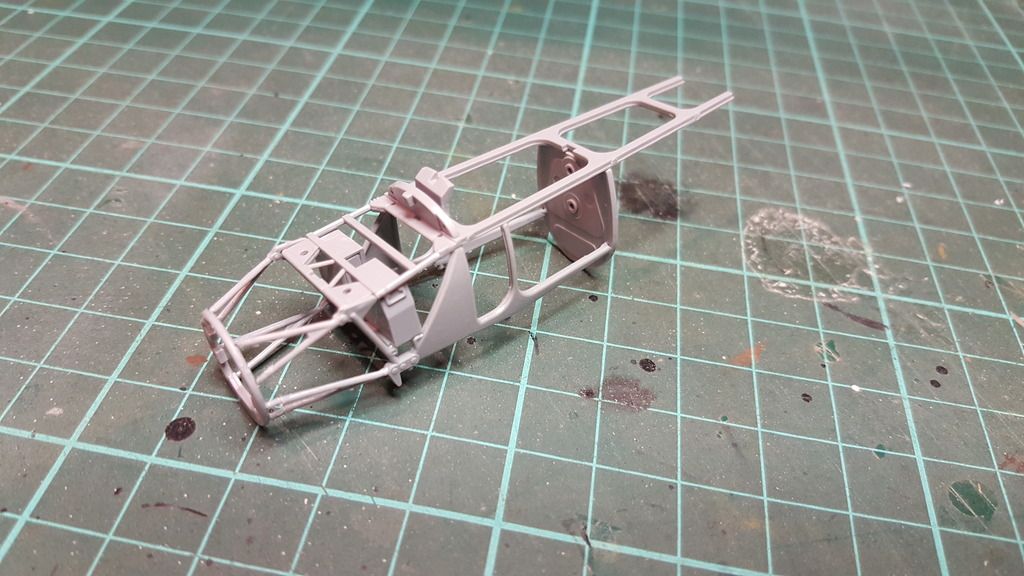
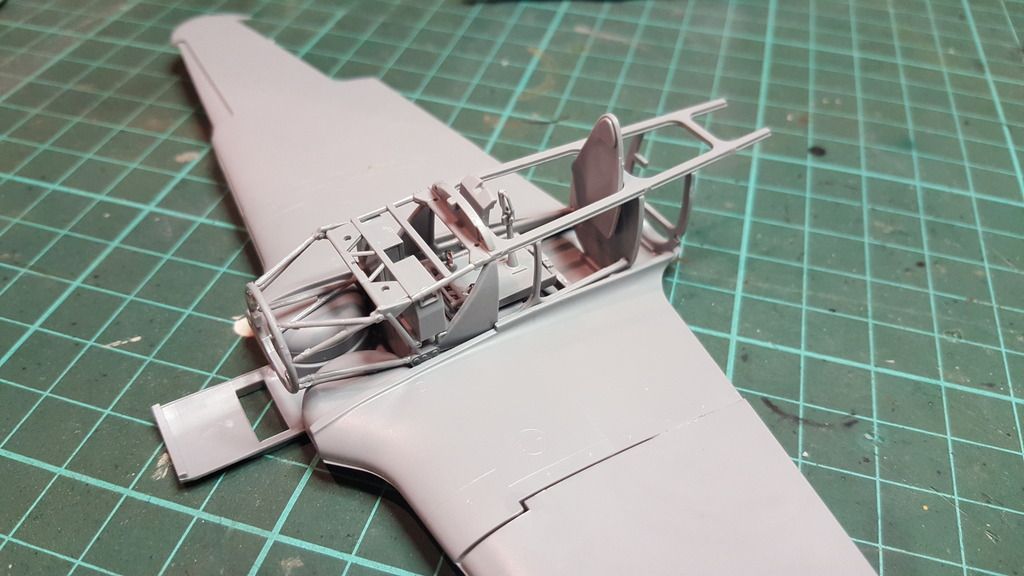
then you need to make the interior framework
it looks a bit challenging but it actually fits together quite well

a little cockpit floor with footpedals
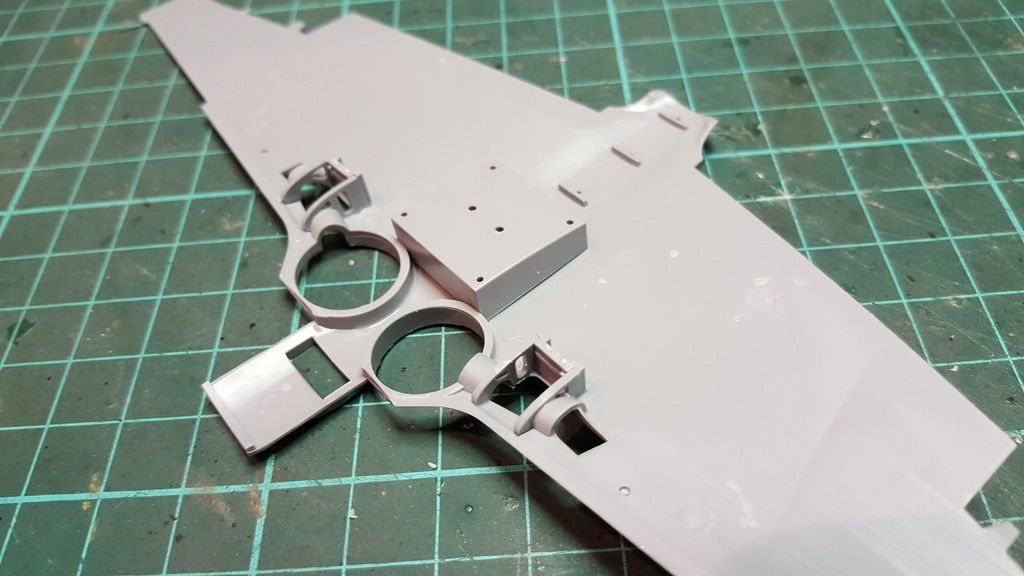
at this point you already get to work on the wings
where you need to add some interior detail for the landing gear bays
next where the upper parts of the wings wich are made from 2 parts
1 part is the wing root and part of the wing while the other is the rest of the wing
for some reason the right wing fits great and not a drop of filler was needed but the left wing was a different story
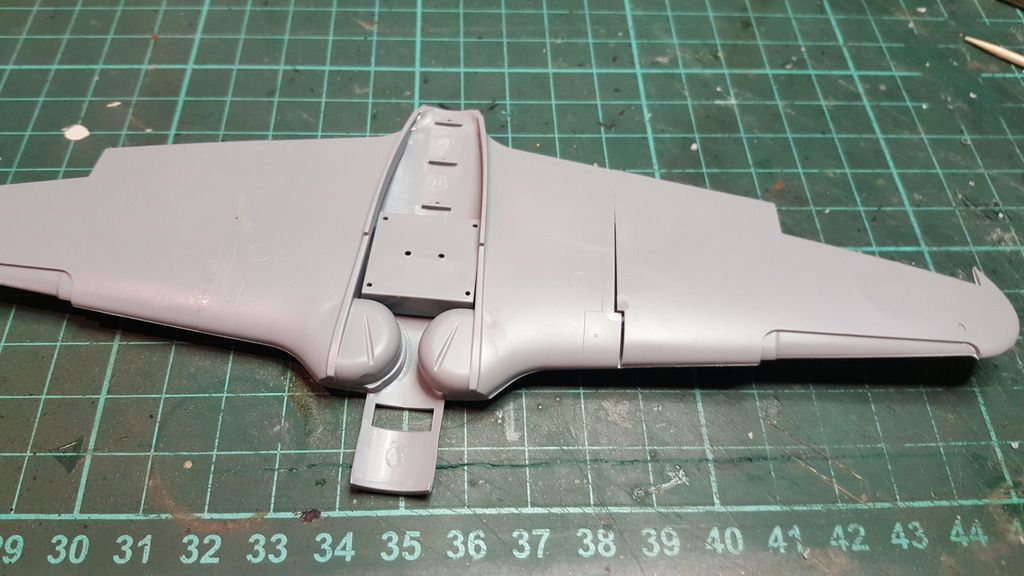
the frme was glued on the wing section

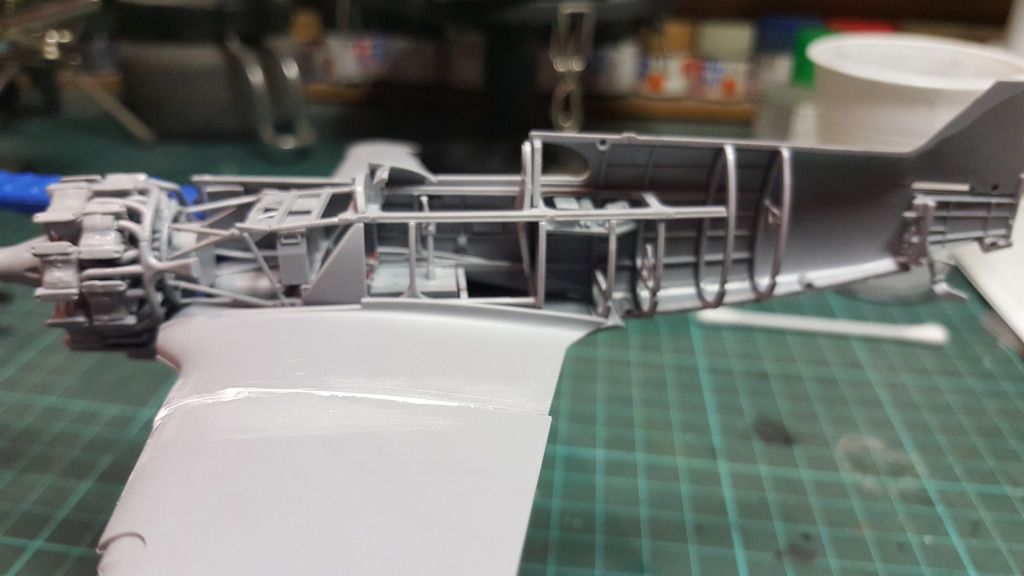
interior details where added to the fuselage and frame

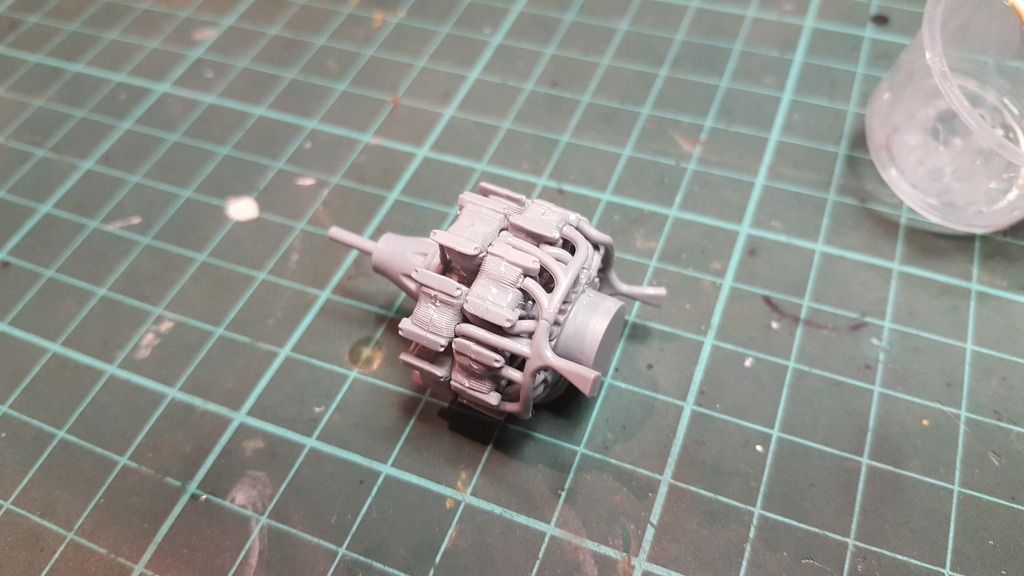
then the engine is next
the actual cylinders look pretty good but i think the tubes and pushrod tubes are a bit soft on the detail

the 2 rows of cylinders are glued together and the front of the engine is placed
the axle looks a bit long but i left it as is untill i had the rest of the fuselage build up to see it it was the right lenght
and spoiler alert ,it is the right lenght

as you can see the inlet tubes don't have the best fit and i filled them with some thick ca glue
the exhaust parts snap in place and could be done without glueing but they do have some minor seams on them
the fuselage halfs with all the styrene parts added
how it looks before painting

the frame and interior where painted with mr hobby aqueous H317 grey
i put the loose parts back on for the pic though

the gun sight was painted black

the instrument panels and seat where dressed up with the photo etch set

a better look at the seat
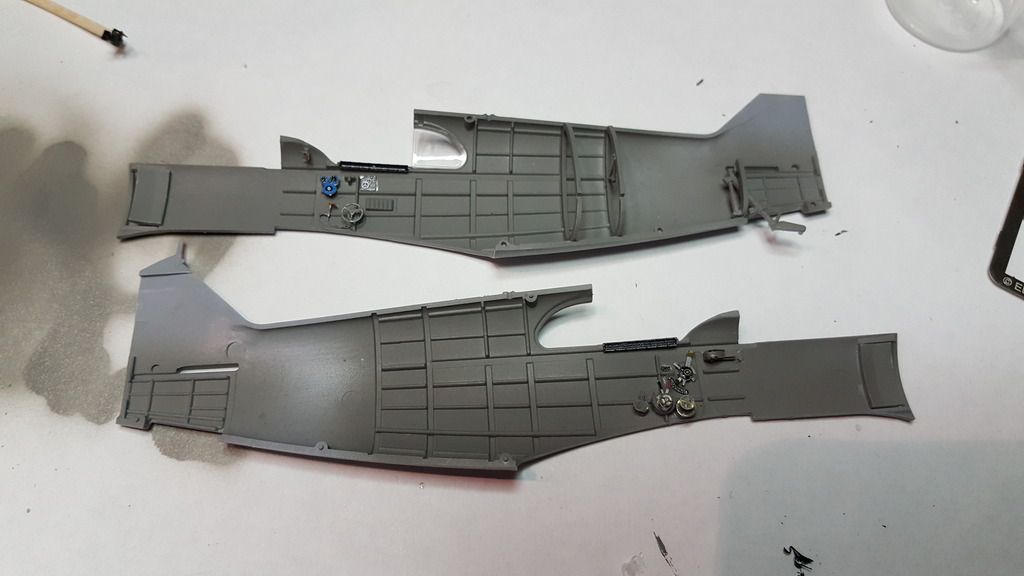
the pe for the fuselage halfs
at this point i had to make a choise as there is more pe going in there but it has to be on the inside of the frame and not on the fuselage
so i could weather it at this point or later on once it was buttoned up
i picked the last option as i test fitted the parts and thought i still had enough access to weather it later

the painted engine
i didn't weahter it because it will be invisible later on as there is a big disc behind the prop that blocks the view

the fuselage halfs where glued on the wing section
i used ca glue to do this as it was hard to keep clamps in the right place so i had to hold it while the glue was setting and ca glue dries fast so i didn't have to sit with a plane in my hand all day
and as i use thick ca glue it served as a filler in some spots

more filling with ca glue
this part had the worst fit up to now
i use the white Ultimate sander to smooth out the ca glue once it is dry as that sander goes through the glue very fast
the others do the job aswell but slower so i used those later on to get a smooth finish after the use of the course sander

the engine was fitted

all the front panels where added
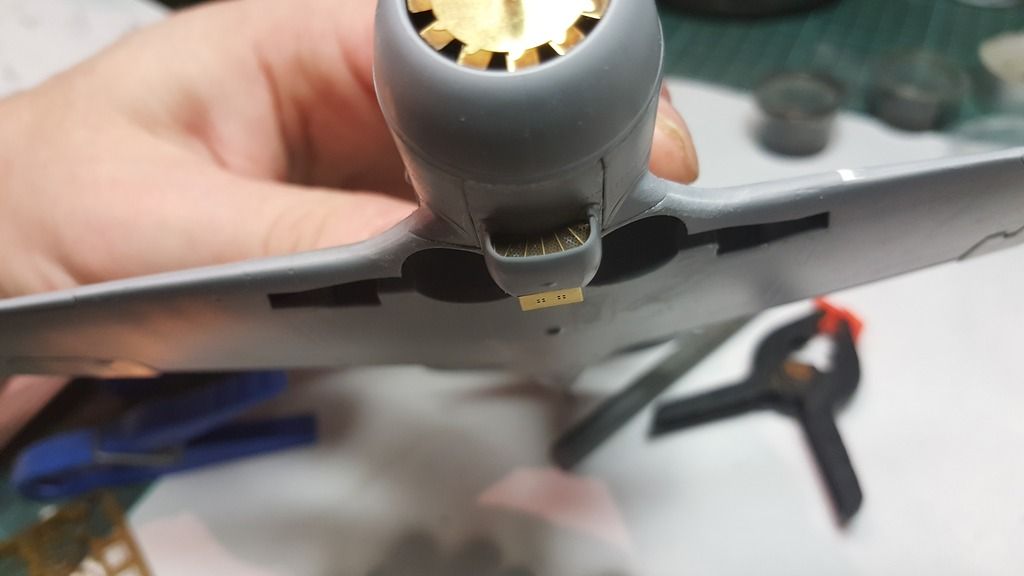
the cooling unit and pe screens in the cowling where placed

the landing gear has a good fit and was easy to put in place

the landing gear doors are completely made from pe
but there are some styrene ones in the kit

with some gunmetl grey i added some chipping in the cockpit

a wash was done with Ultimate dark dirt but it had very little to hold on to but you can see some in the seat
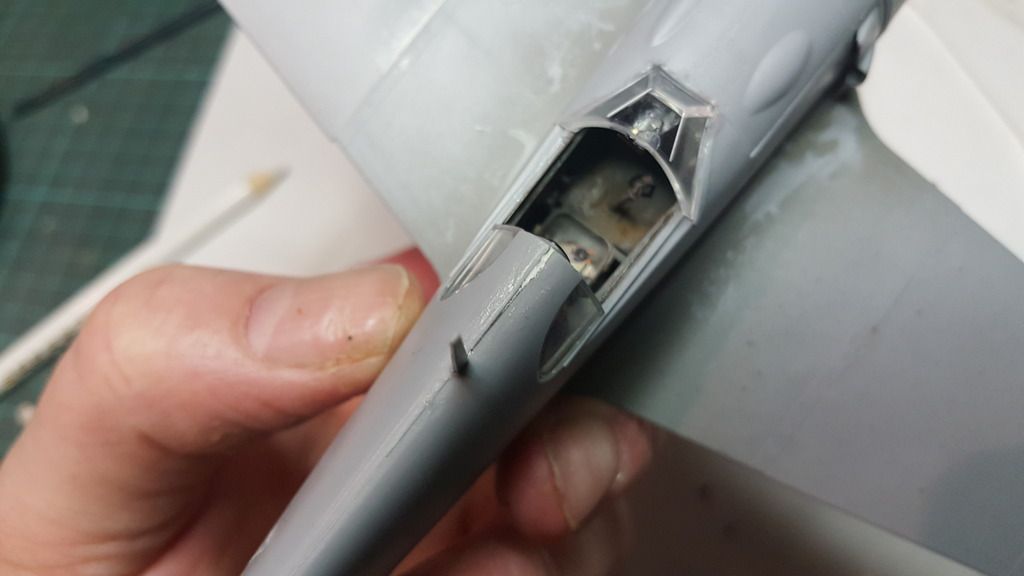
some European dust pigment (mig prod.) was added as the dirt from the pilot's boots

the landing gear doors on the back where fitted

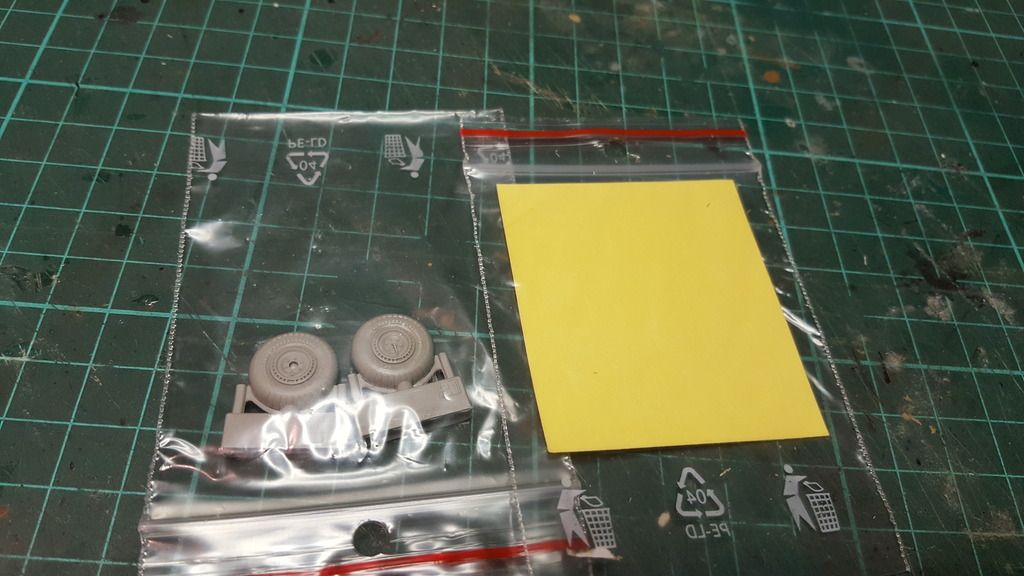
the resin wheels didn't fit the first time so i drilled the hole with a bigger drill bit and i flattened the wheels as they where not weighted

the clear parts where added
i decided to make it with a closed cockpit

the mask set that came with the kit was used to mask the clear parts and now it is ready for some paint
and that is all i have for now
i will get a new update up once i painted it
thanks for stopping by and having a look