Italeri 1/24th Peterbilt 378 "Long Hauler"
Posted: Sun Mar 23, 2014 7:13 pm
After an enforced abscense from the modelling bench I have now got a bit of time to enjoy a little build time. Two reason,s for this subject and group build,
A, Have alway,s wanted to build a "Big rig"
B, Six month duration is ideal for thing,s the way they are at the moment.
So, on with the photo,s
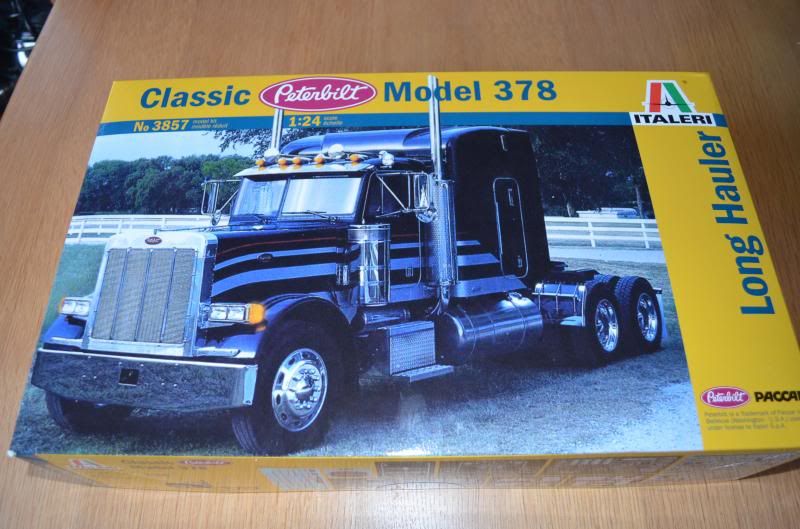
The main box art, there is some debate as to whether this is the subject model. Looking at the kit part,s it does look different.
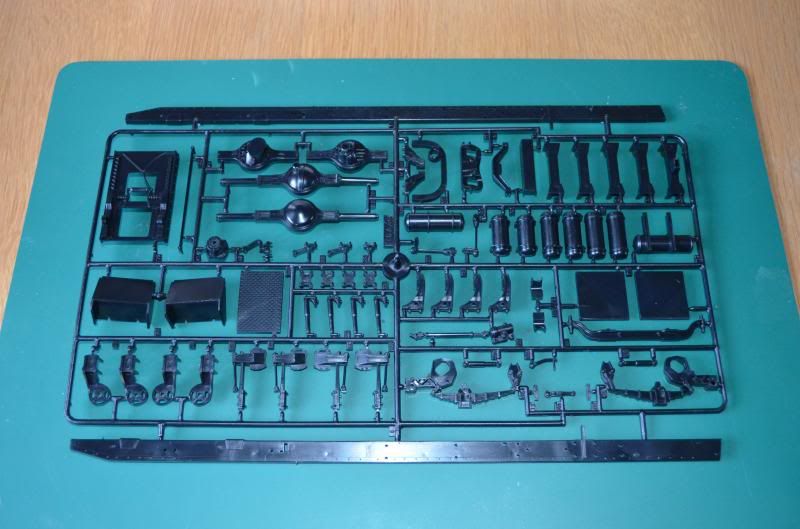
First sprue is made up of black coloured styrene and contain,s all the part,s for the chassis and suspension
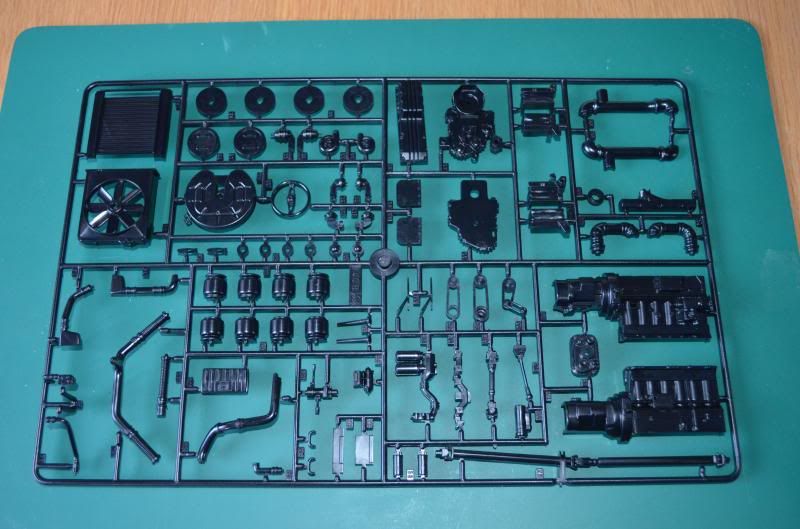
Second sprue is also black styrene and has part,s for the engine, some more suspension and the radiator and fifth wheel.
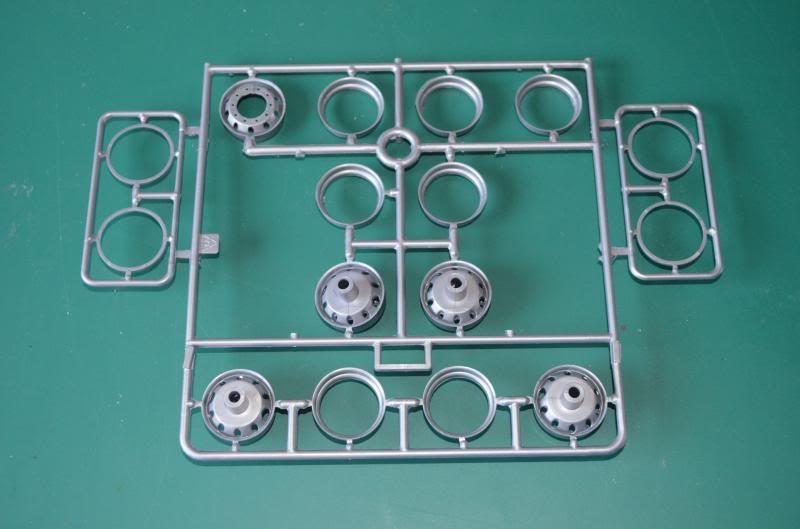
This sprue ia moulded in a metallic grey and contain,s everything for the inner wheel rim,s
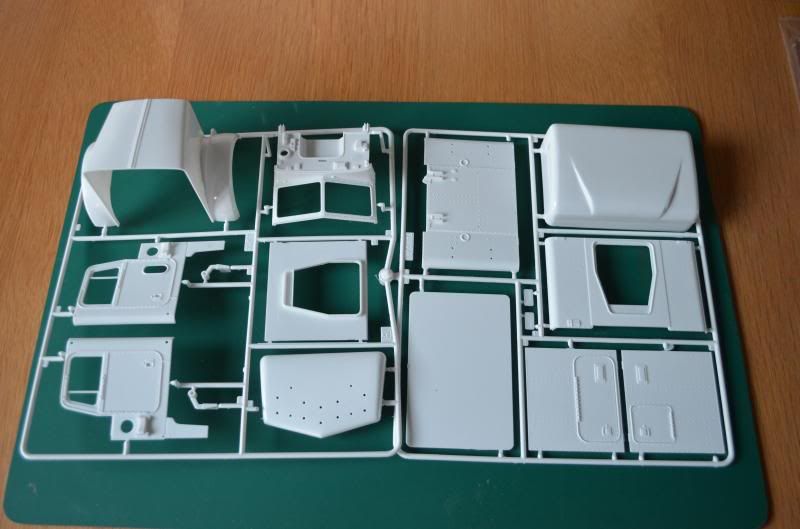
This sprue, moulded in white, contain,s the exterior cab part,s and the 63" sleeper cab.
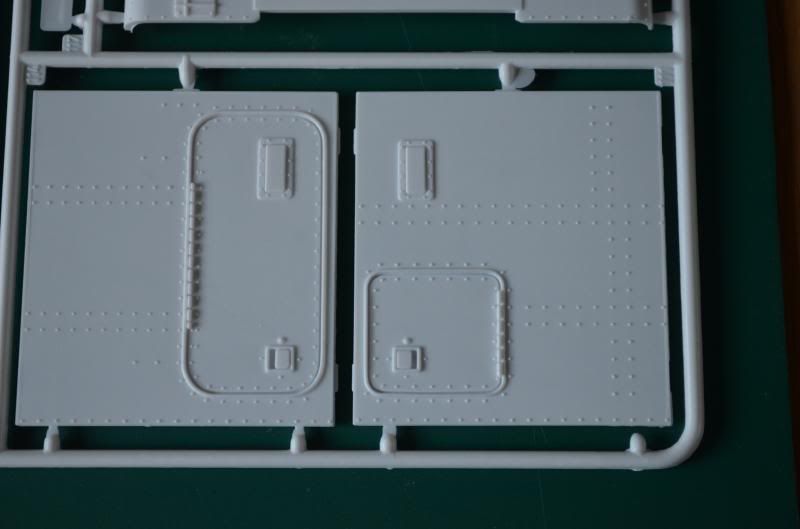
Close up of some of the detail on the sleepper cab, quite nicely done.
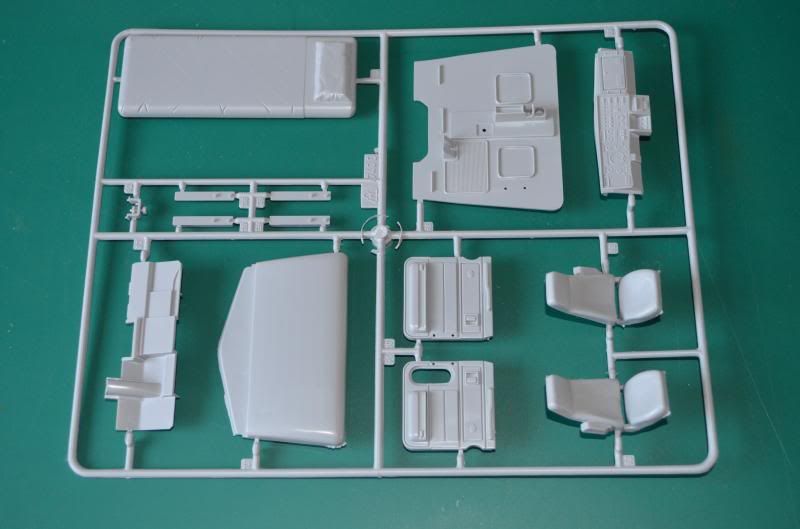
Here we have the interior cab part,s including the bunk for the sleeper and the cab floor. Detail is again crisp and nicely done.
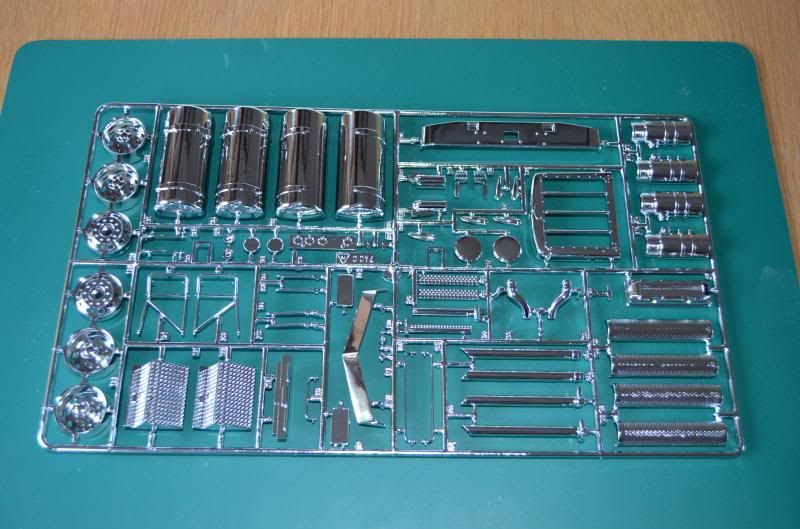
Ok, on to the "bling", as is usual with these kit,s chrome part,s are colour moulded. This has it,s good and bad point,s. The good being nice shiny part,s without any hassle. The bad , any part,s that require clean up will obviously lose their chrome plating. So part,s like the fuel tank,s, exhaust stack,s and anything involving seam,s will be stripped and Alclad chromed.
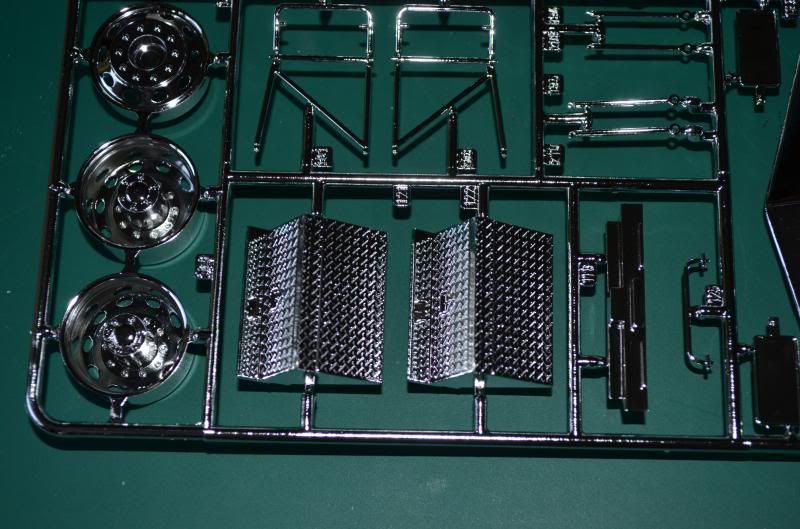
Nice detail on the chrome part,s, hence the reason for only stripping the minimum of chrome component,s. Also the wheel hub,s are very stand out.
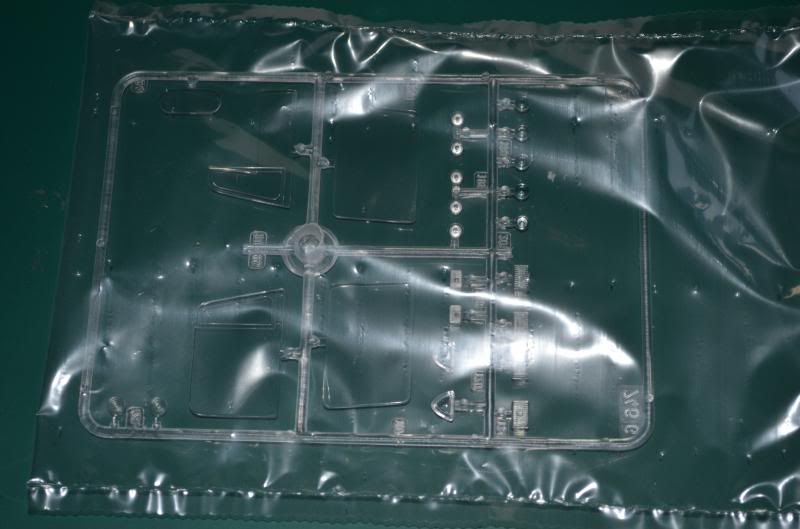
Transparencie,s,I am leaving them in the bag as I am very prone to scratching clear stuff, so these will be dipped in future and left until they are needed.
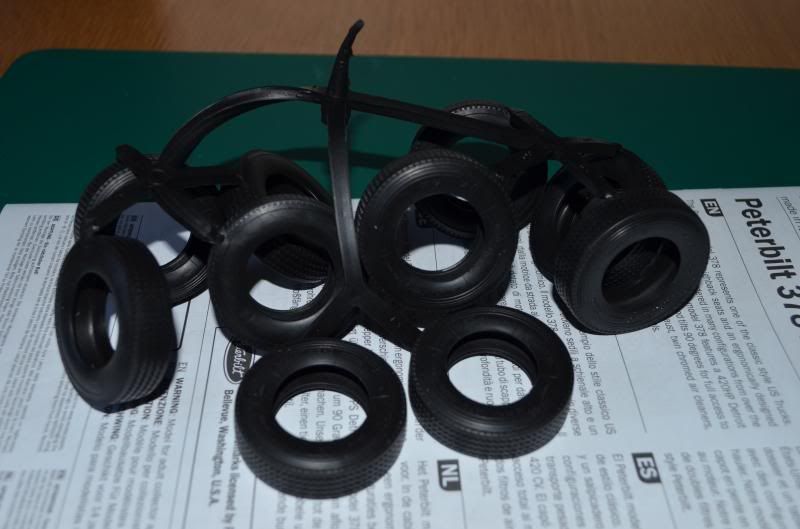
Tyre,s, nicely moolded if a little on the soft side.
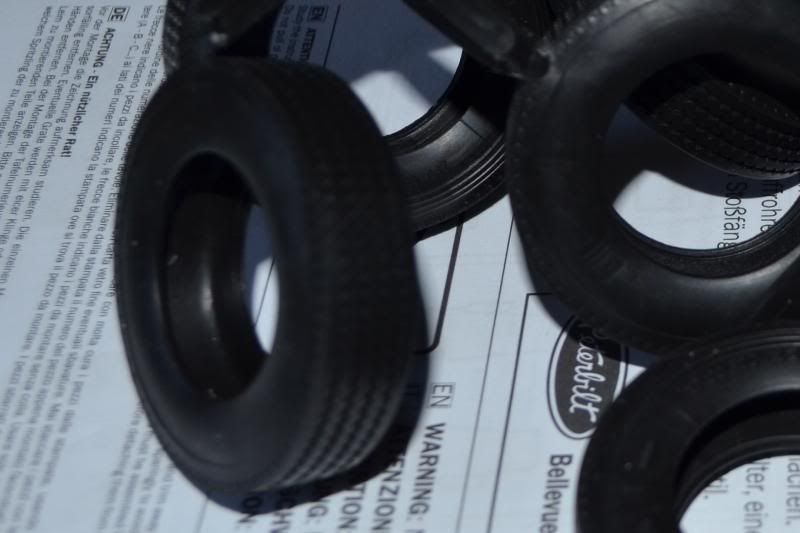
Close up of the tread pattern, there is the very slightest of seam lines but a No. 11 blade scraped along this will sort that out.
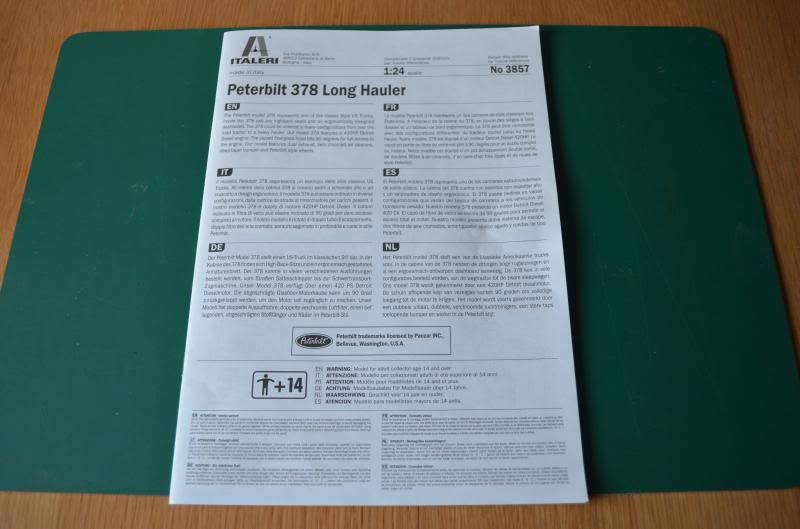
Instuction,s are an A4 booklet
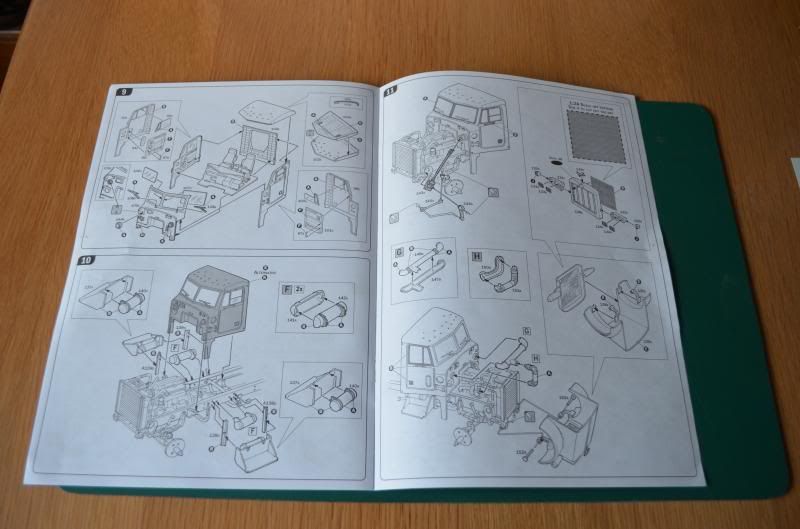
Build sequence,s are nicely illustrated and easy to follow with detail painting shown throughout the build sequence.

Decal,s, Body trim , mud flap sign,s, all nicely in register. The dashboard decal is nice but the part has raised detail so this will be omitted, it does provide a good reference for trying to replicate the wood grain though.
So there it is , first impression,s, a very nicely moulded and detailed kit. A bit of warping on some of the chassis part,s which could make alignment tricky, but this remain,s to be seen when construction commence,s. So I am now of to trawl the internet for some info on this, so until the next update happy modelling, cheer,s Dave.


